
How to create a web server linux, Php, Mysql with Amazon Architecture AWS
Actually Amazon web services provides one year for free to test and develop with all the web services like Ec2, SES, S3, Route53, Cloudfront and more than 80 services!
If you want to develop a web page, web App, Wordpress application, MarketPlace Store, Frameworks, CMS, CRM or Services for Android/iOS App this tutorial is for you.
Please follow the next steps to configure your own web server for your applications with Apache/Linux(Ubuntu)/Php/Mysql platforms.
It´s necessary that you know several concepts about Linux console and other dependencies to install correctly your web server.
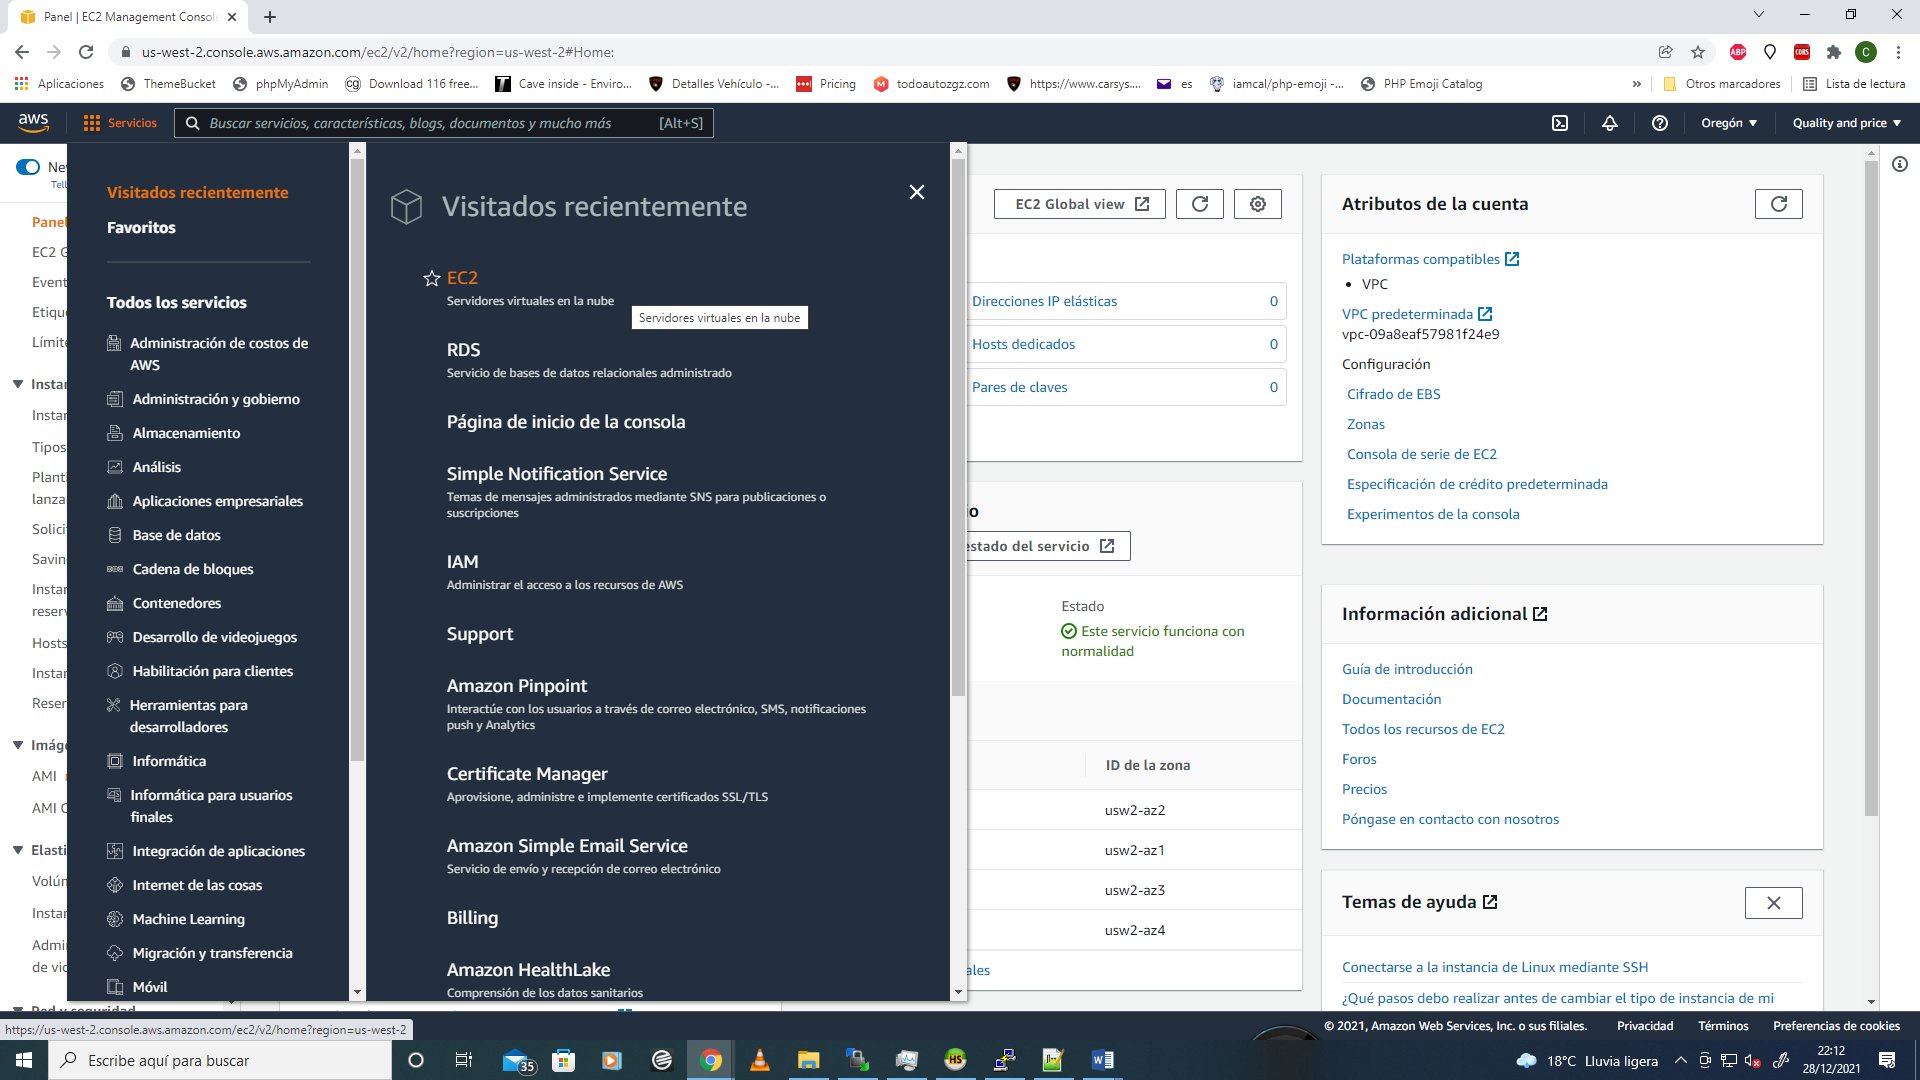
STEP 1
First you need to select the service EC2. You can find this service writing ec2 on the search bar to get the link.
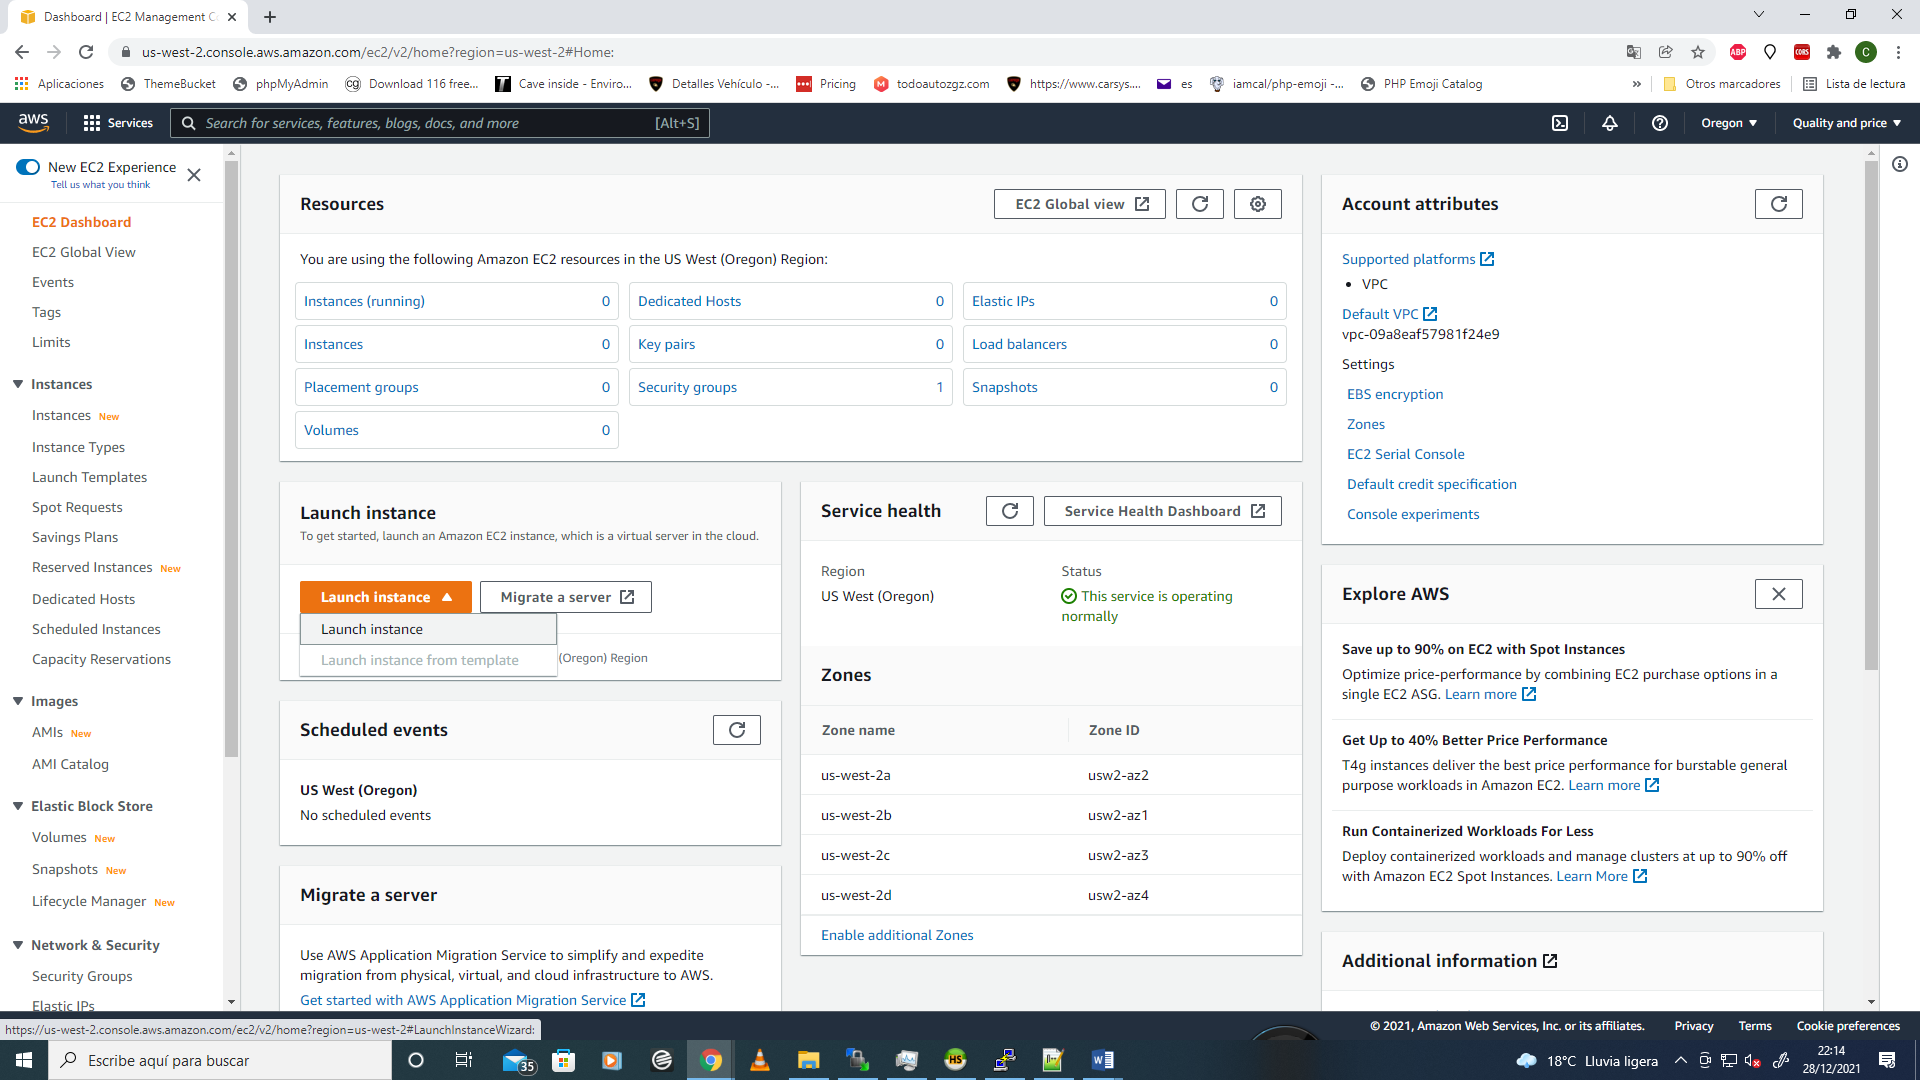
STEP 2
On the Ec2 Dashboard you can see all the options to configure your new instance in the Resources section. For the first time and for a new Instance you need to click on "Launch Instance" (orange color button) and follow the next steps.
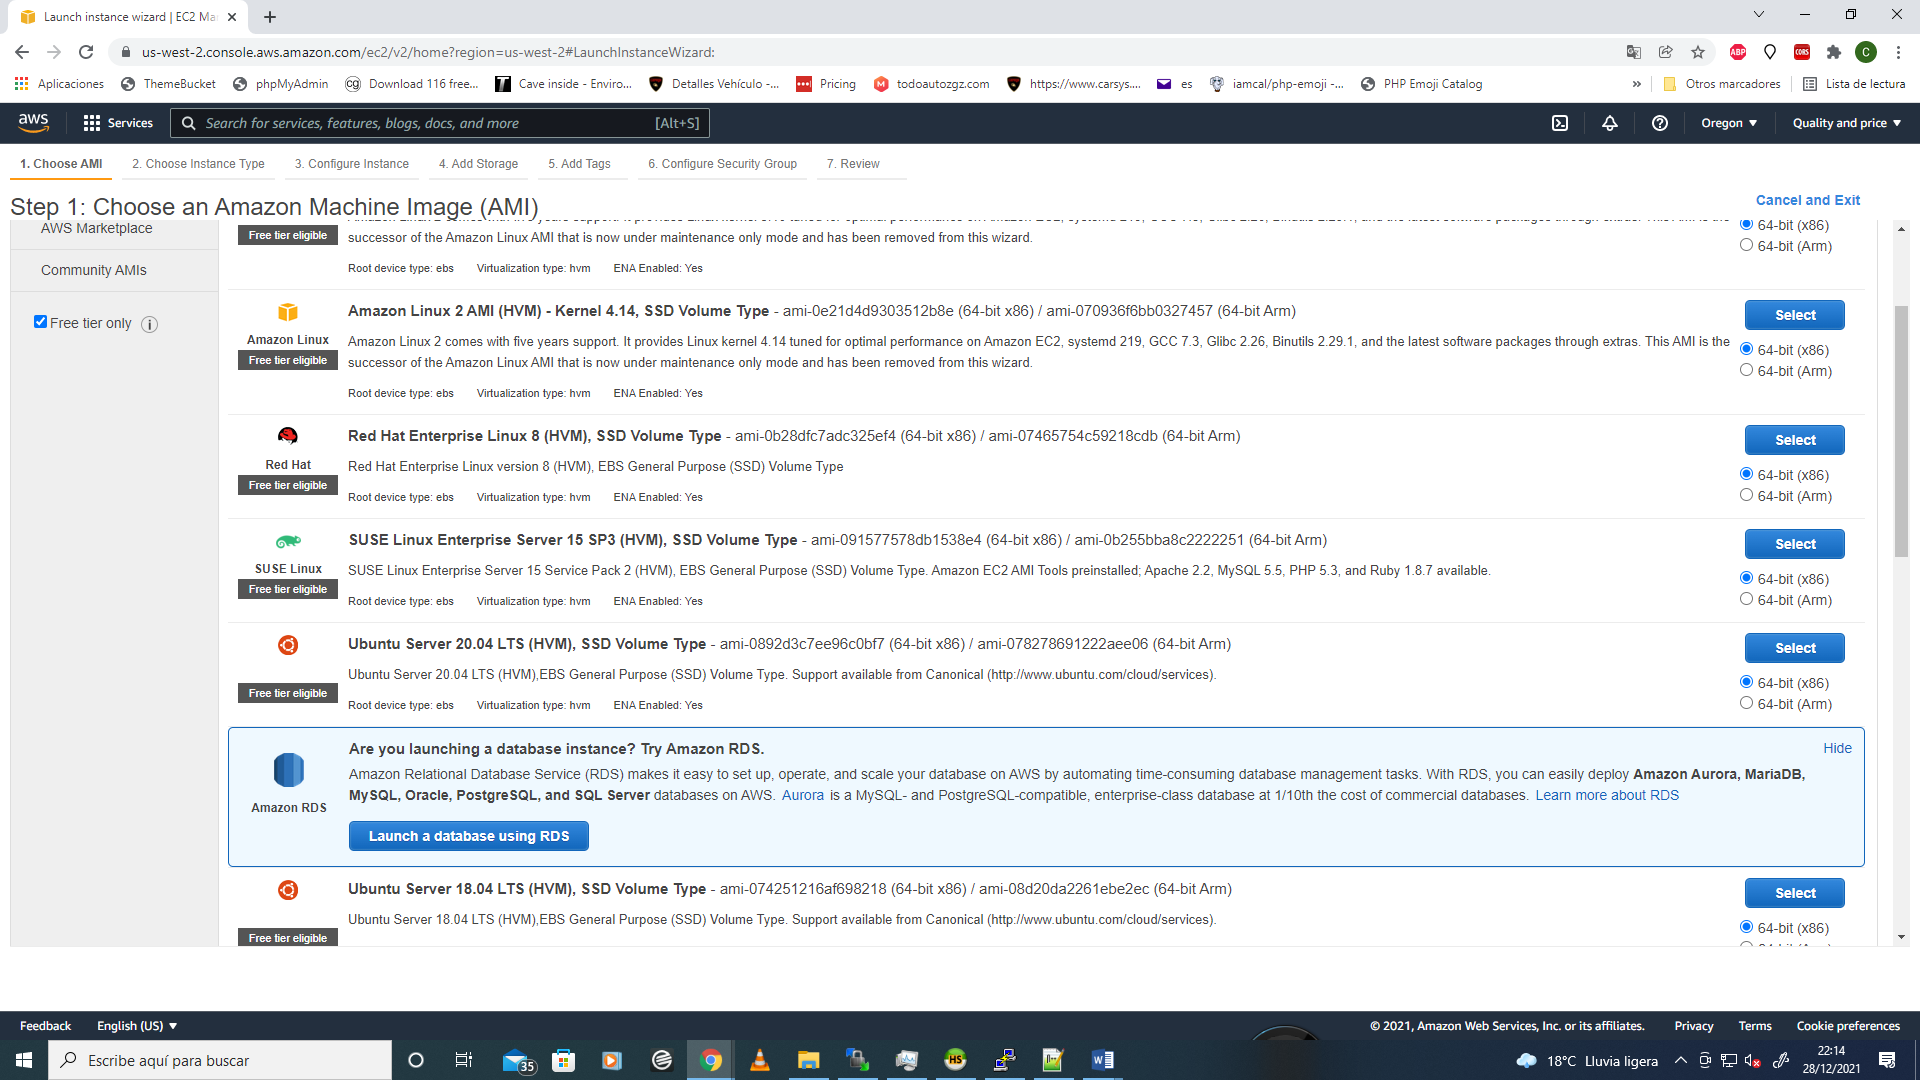
STEP 3
In this window you can configure and select your new instance. In this case we will configure an Ubuntu Server 20.04
Please be carefull to select "Free tier only" option, you can see the checkbox on the left side of the window. When you select this option, all the instances are elegibles for 1 year free.
The next step, click on "select" button for "Ubuntu Server 20.04 LTS .............
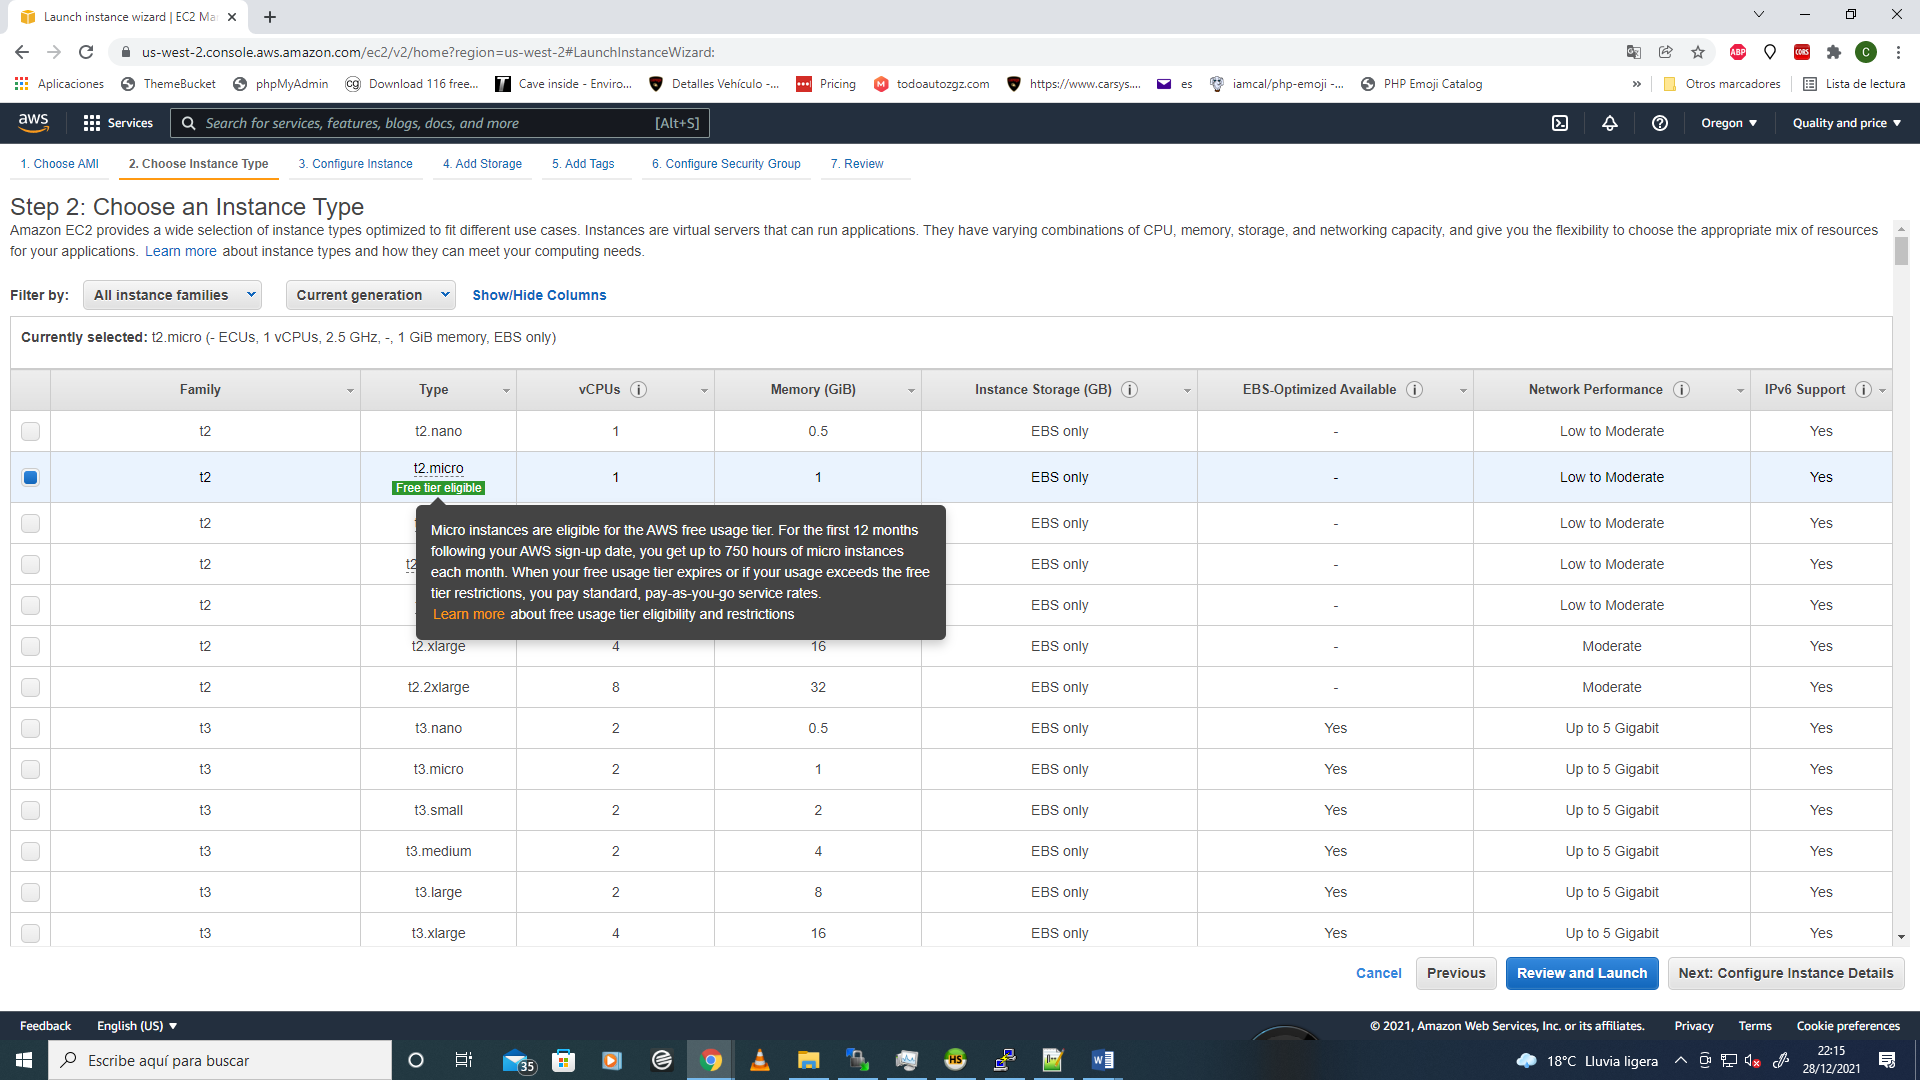
STEP 4
In the next window you can see the second option with a green button "Free tier elegible". Please select this option to get 1 year for free with a t2.micro instance. With this instance type you can develop any application, install frameworks, work with Wordpress or any Cms. You can also install any api or another dependencies. This option its perfect to begin any project, beta or production application. There are a lot of features that you can use from AWS.
Then, please click on "Next: Configure instance Details" Button. Be carefull to don´t click the "Review and Lauch" Button.
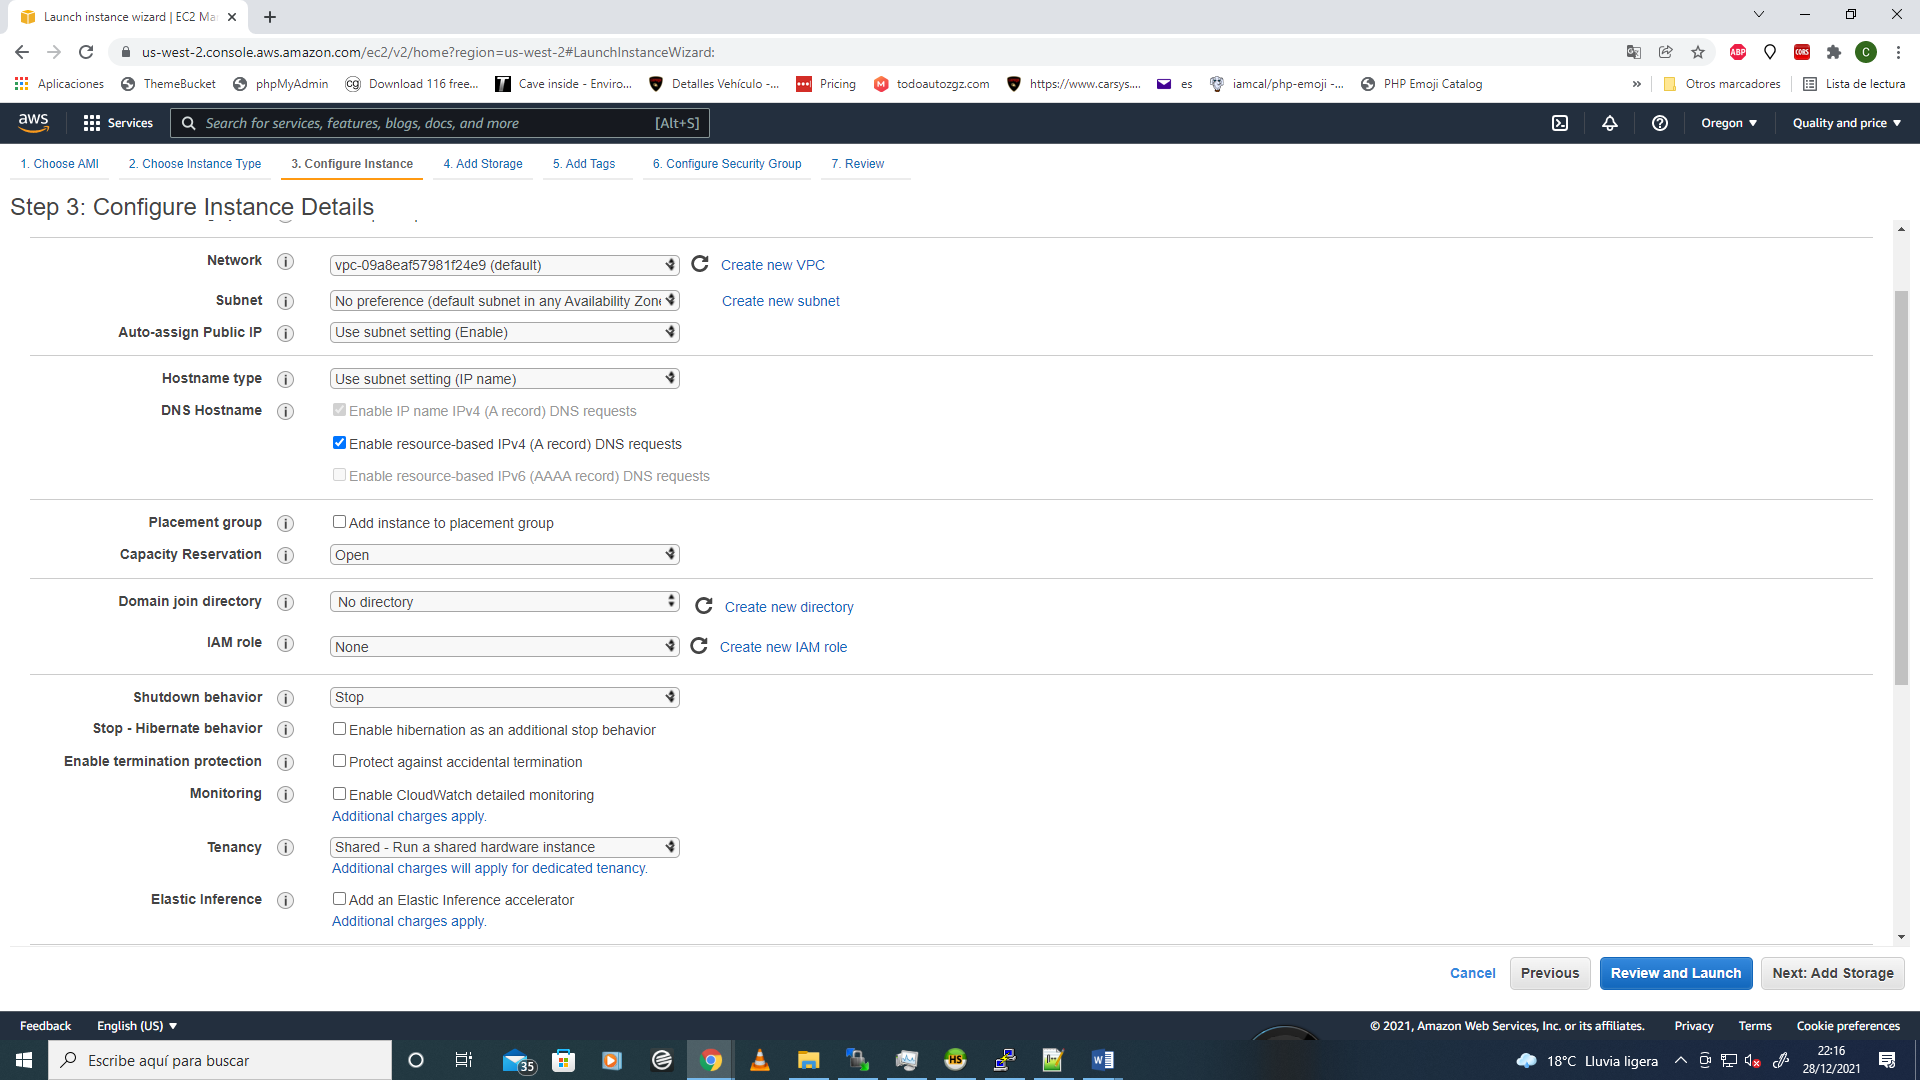
STEP 5
In this step please compare all the items and features selected. Only the item network was created automatically, you don´t need to change this option.
Then please click on "Next: Add Storage" button on the botom left secction.
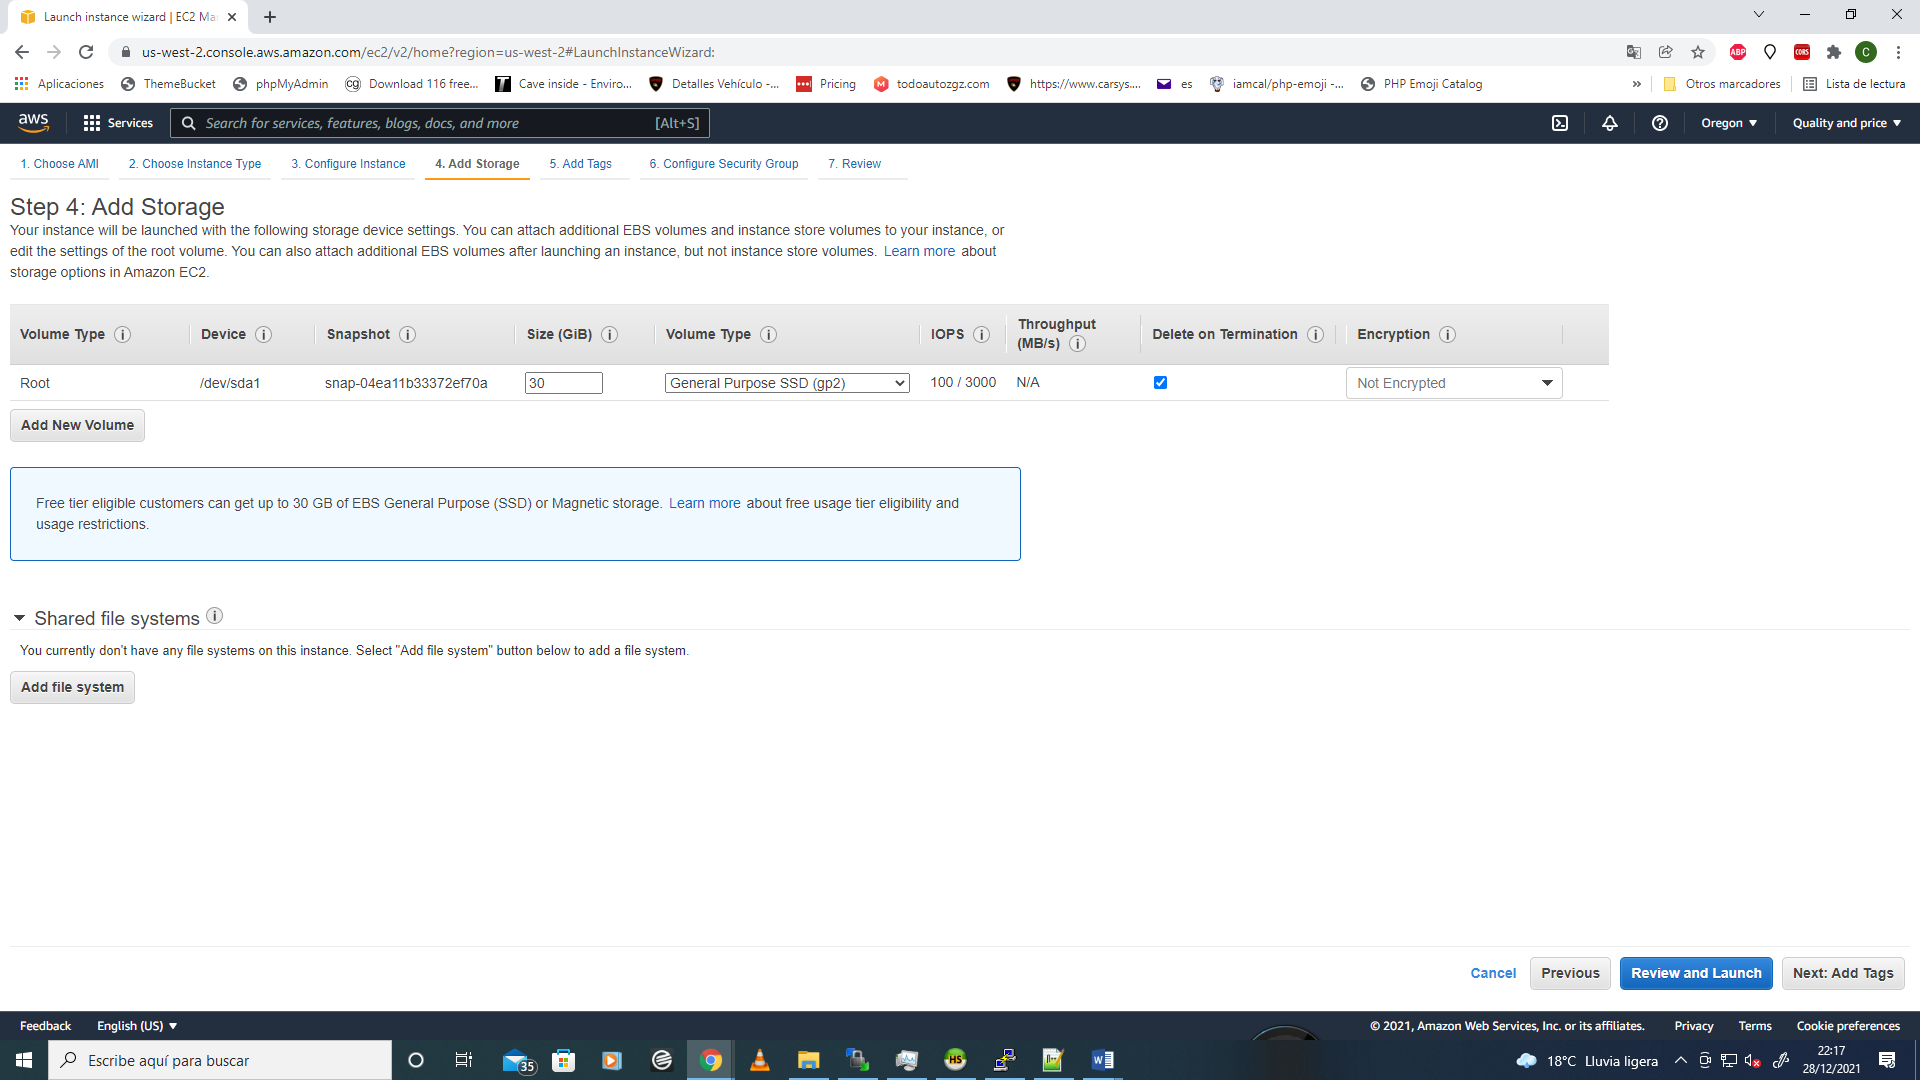
STEP 6
Awesome!!! you are on an important step: Add Storage. In this section you are abbly to add a hard disk to your instance(Server). The free tier option offer to you a 30Gb Disk Size.
You can select up to 30Gb or minor value. Then you can create a second disk like: First disk 15Gb, Second disk 15Gb. In this tutorial you will use the maximum value for a free tier option.
Then click on "next: Add Tags" Button.
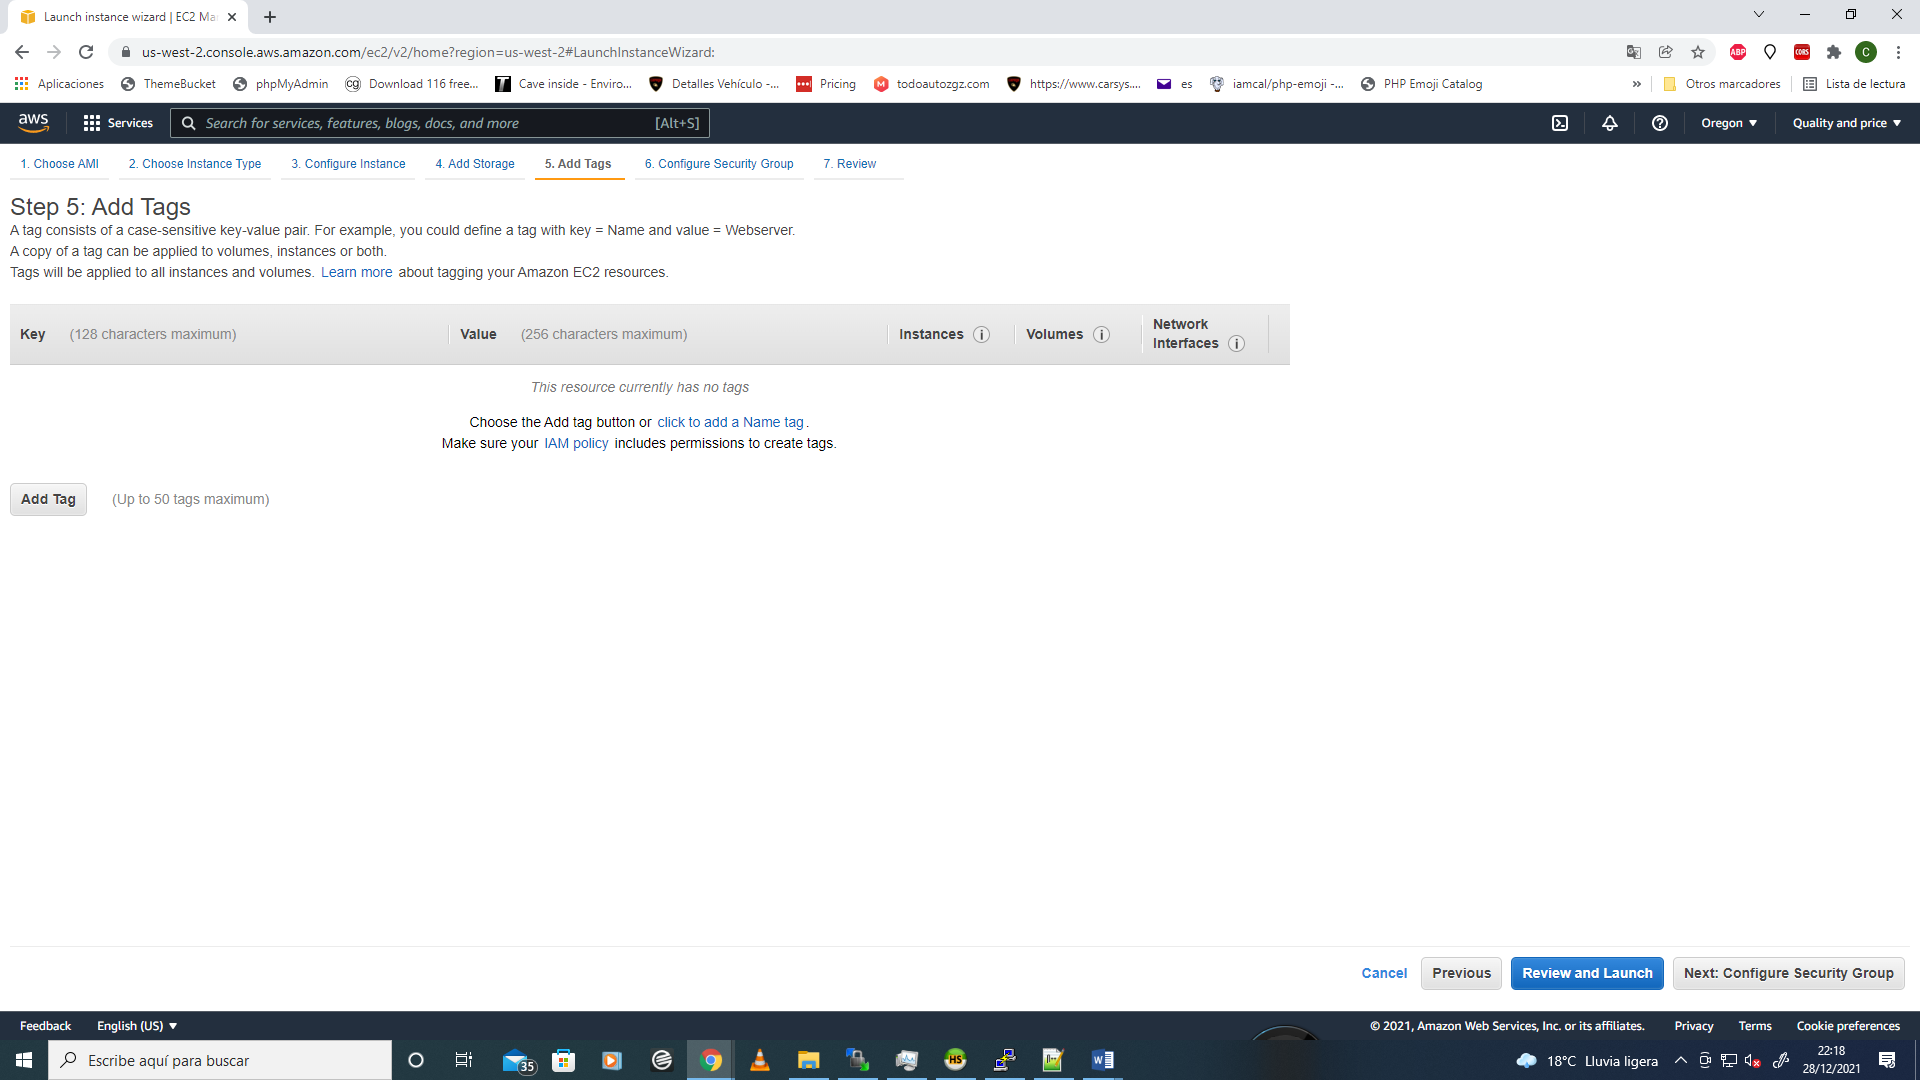
STEP 7
You can use this option to describe the web server and use for other propouses and know easily what instance you need to use.
If you want, you can only click on "Configure Security Group" button without create any tag.
STEP 8
Little is missing, something very important!
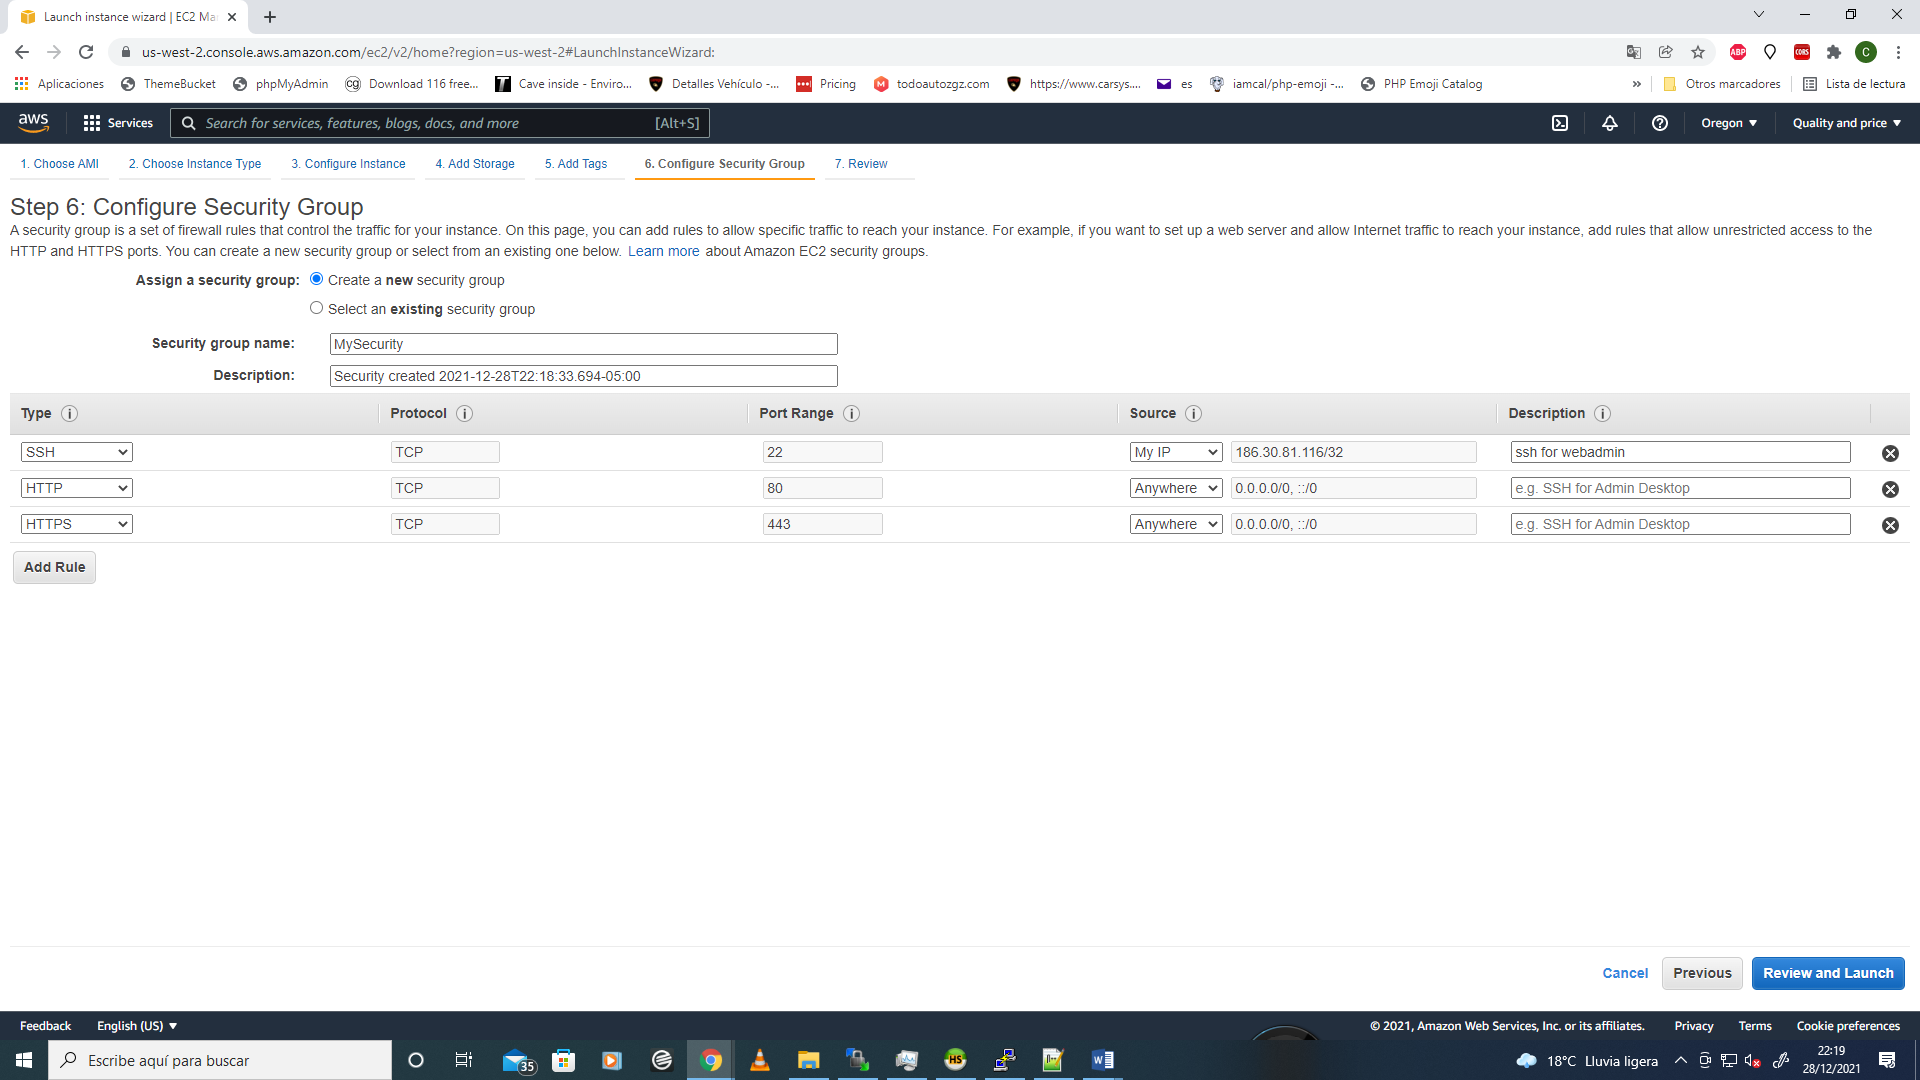
In this step you need to configure the Security Group, it´s very important that you use appropriately the security options because you will need to open ports and specific ip´s as a white list.
Innitially you can open port SSH 22 to get access to server via SSH sftp and use any interface like WinScp to create apps in the web server (in the second tutorial you can configurate the Winscp interface).
Please open port Http 80, Https 443(if you need to install a ssl certificate) and SSH 22 port with your actual ip, you can select My IP option in the source select list.
Then click on "Review and Launch" Button to finish the configuration.
Your minimal security group must be like this:
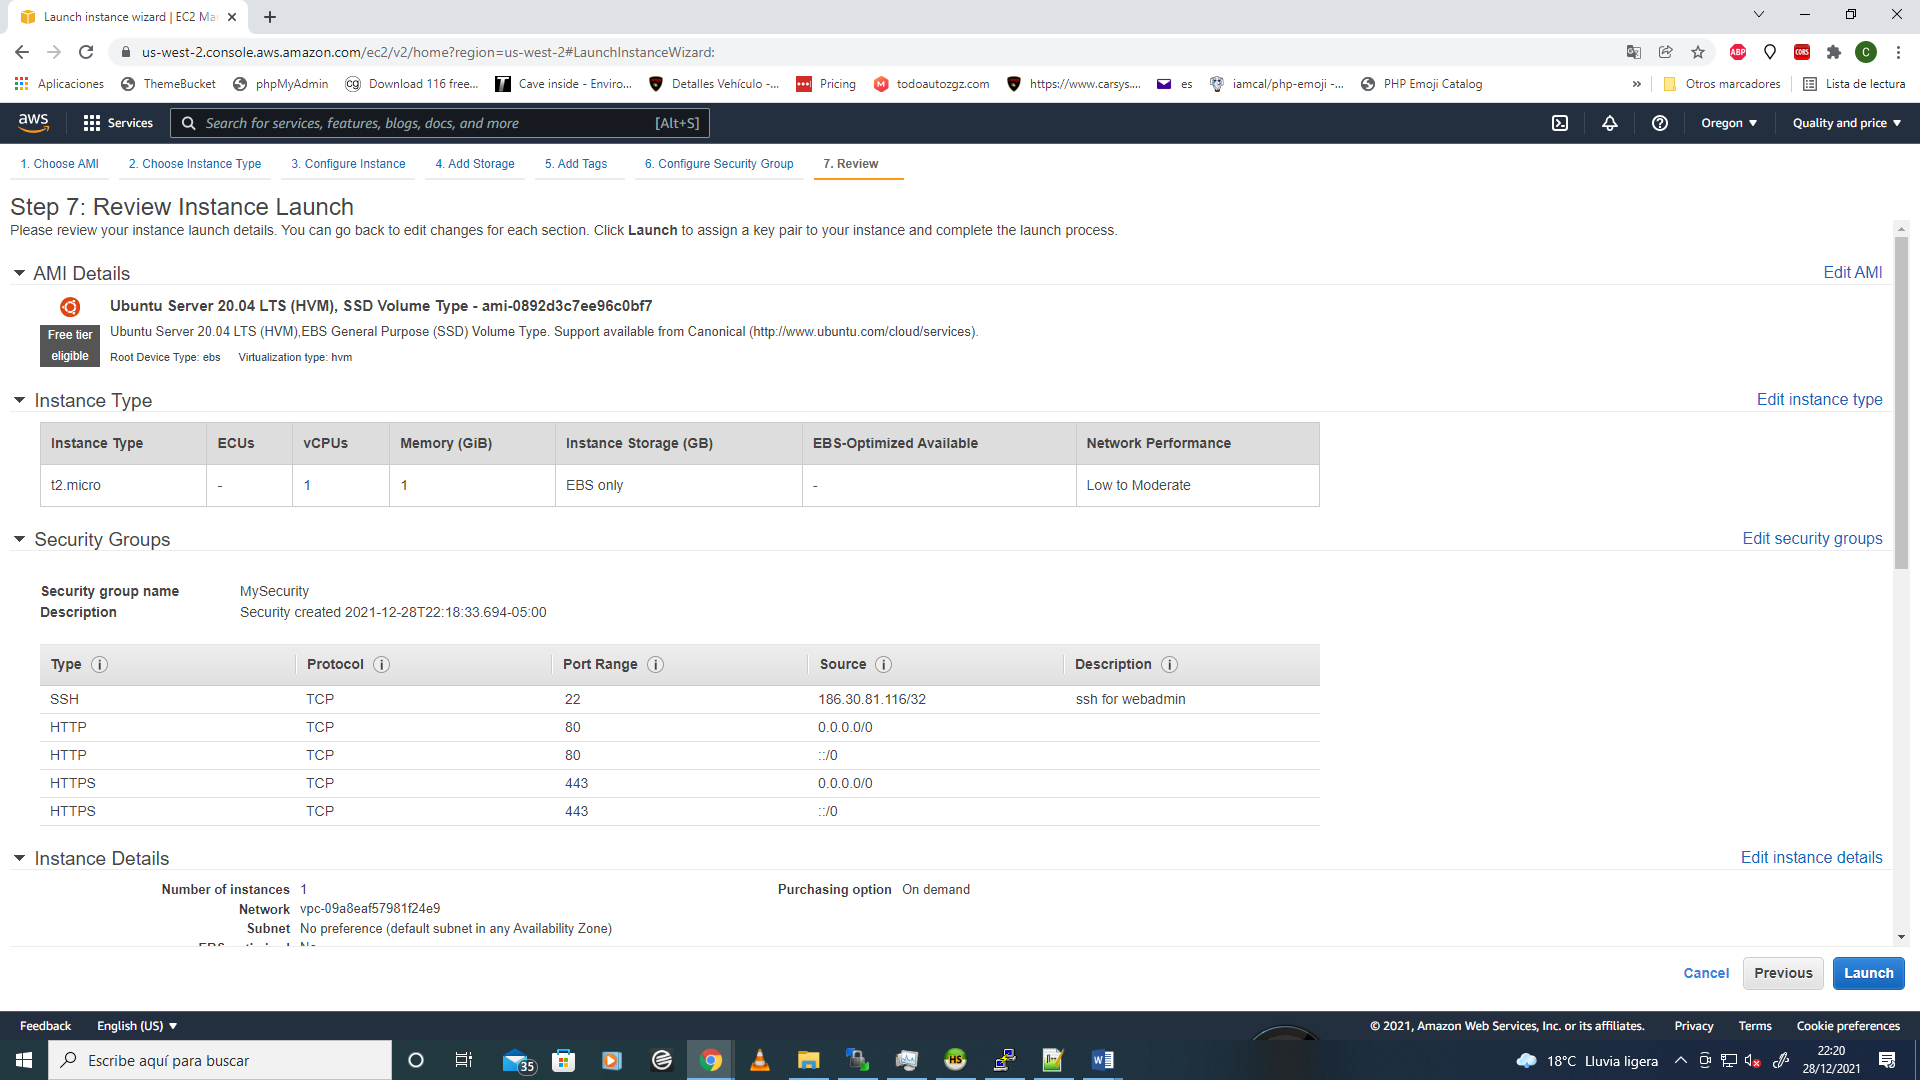
STEP 9
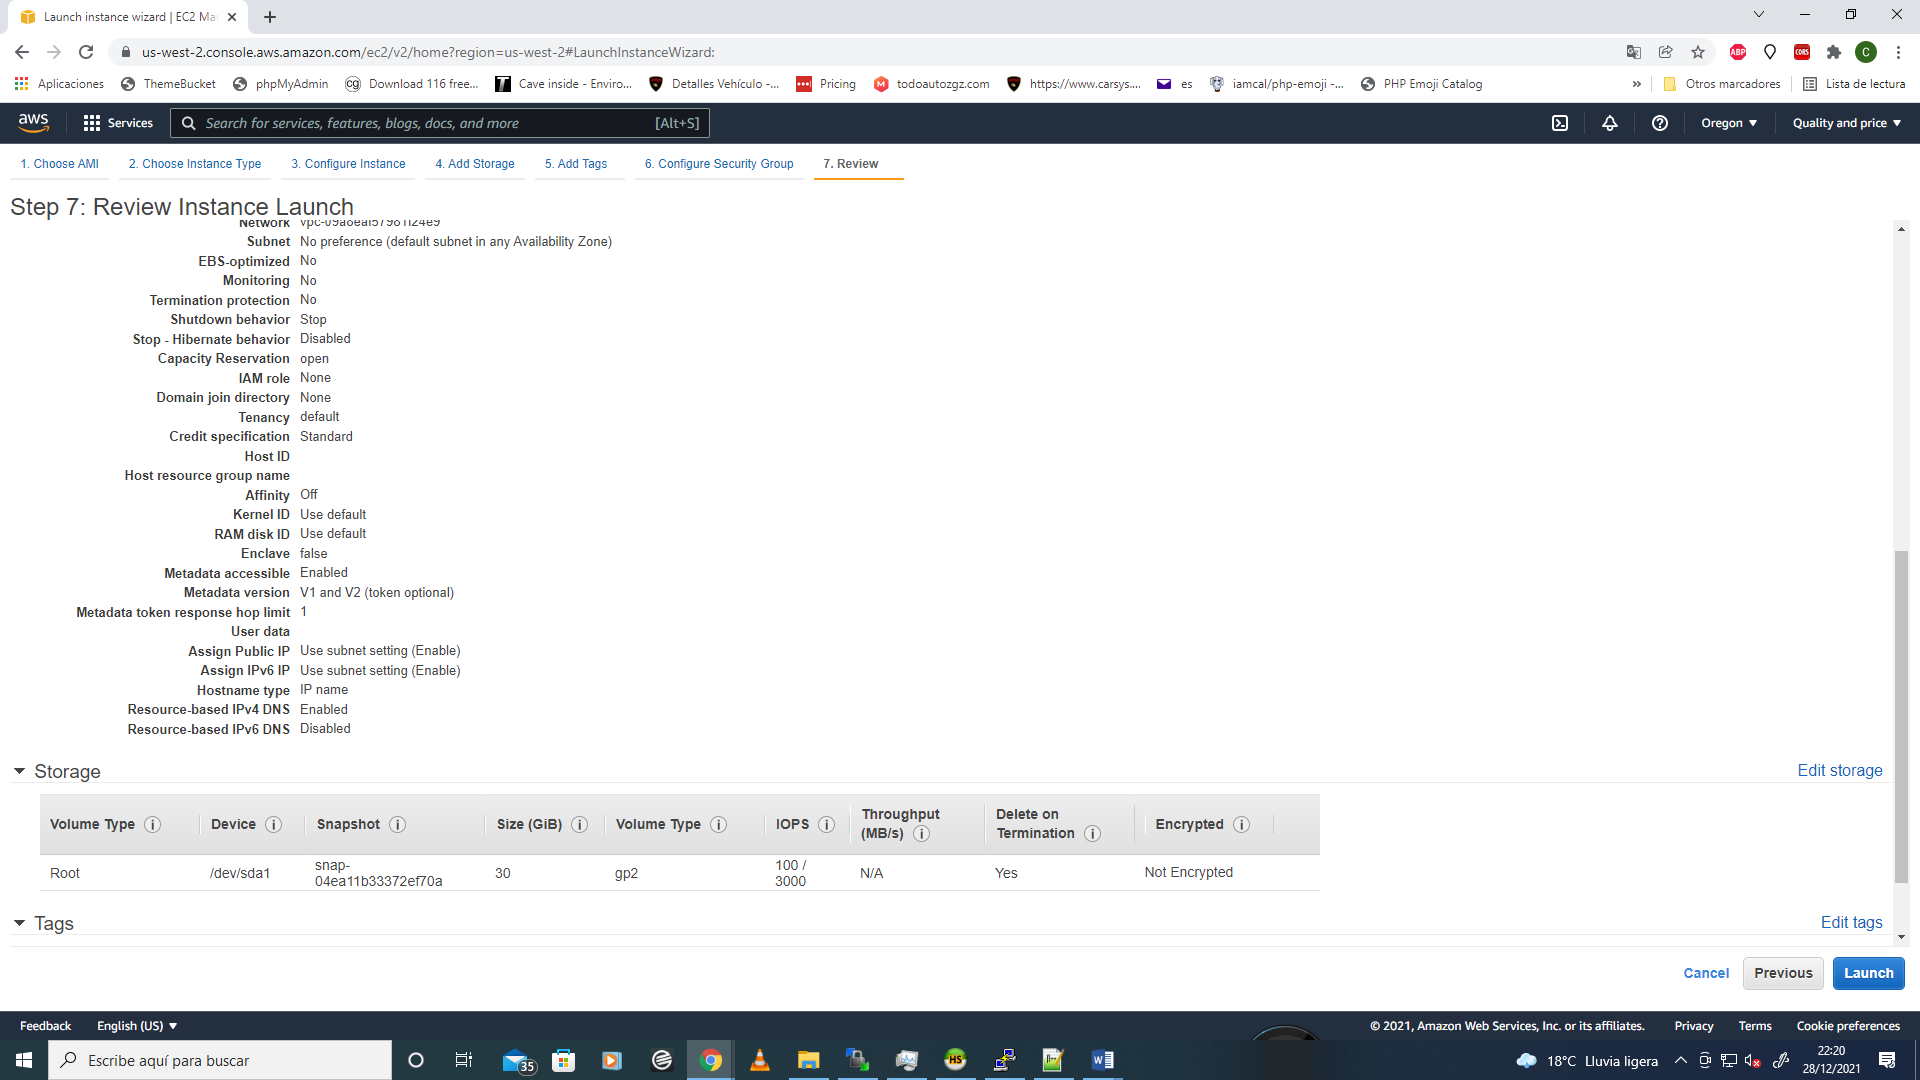
VOILÁ!!! The instance was configurated and you need only to review the main options, AMI details, Instance type, Storage and security groups.
When finish the review you only need to click on "Launch" button!!!
STEP 10
Sorry!!! be patient, you need to complete some features that make possible to access to your server and use the console or visual interface to install aplications, software, apis and another options available for any web server.
It´s very important the security and AWS gives the best standards. To protect the instance, you need to generate a Key Pair to connect to your server.
Please don´t loose your key, save in secure place. Recover the access to the instance without the key it´s very difficult and you can loose your info.
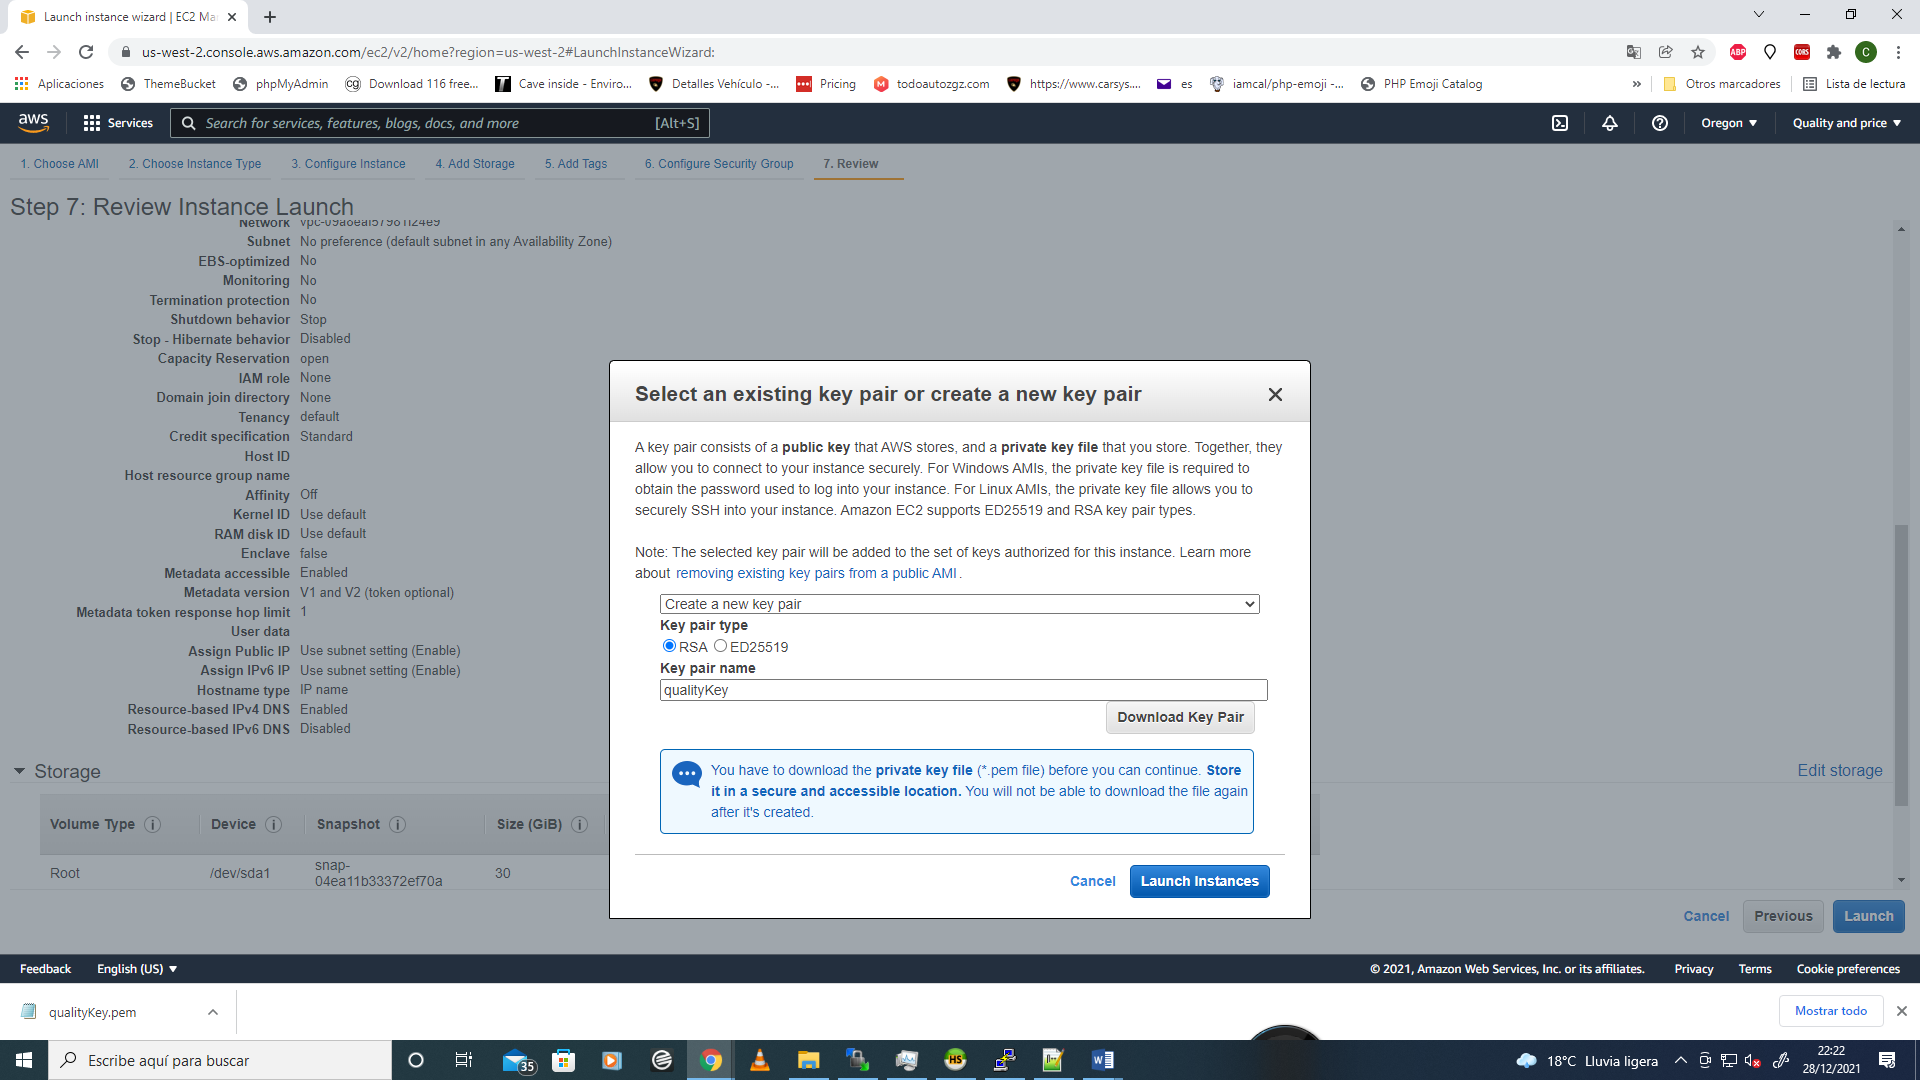
Please select the follow options and download the key pair.
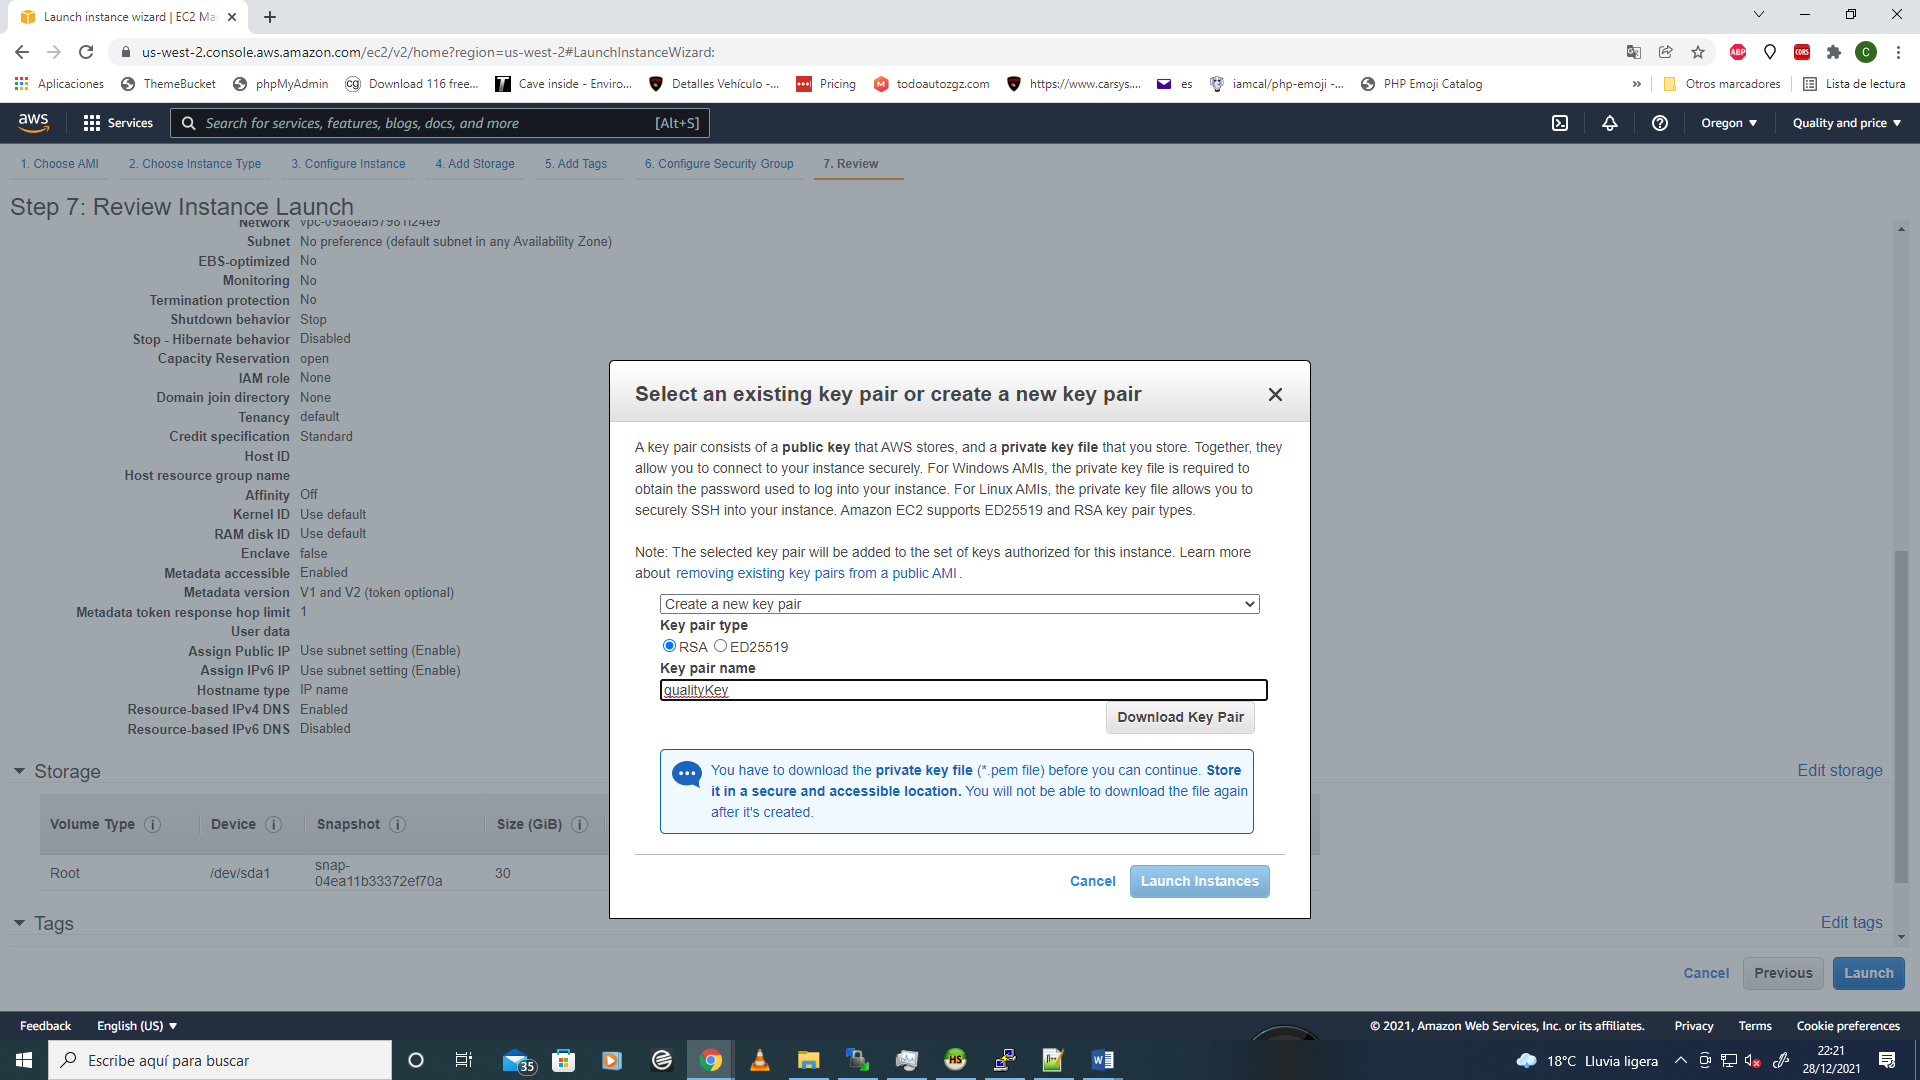
A little more.... Please Launch the instance.
STEP 11
Ok! you can see the Launch Status. Please read another information about the instances and additional configurations. At this moment you have a powered instance and now you need to proceed to configure your acces via navegator and ssh to your web server.
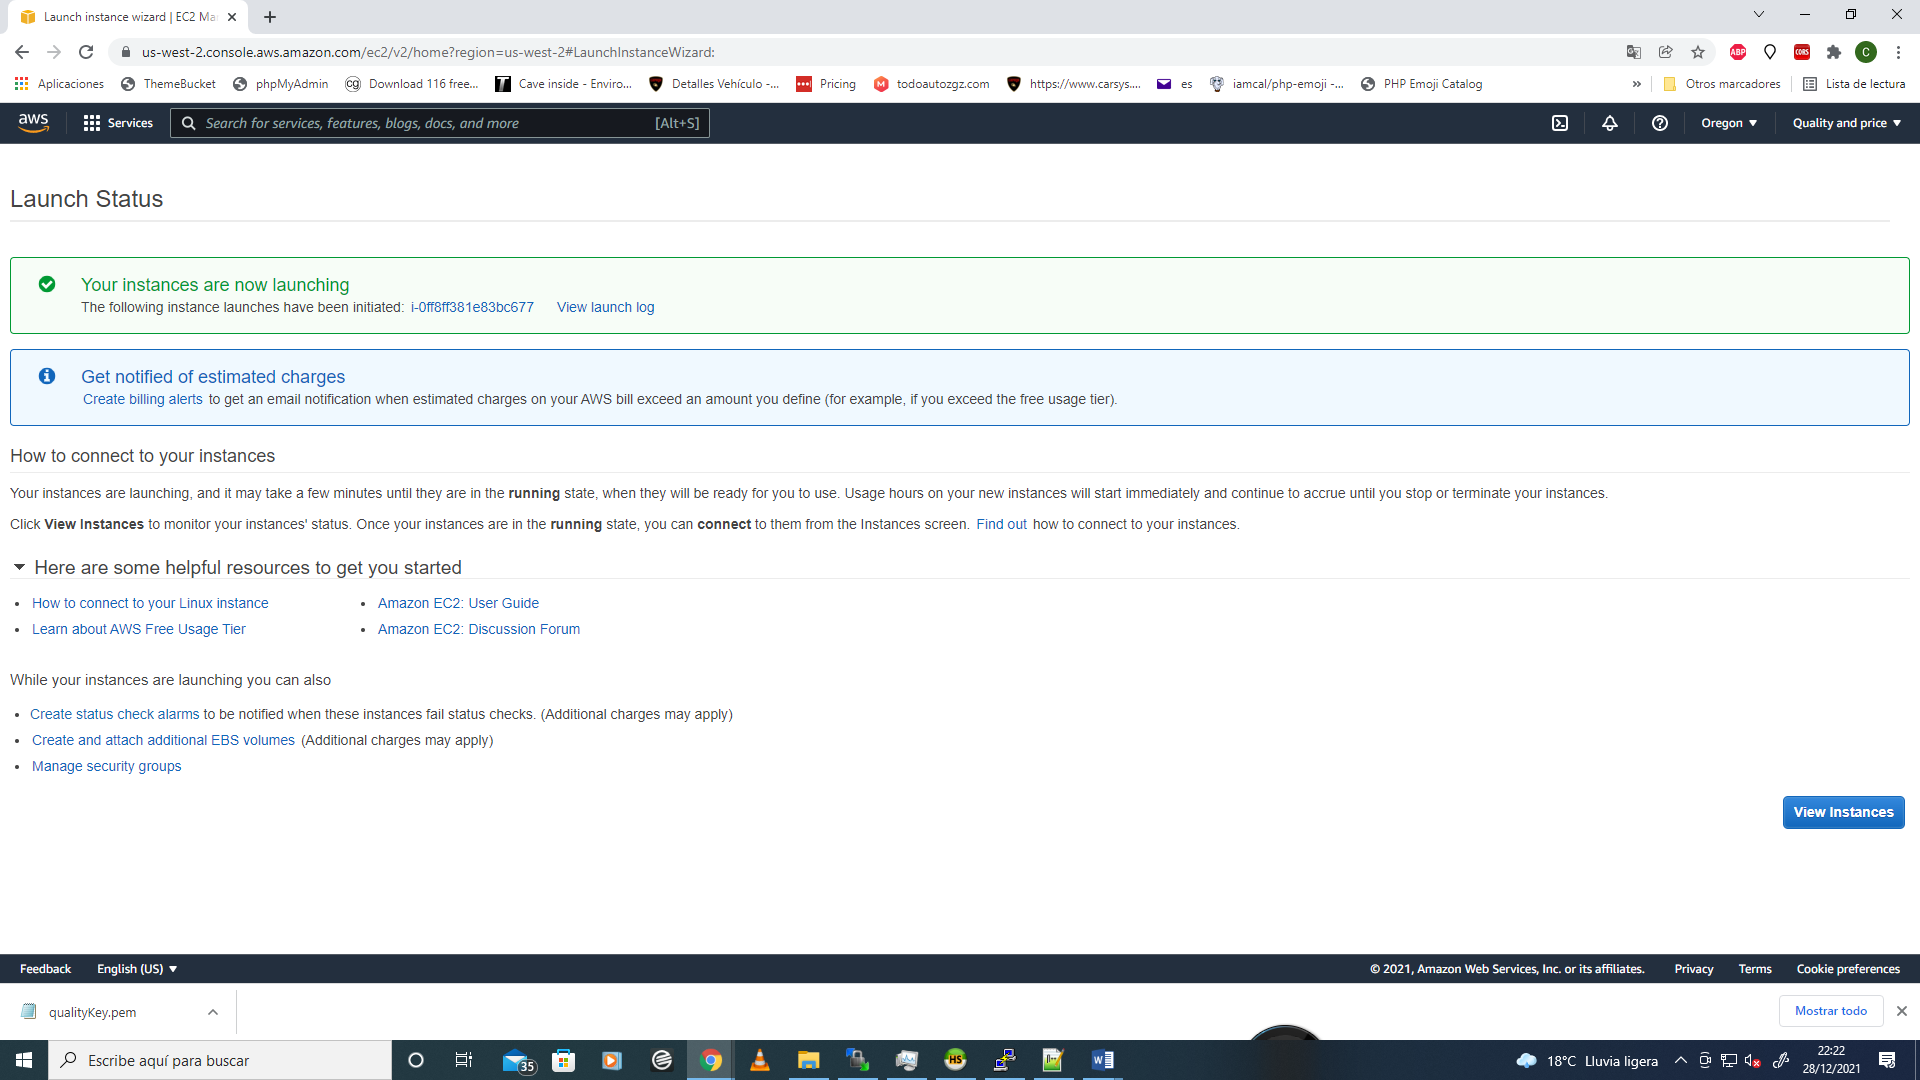
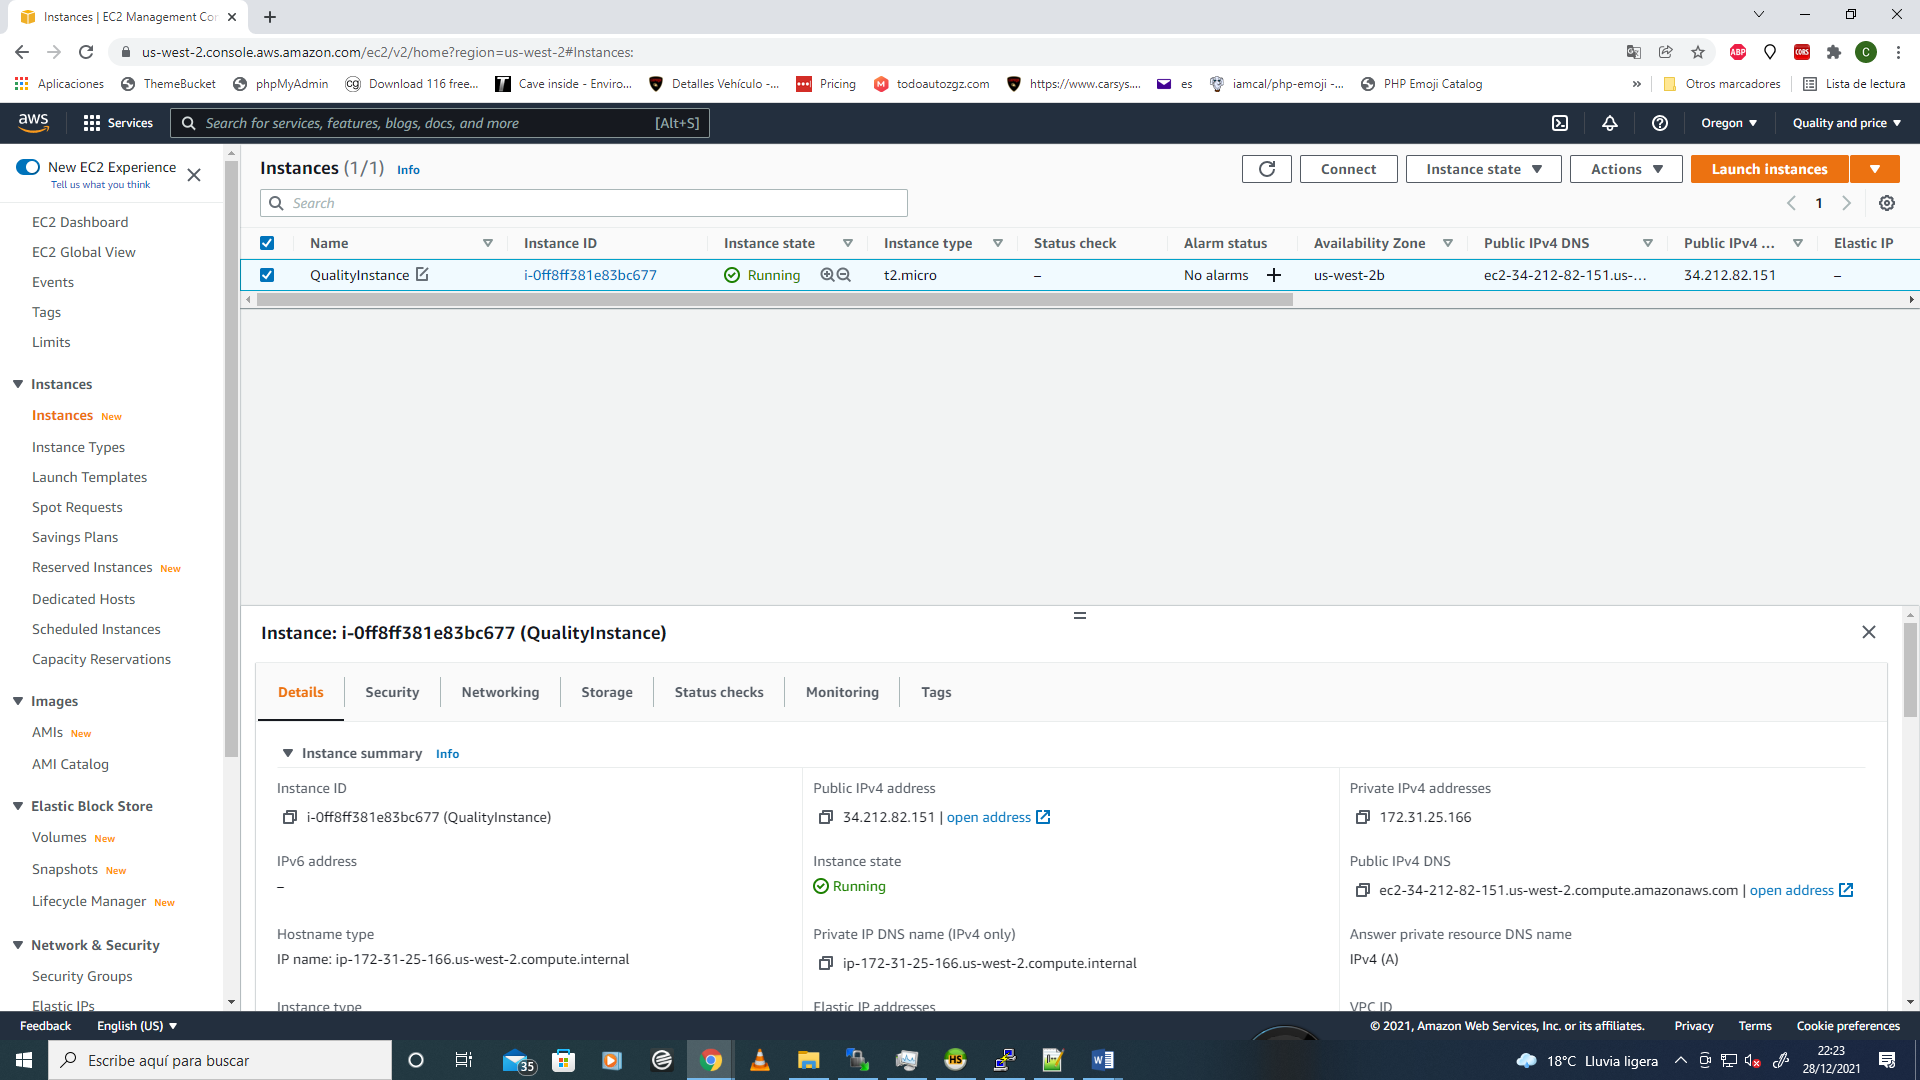
Now you can see the new instance and configure more options or change some features.
Your Host it´s named as Public IPv4 DNS to connect via ssh or public access.
Now you need to create an elastic ip to connect and point your domain name to this. Please click on "Elastic IPs" on the left panel.
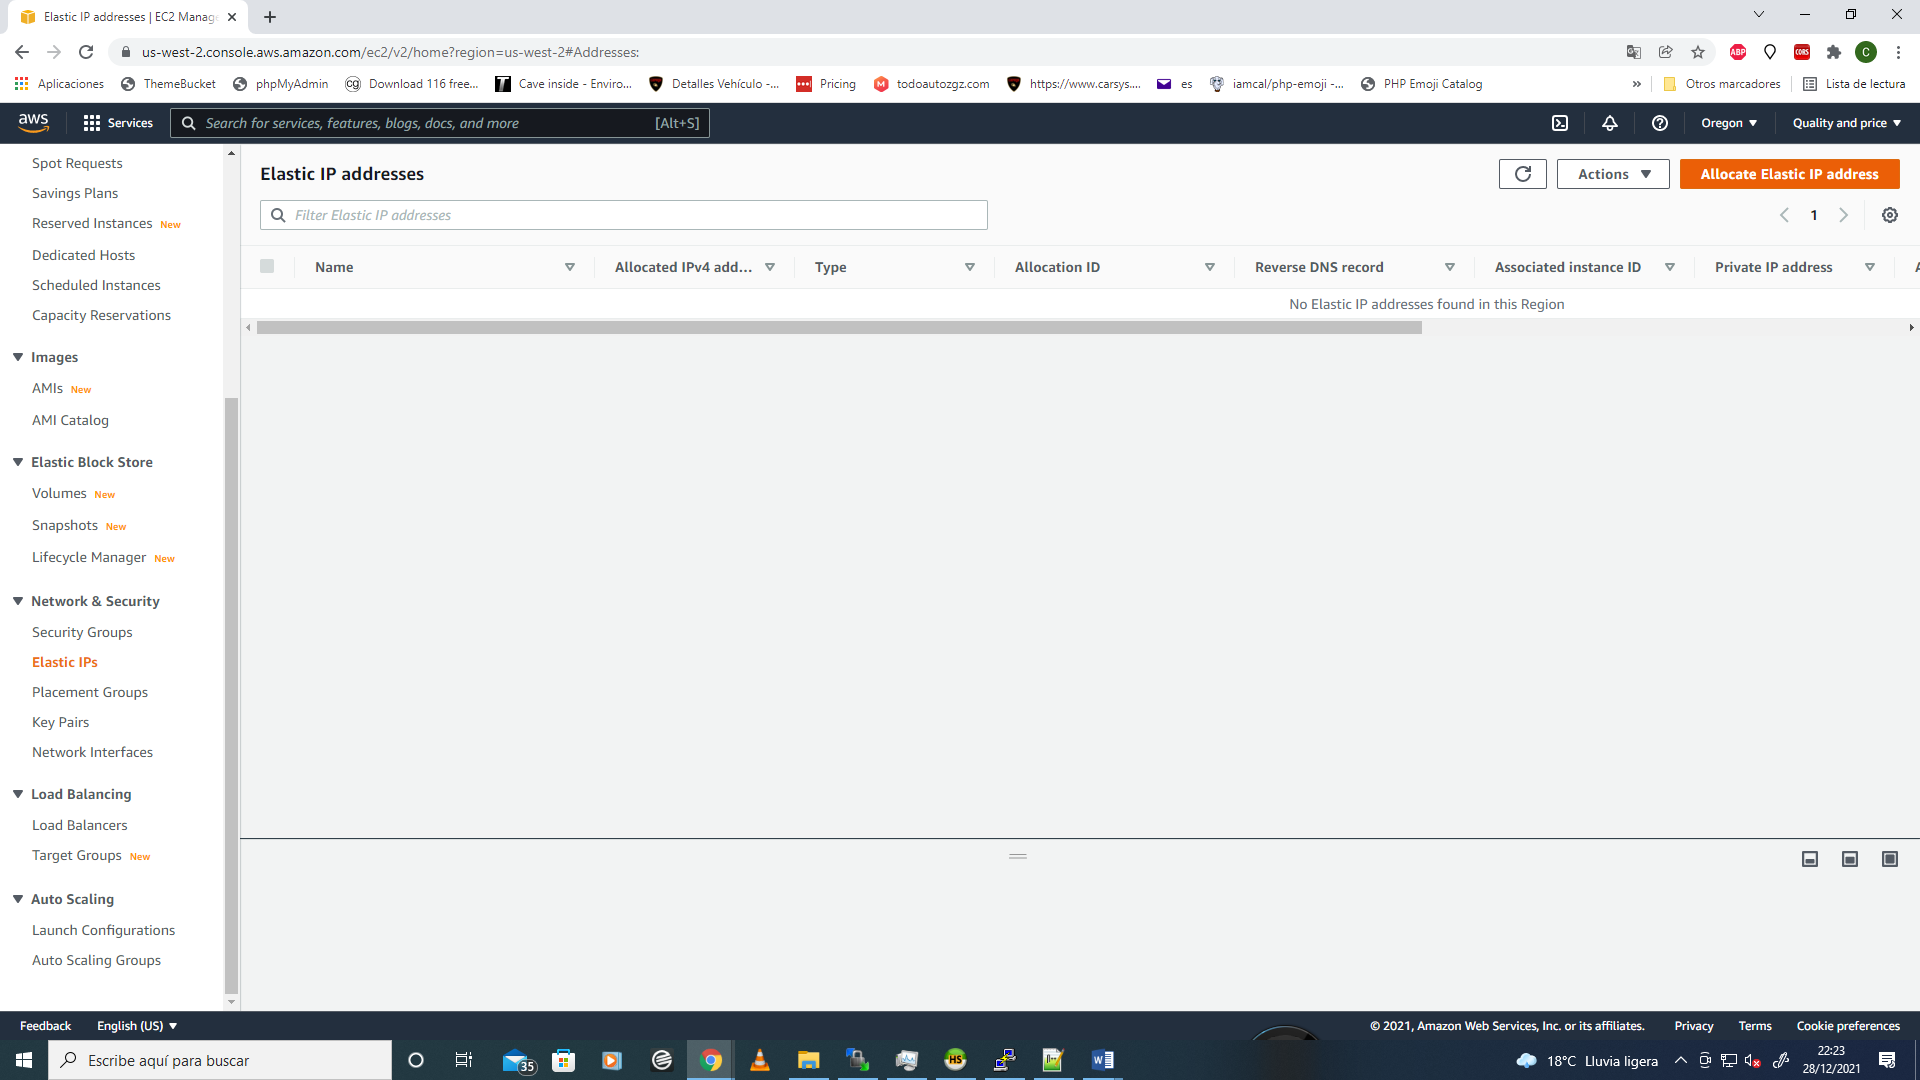
STEP 12
Elastic IP. In there you need to create an elastic ip to get an public access via navigator.
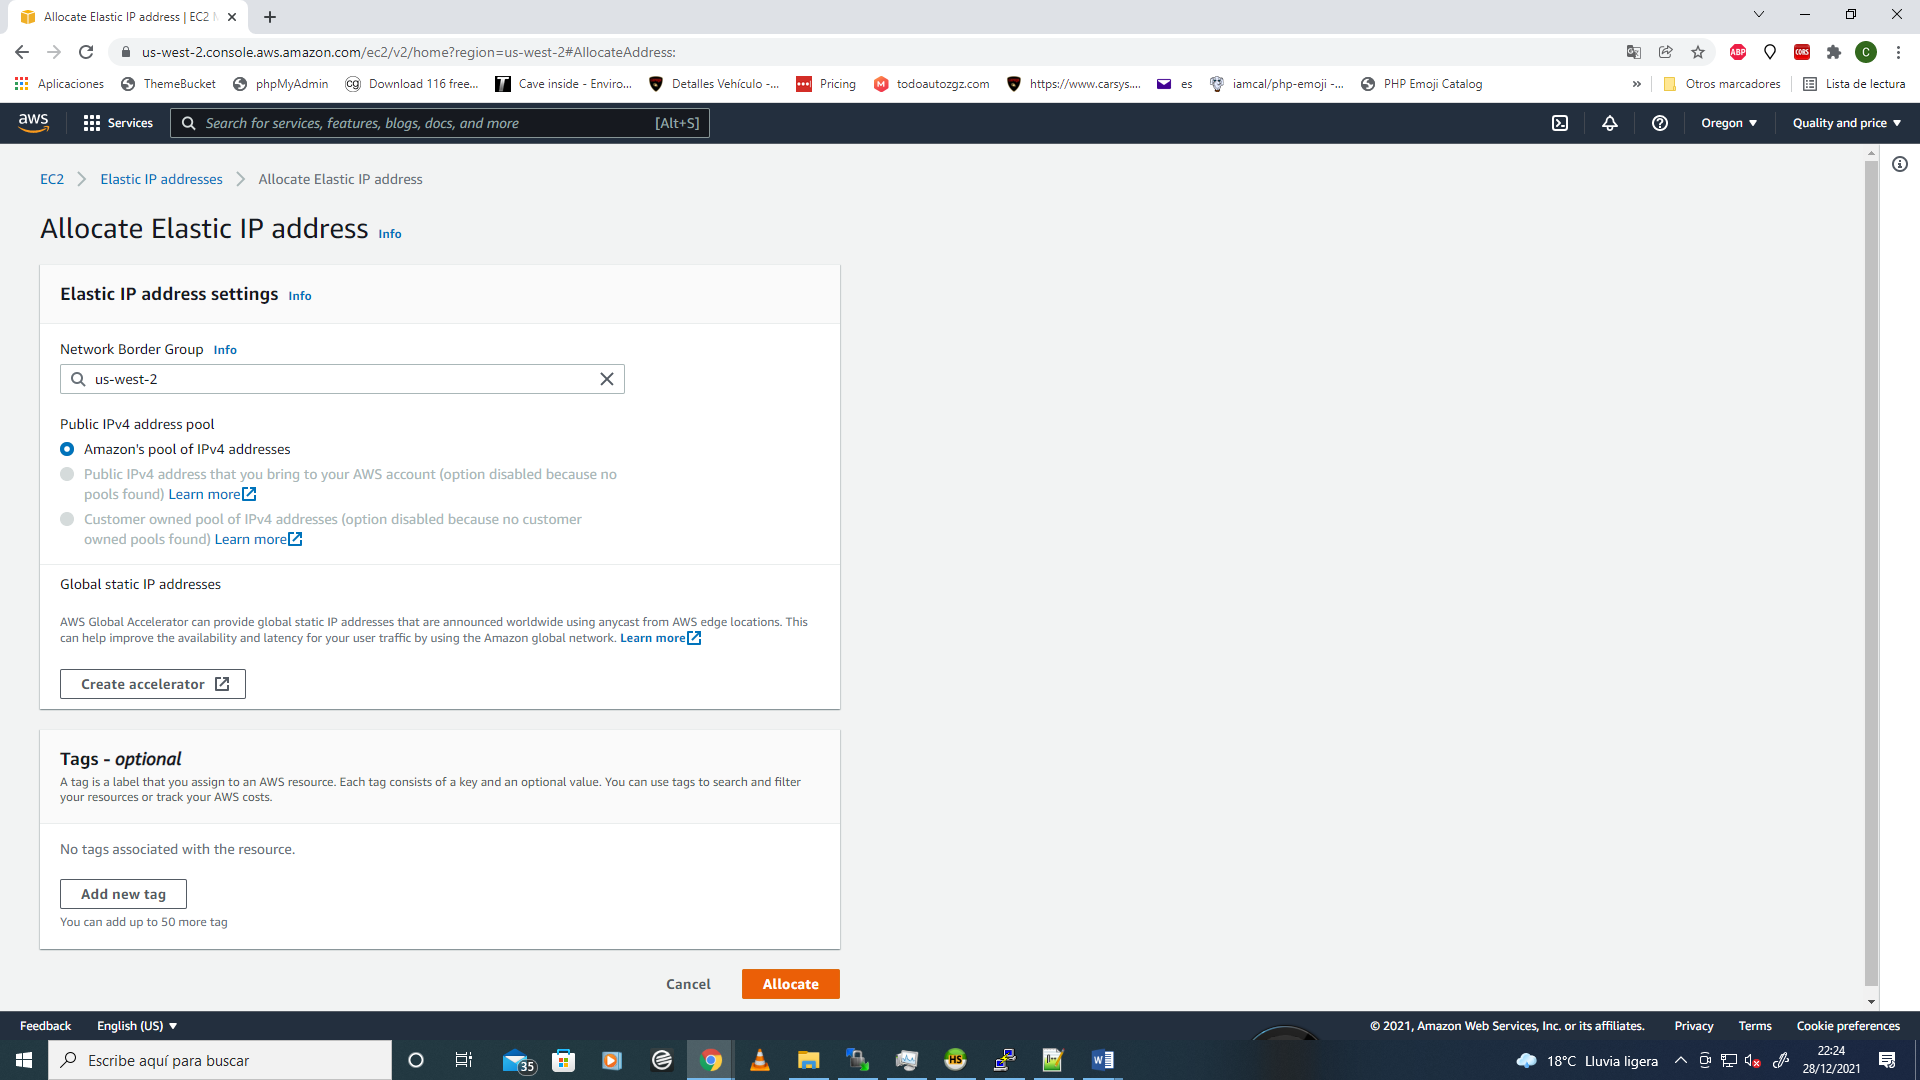
Please click on "Allocate Elastic IP Adrress"
Use the follow options to generate the elastic ip and then click on "Allocate" button.
You must to see a new Elastic Ip created.
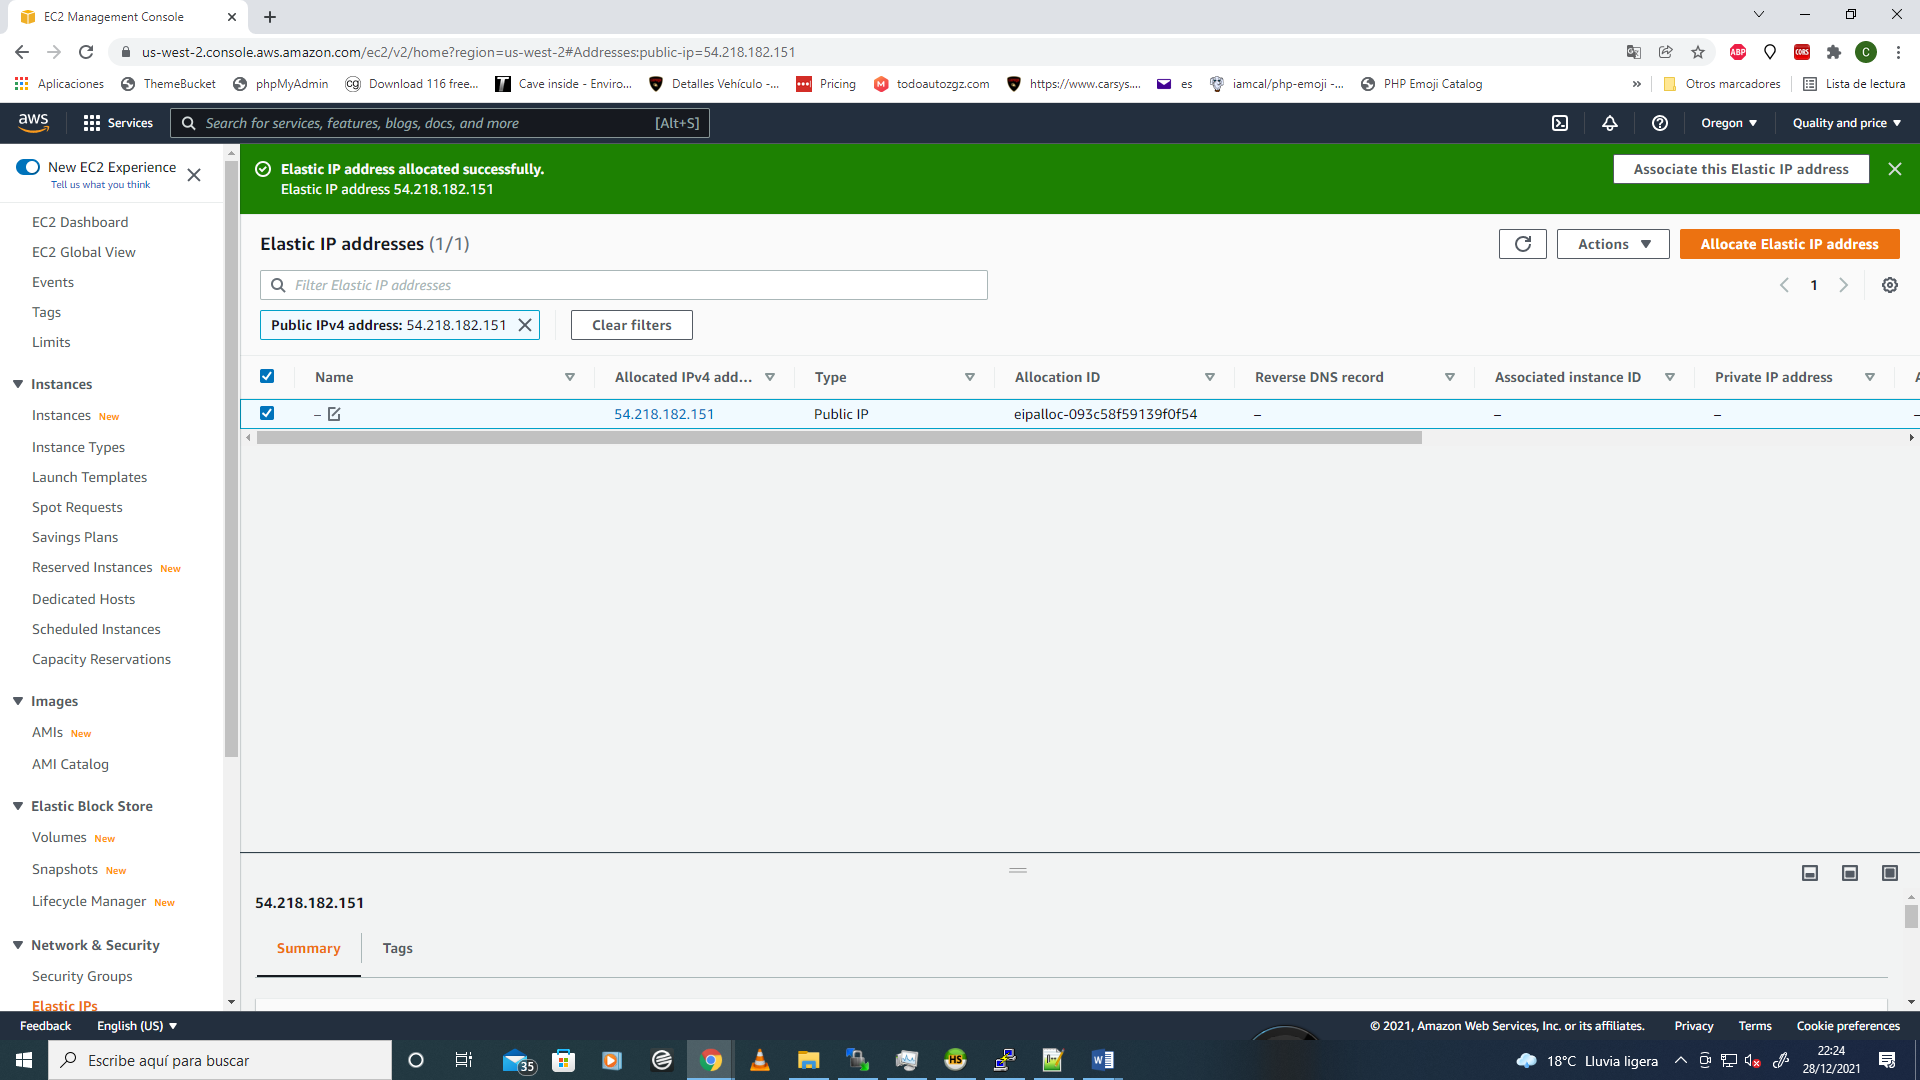
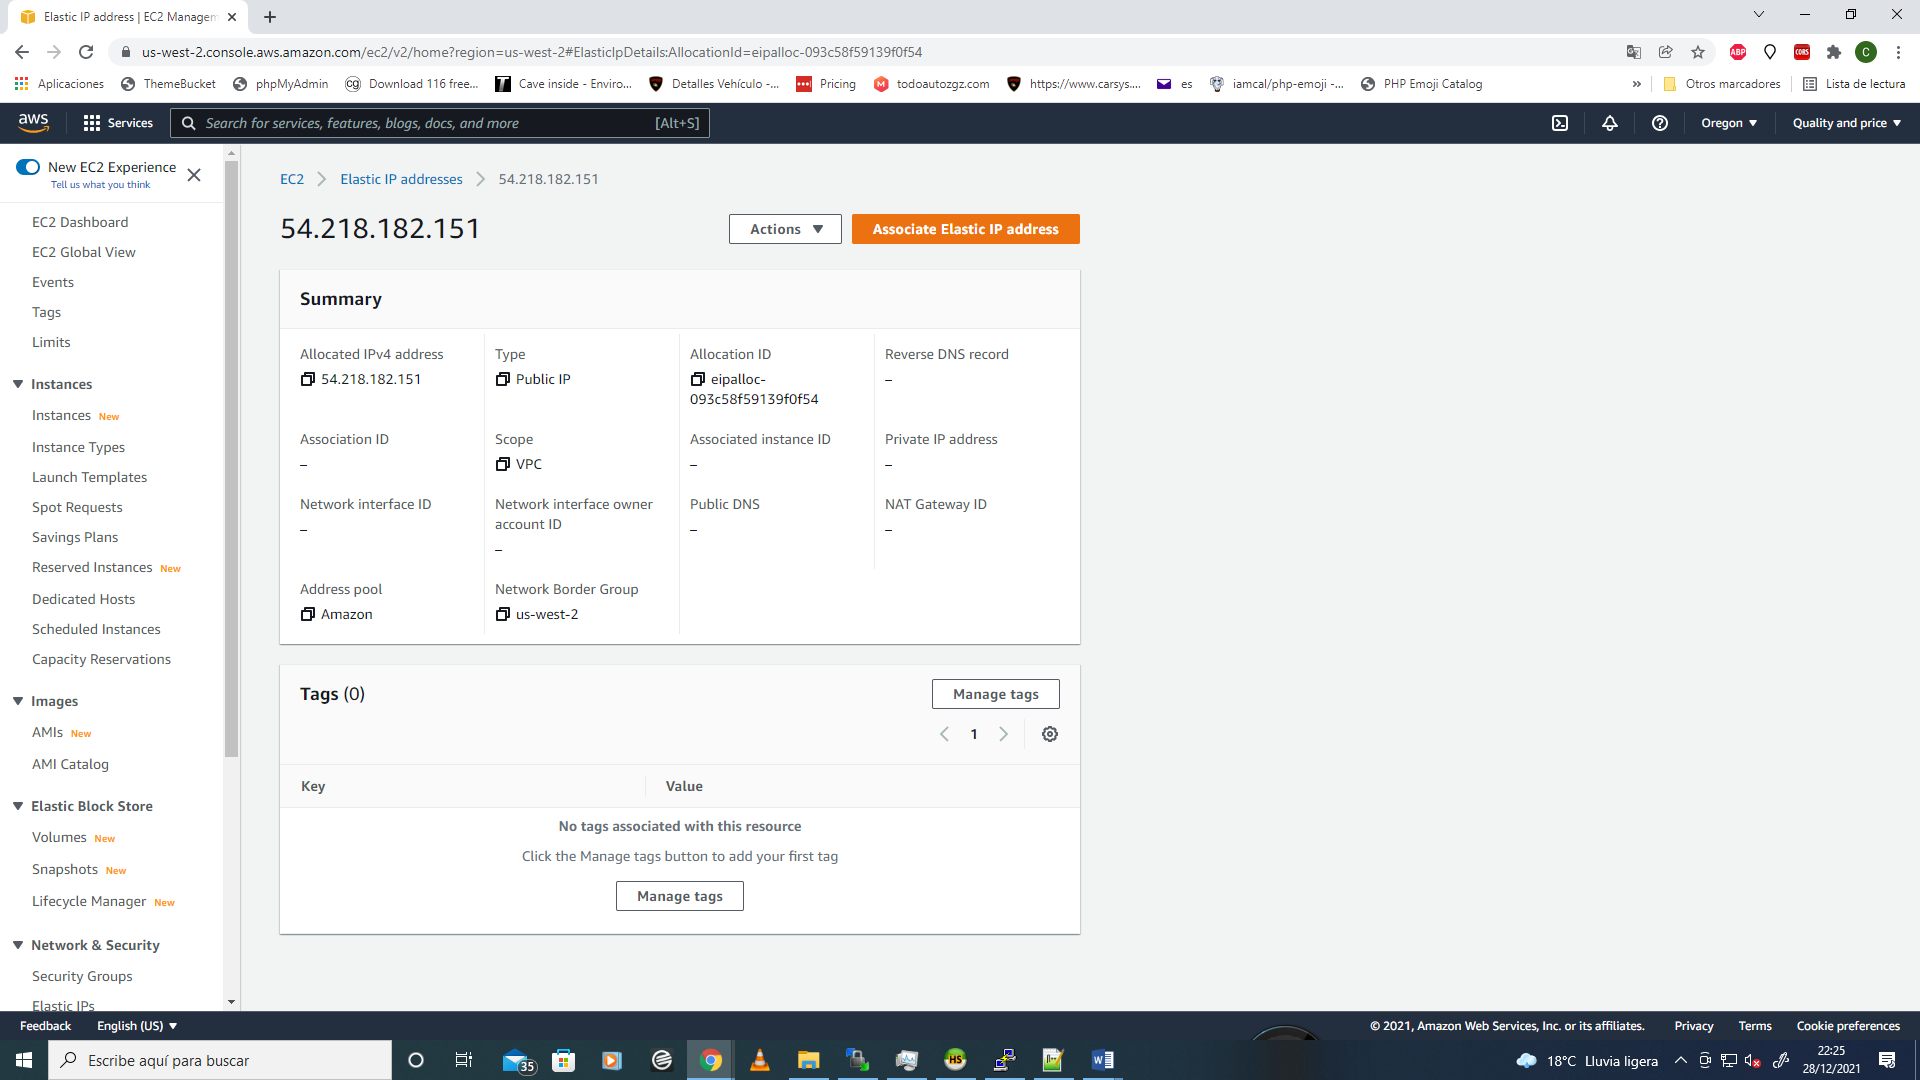
Now please click on the new elastic ip created to associate this to the new instance and go to the folloween screen:
So click in the "Associate elastic ip address" button.
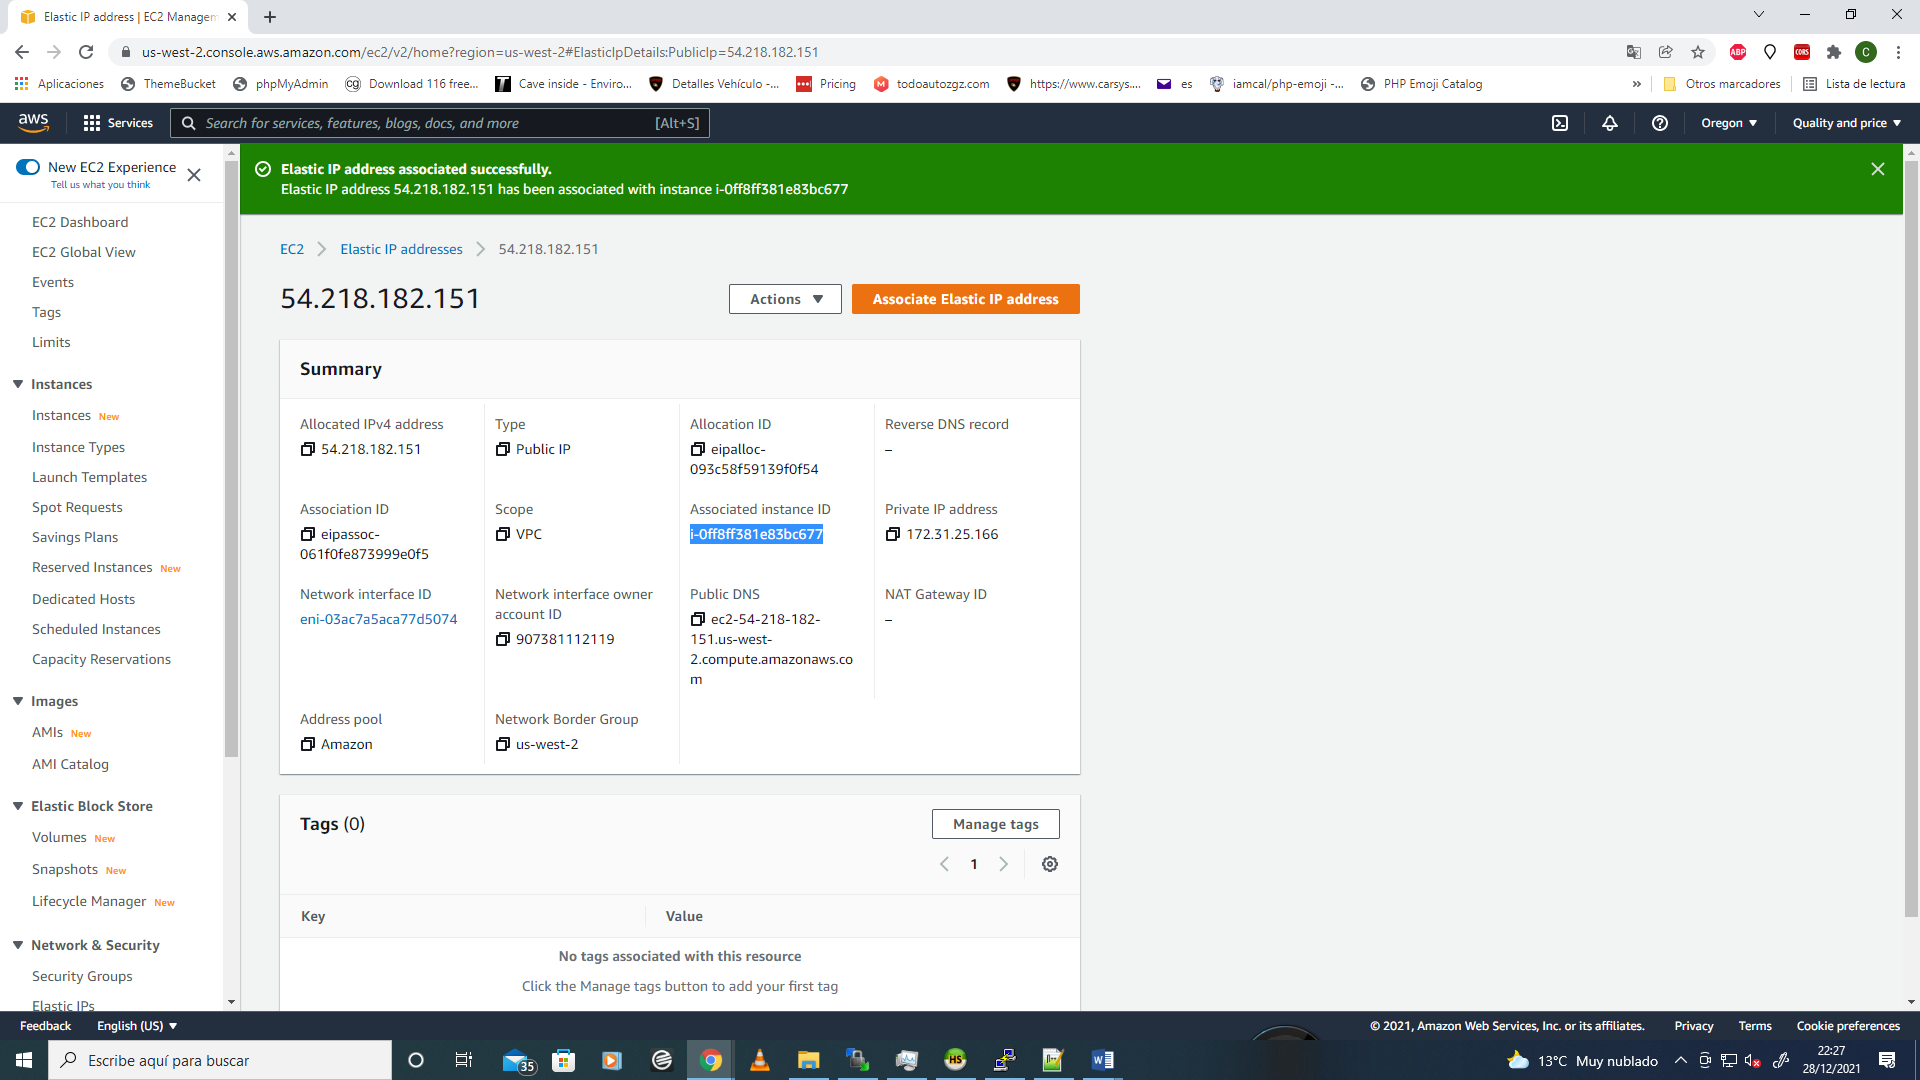
 Please check the next options as follow:
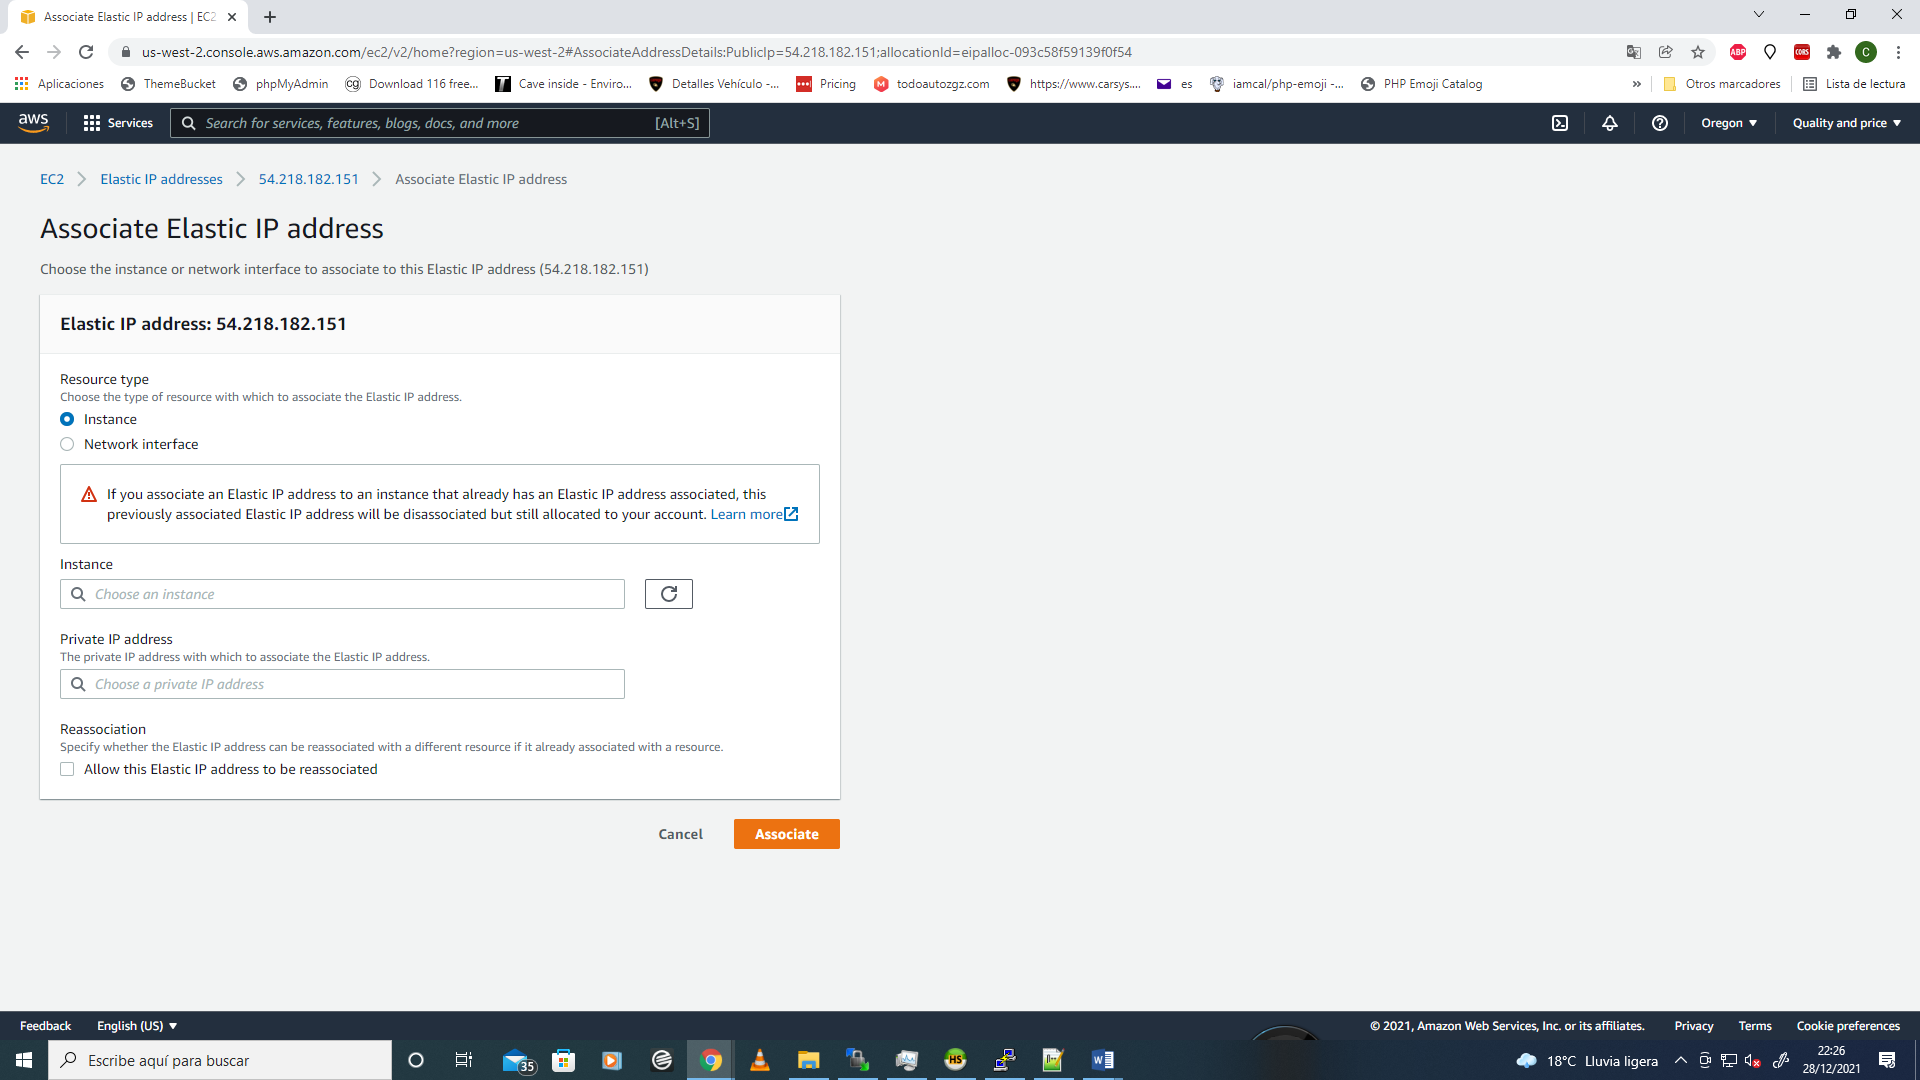
The instance field shows to you the identificator of the created instance, please select your own.
In the private address you can select the private address of the new instance. Please select your own.
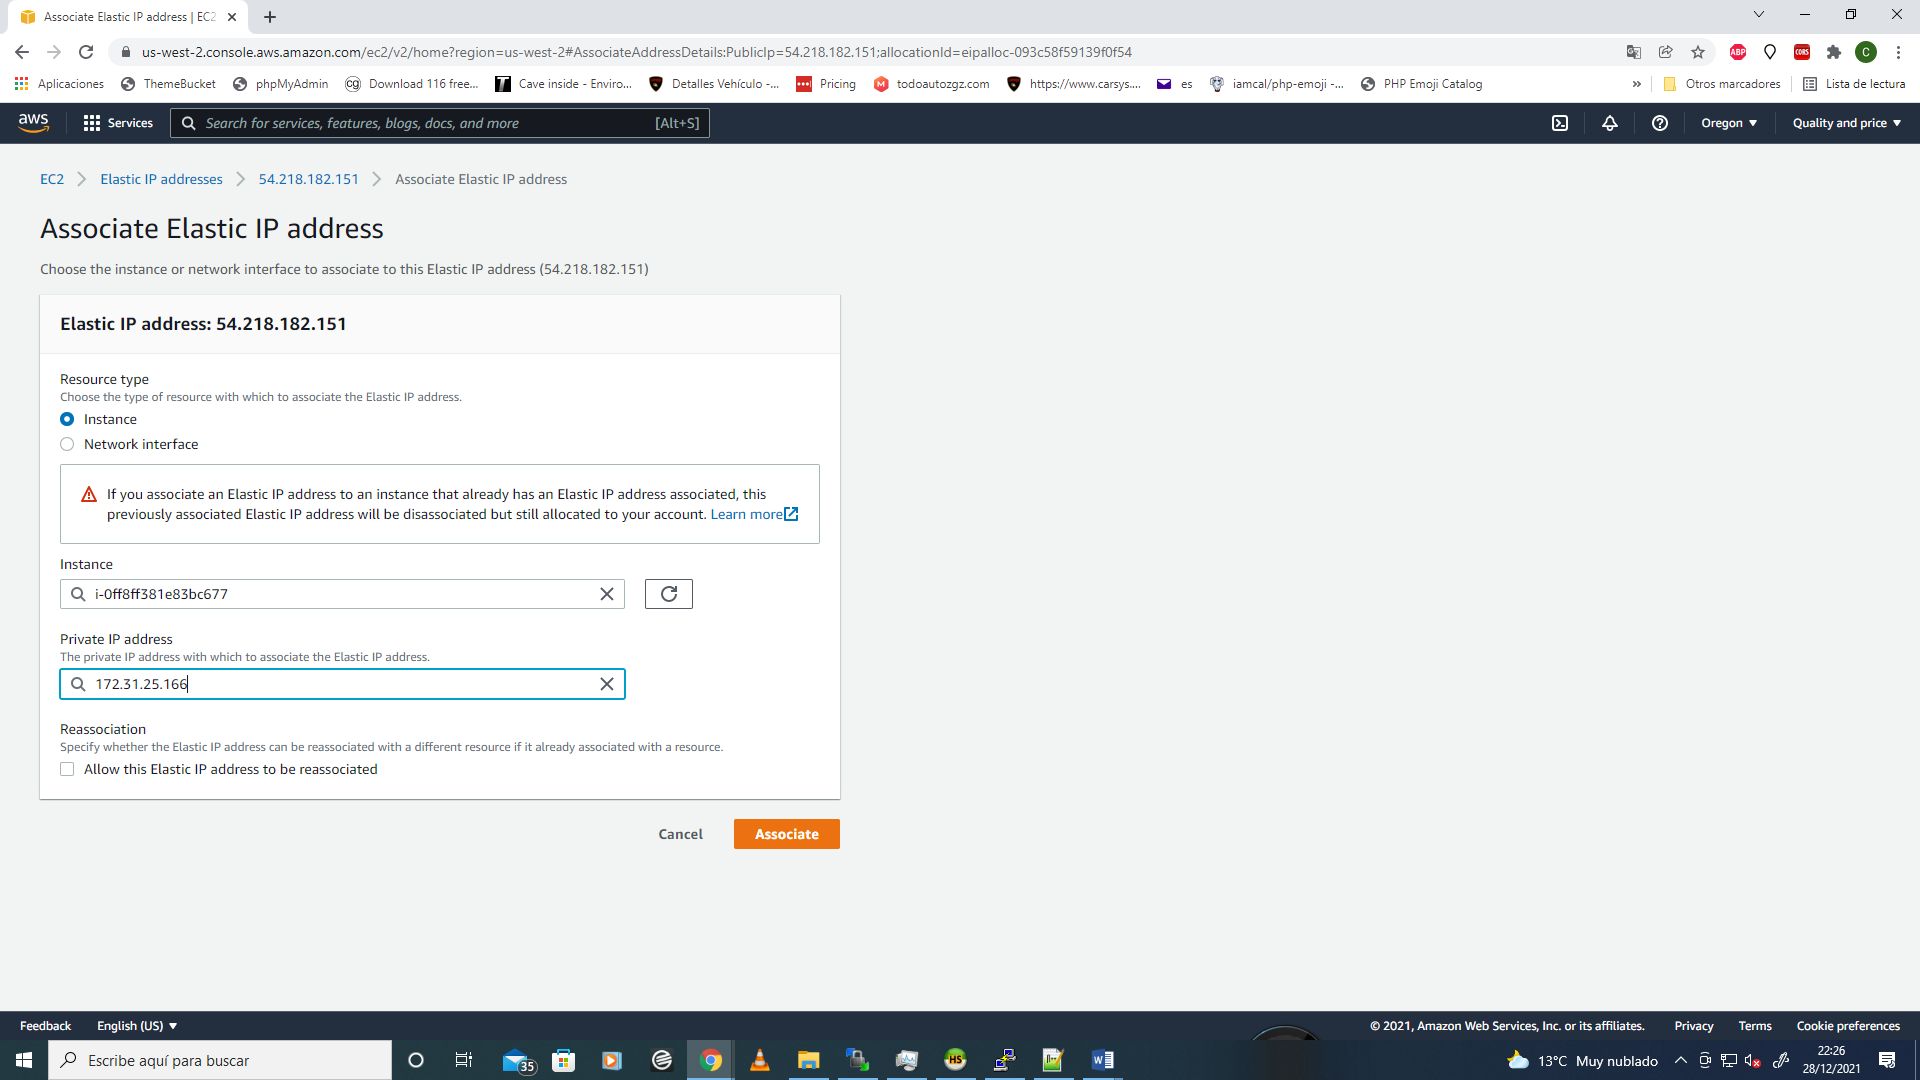
And finally click on "Associate" button and go to summary. You don´t need to do more.... Please read the next tutorial to get access via SSH to the server and configure your next project.
Thanks for read!!!


