
How to create a web server linux, Php, Mysql with Amazon Architecture AWS PART 2
In the second part of this tutorial you can install and configure your web server via SSH. In this case we have recommended to use WinSCP interface to connect via ssh(port 22) to the new instance server.
Please remember the "Key Pair" pem file created with the instance. It´s so important that you save this key in a secure place.
STEP 1
The key pair associated to the instance it´s on Pem format. To connect via SSH to the server with WinSCP you will need to download and use the "Putty Gen" application, please click to download.
When you have downloaded Putty Gen application please open the app and open your Key Pair as the follow image:
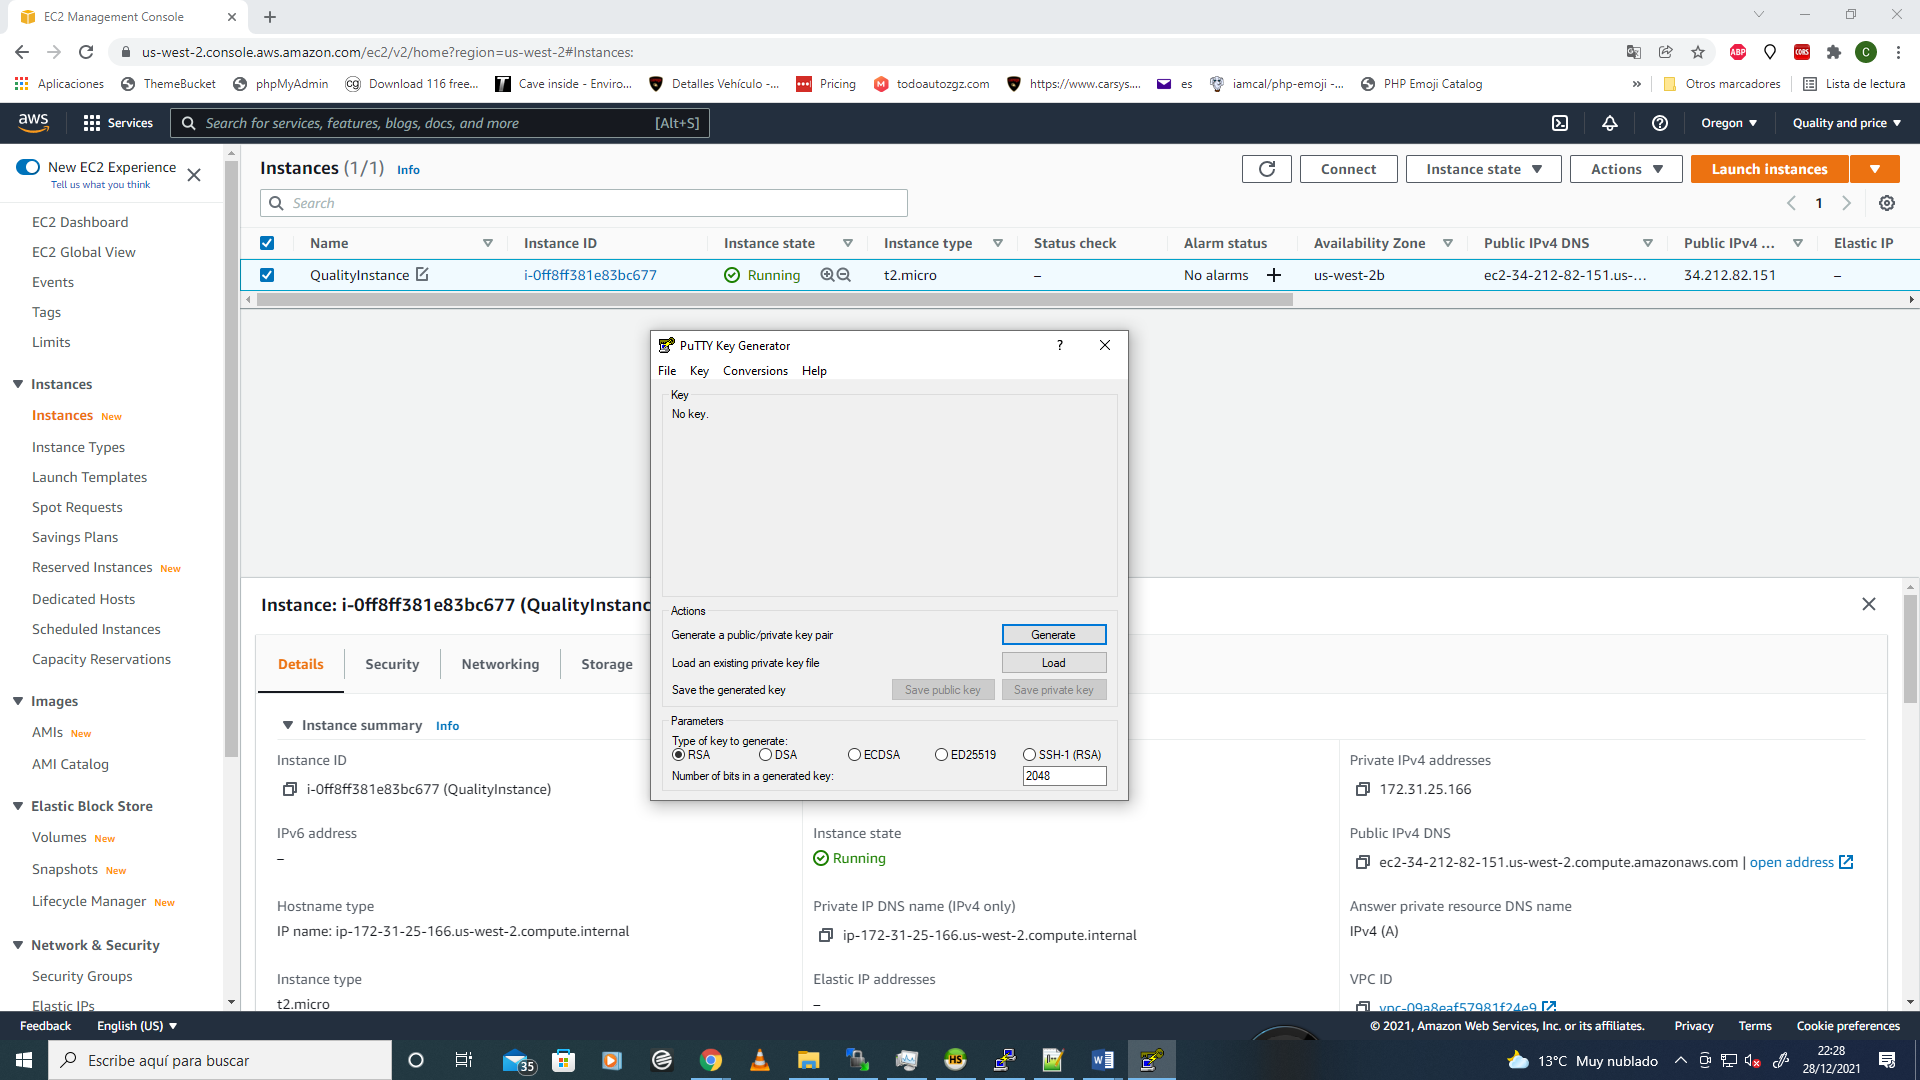
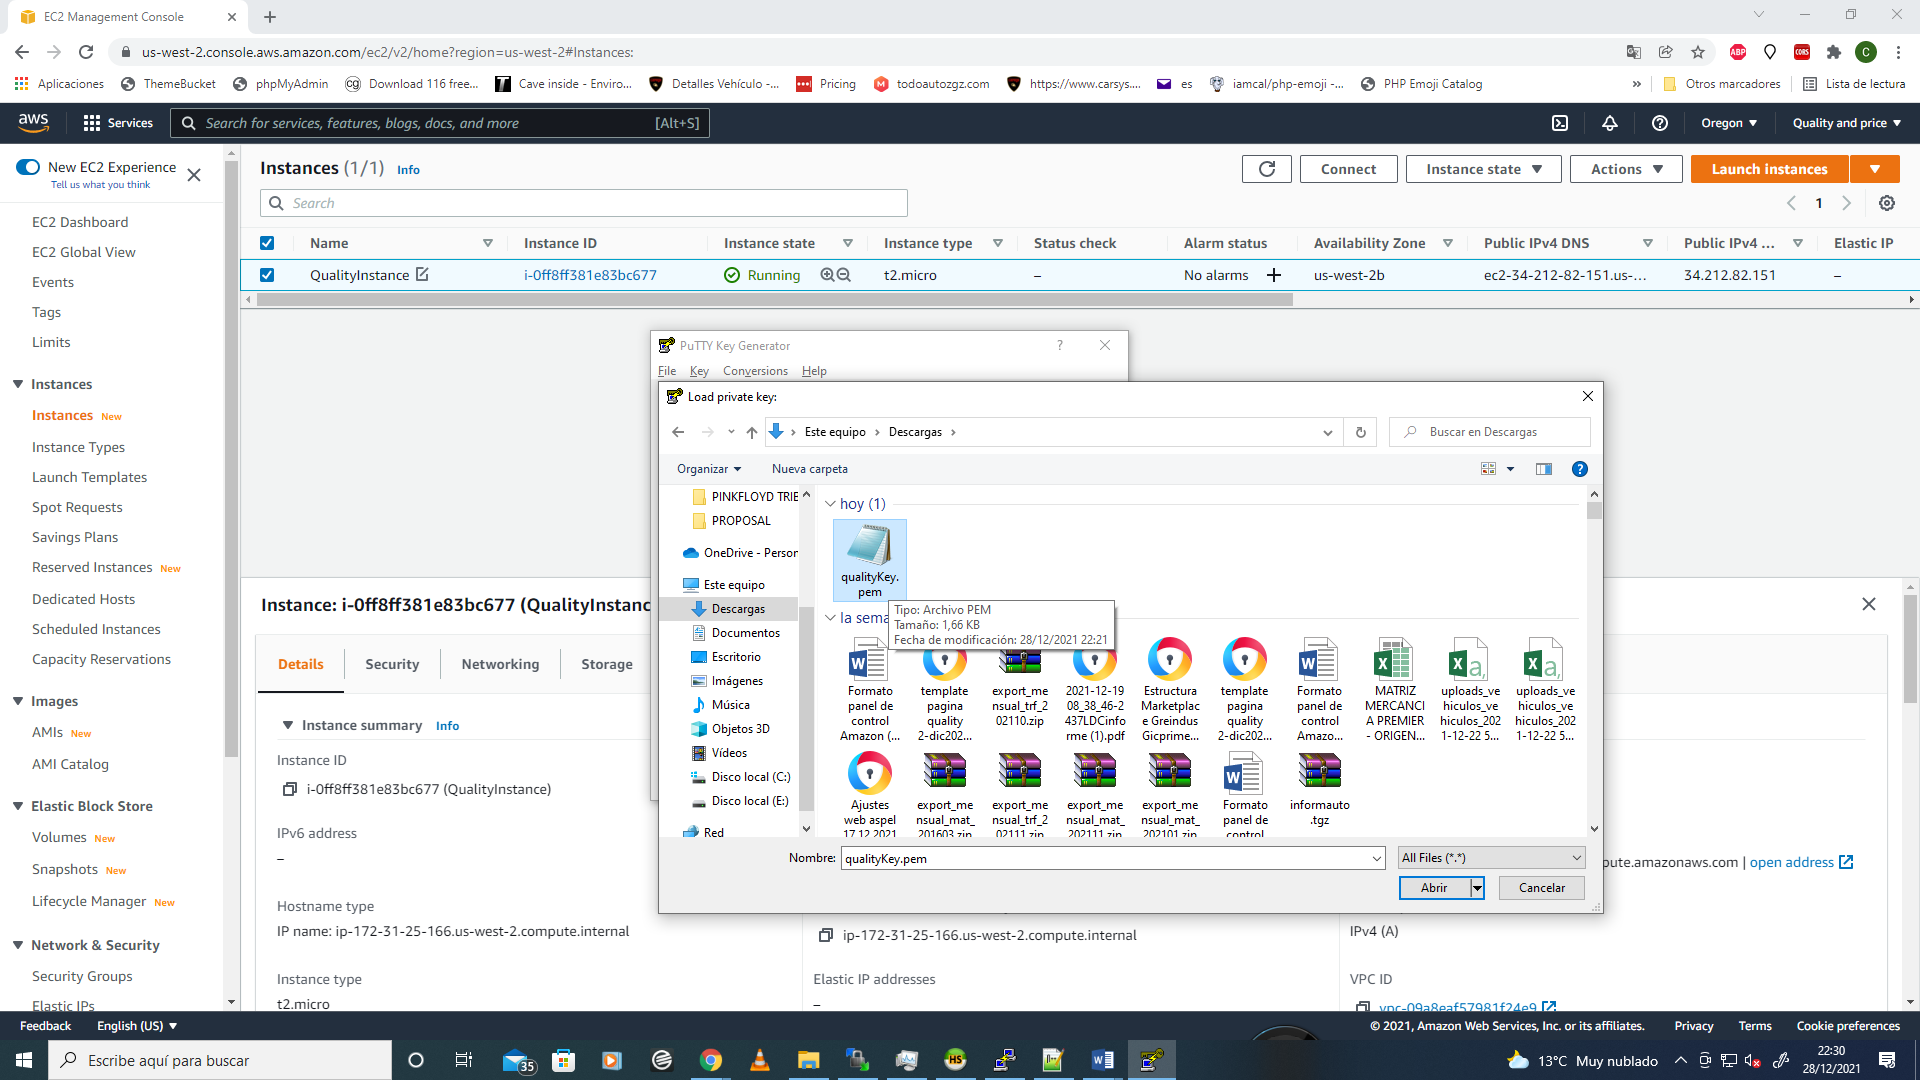
Please click on "Load" button to open your Key Pair in pem format. If you can´t see the Key pair plese select "All Files(*.*) " in the format selector on bottom right so you can see the .pem files.
Now select the pem file and click on "Open" button.
If you want an extra security option, please enter a Key Paraphrase that you can remember and repeat the same on the confirm field.
Please select the same options as follow and then click on "Save Private Key" and store in a secure place.
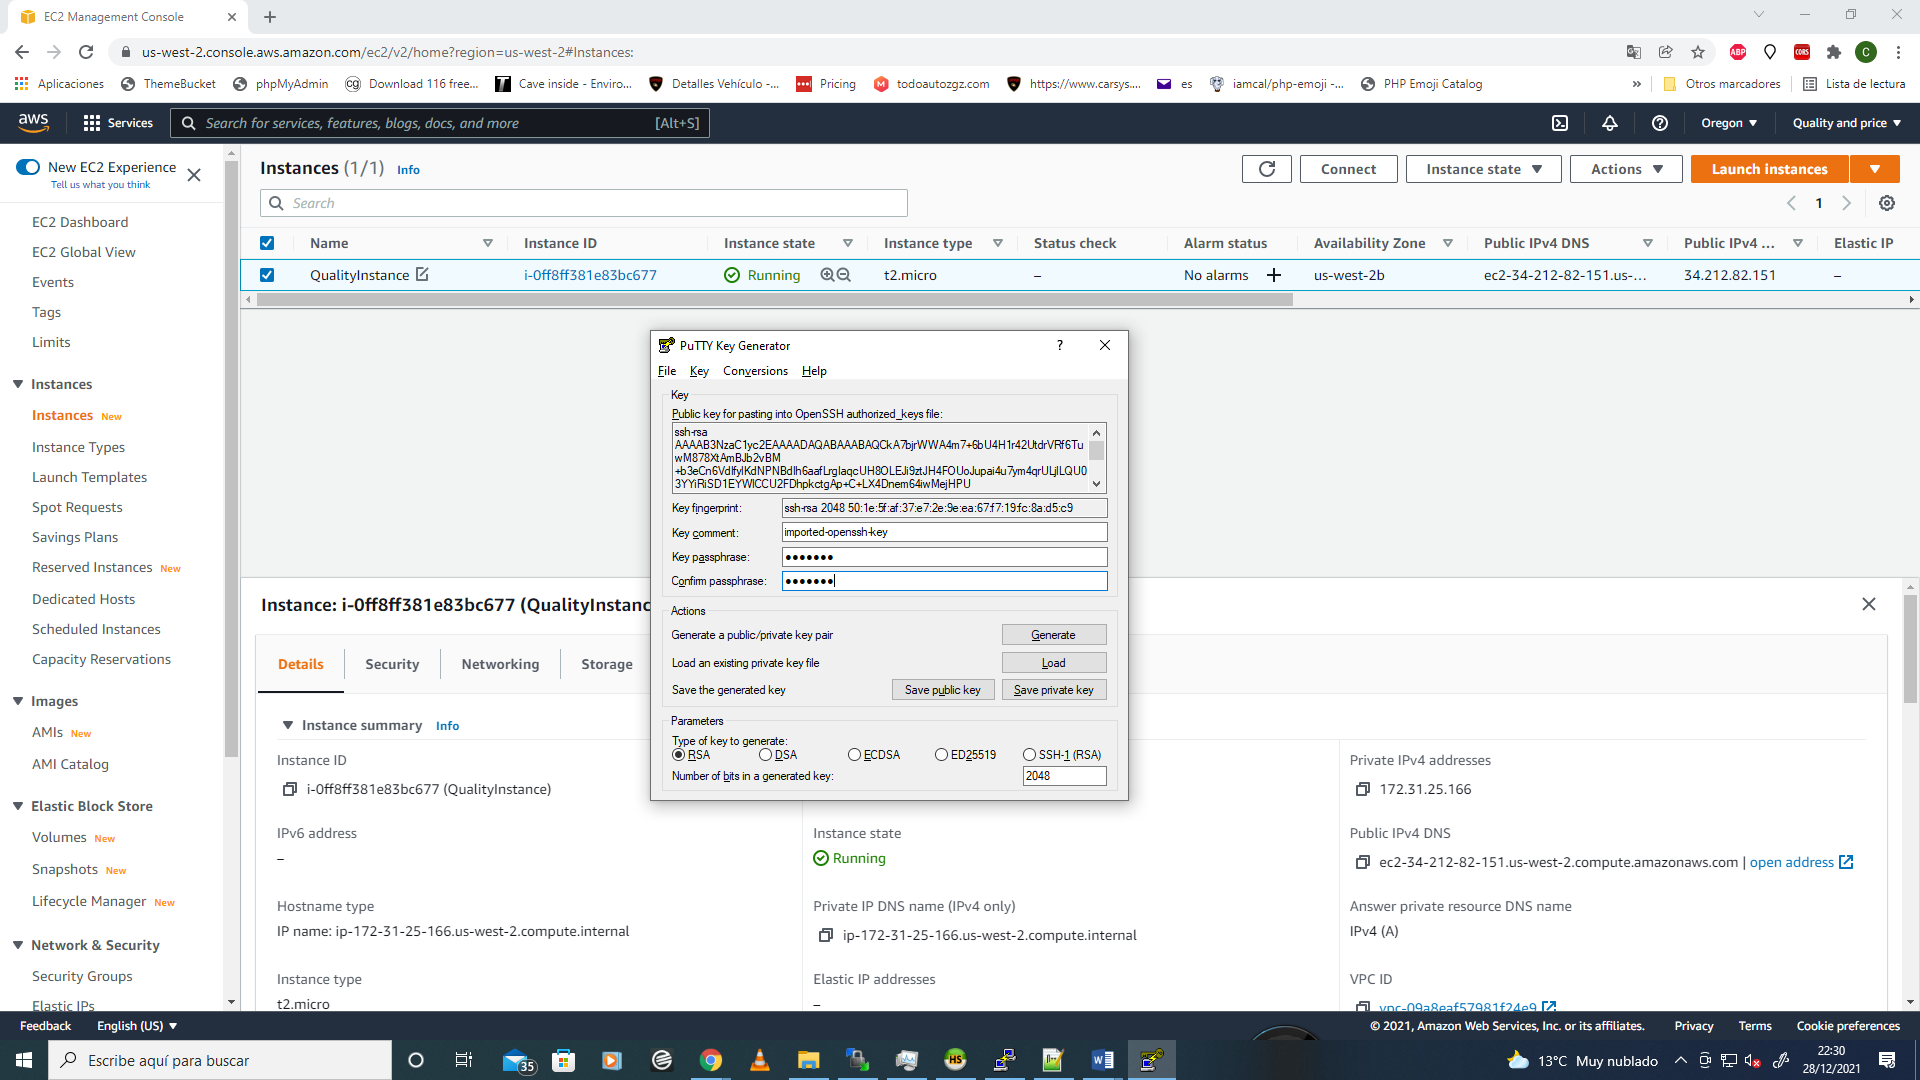
Now you have a PPK key connect via SSH to the inscance created in the Tutorial 1.
STEP 2
WinSCP is a popular SFTP client and FTP client for Microsoft Windows! Copy file between a local computer and remote servers using FTP, FTPS, SCP, SFTP, WebDAV or S3 file transfer protocols.
When you have downloaded the app please open and make the next configurations:
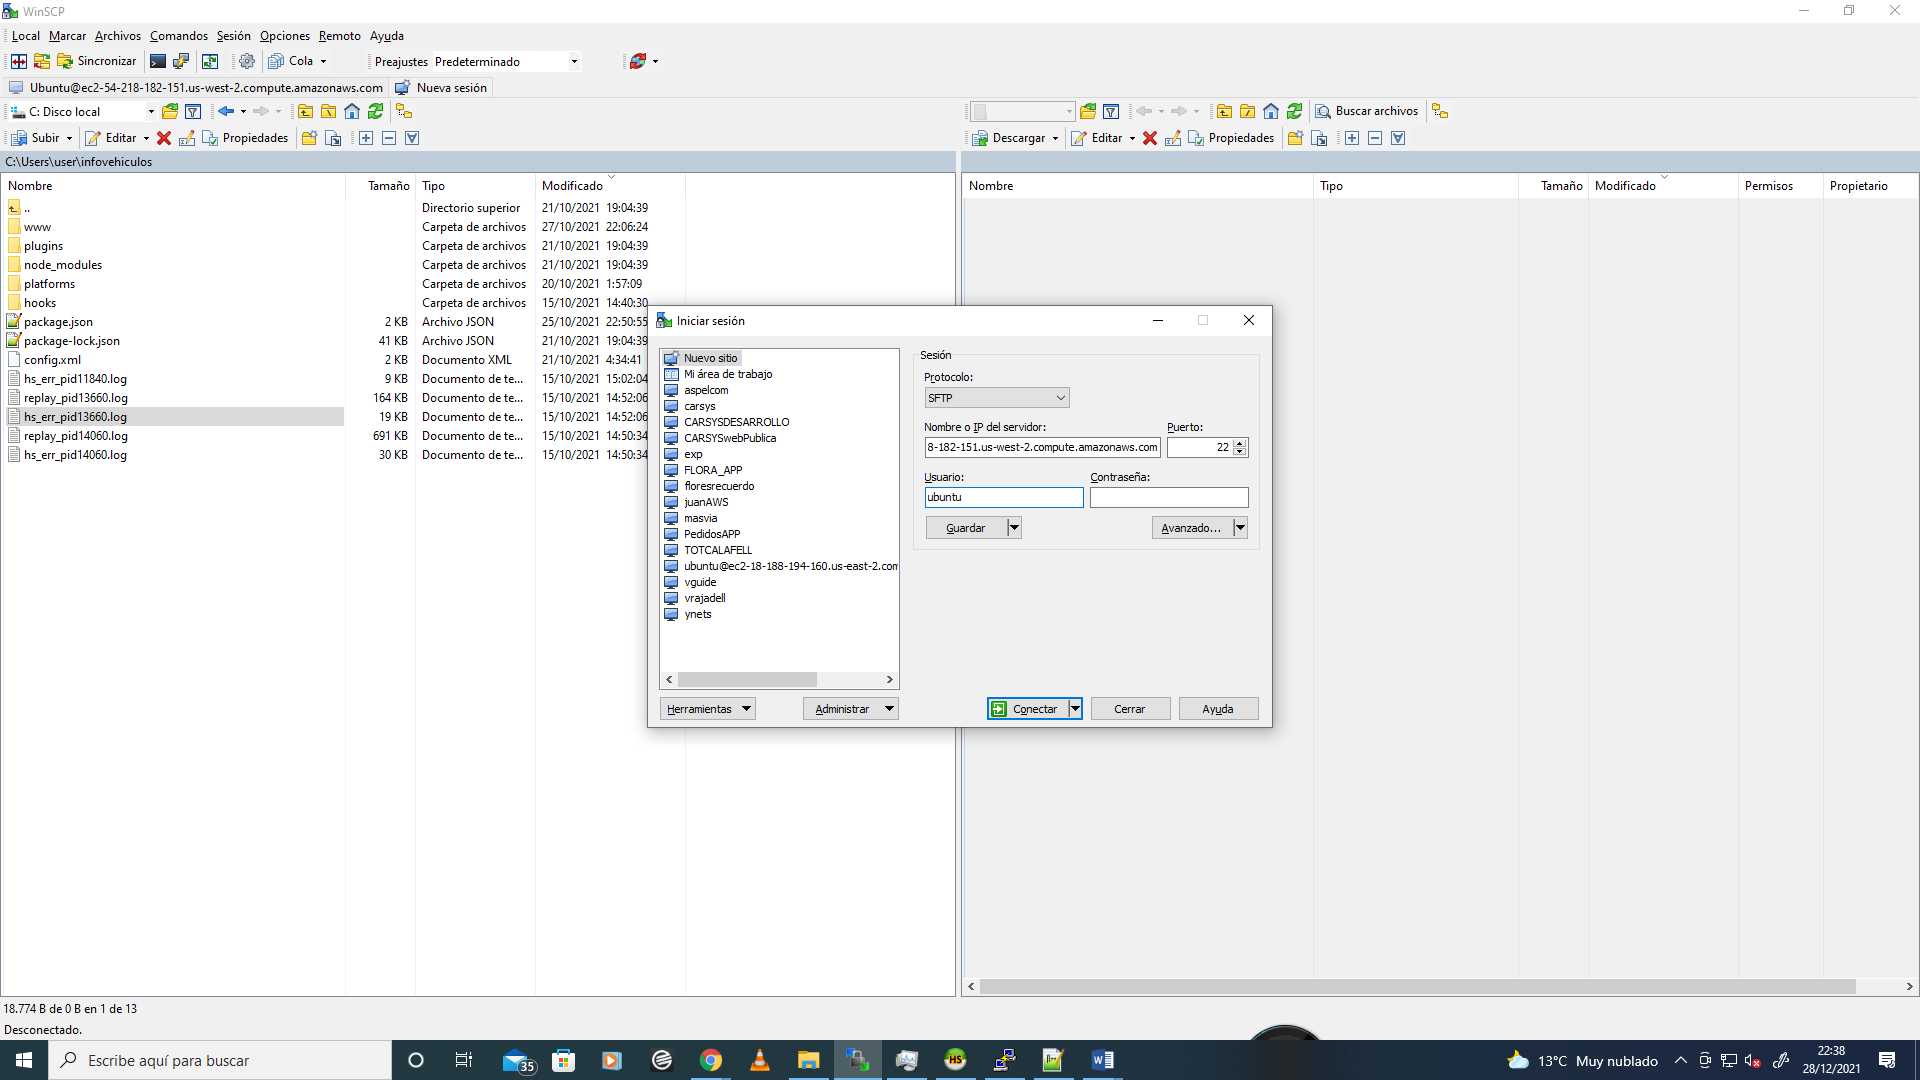
Please click on "New Site" on the top left section and select the options:
Protocol: SFTP
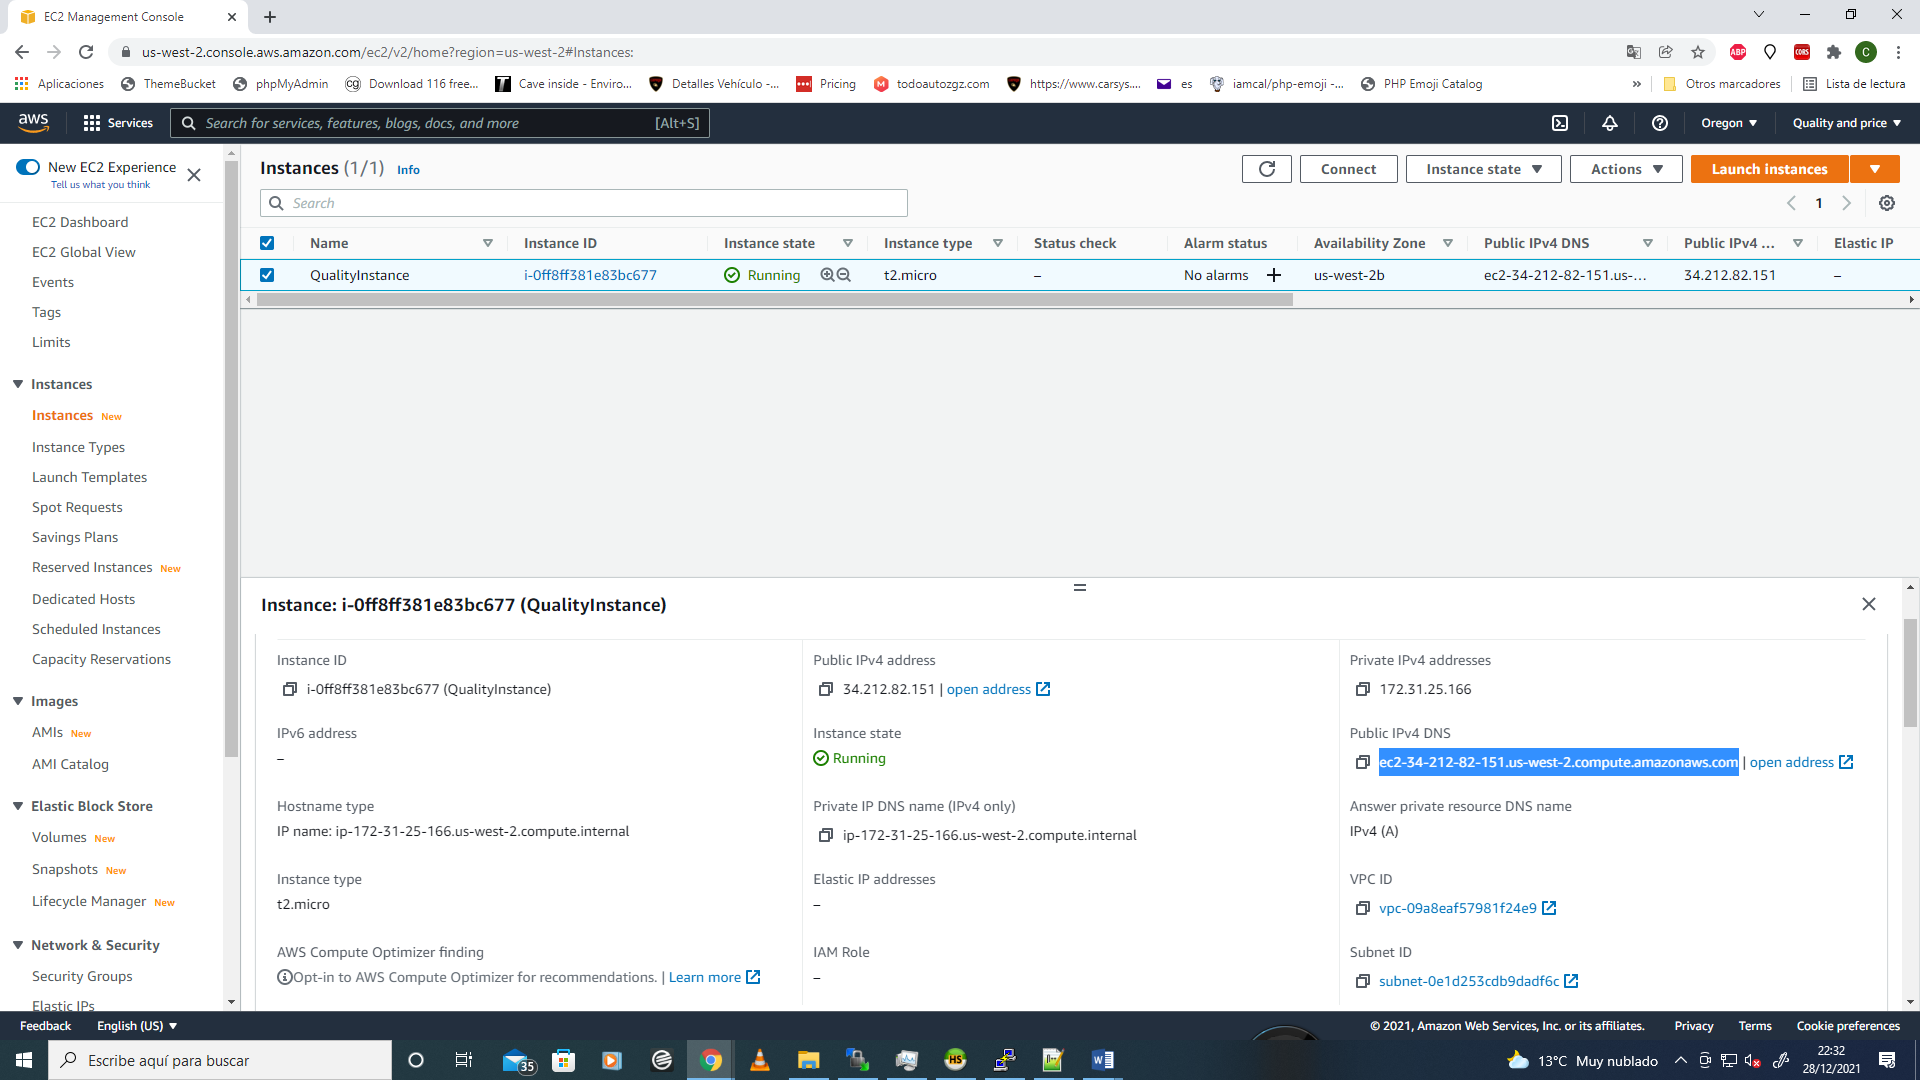
Name or Server IP: Please copy and paste the public name of your instance. You can find this name on the EC2 section on AWS selecting your new instance and search the public ipv4 DNS:
Port: 22
User: ubuntu
Password: Don´t write anything
Now please click on "Advanced" button:
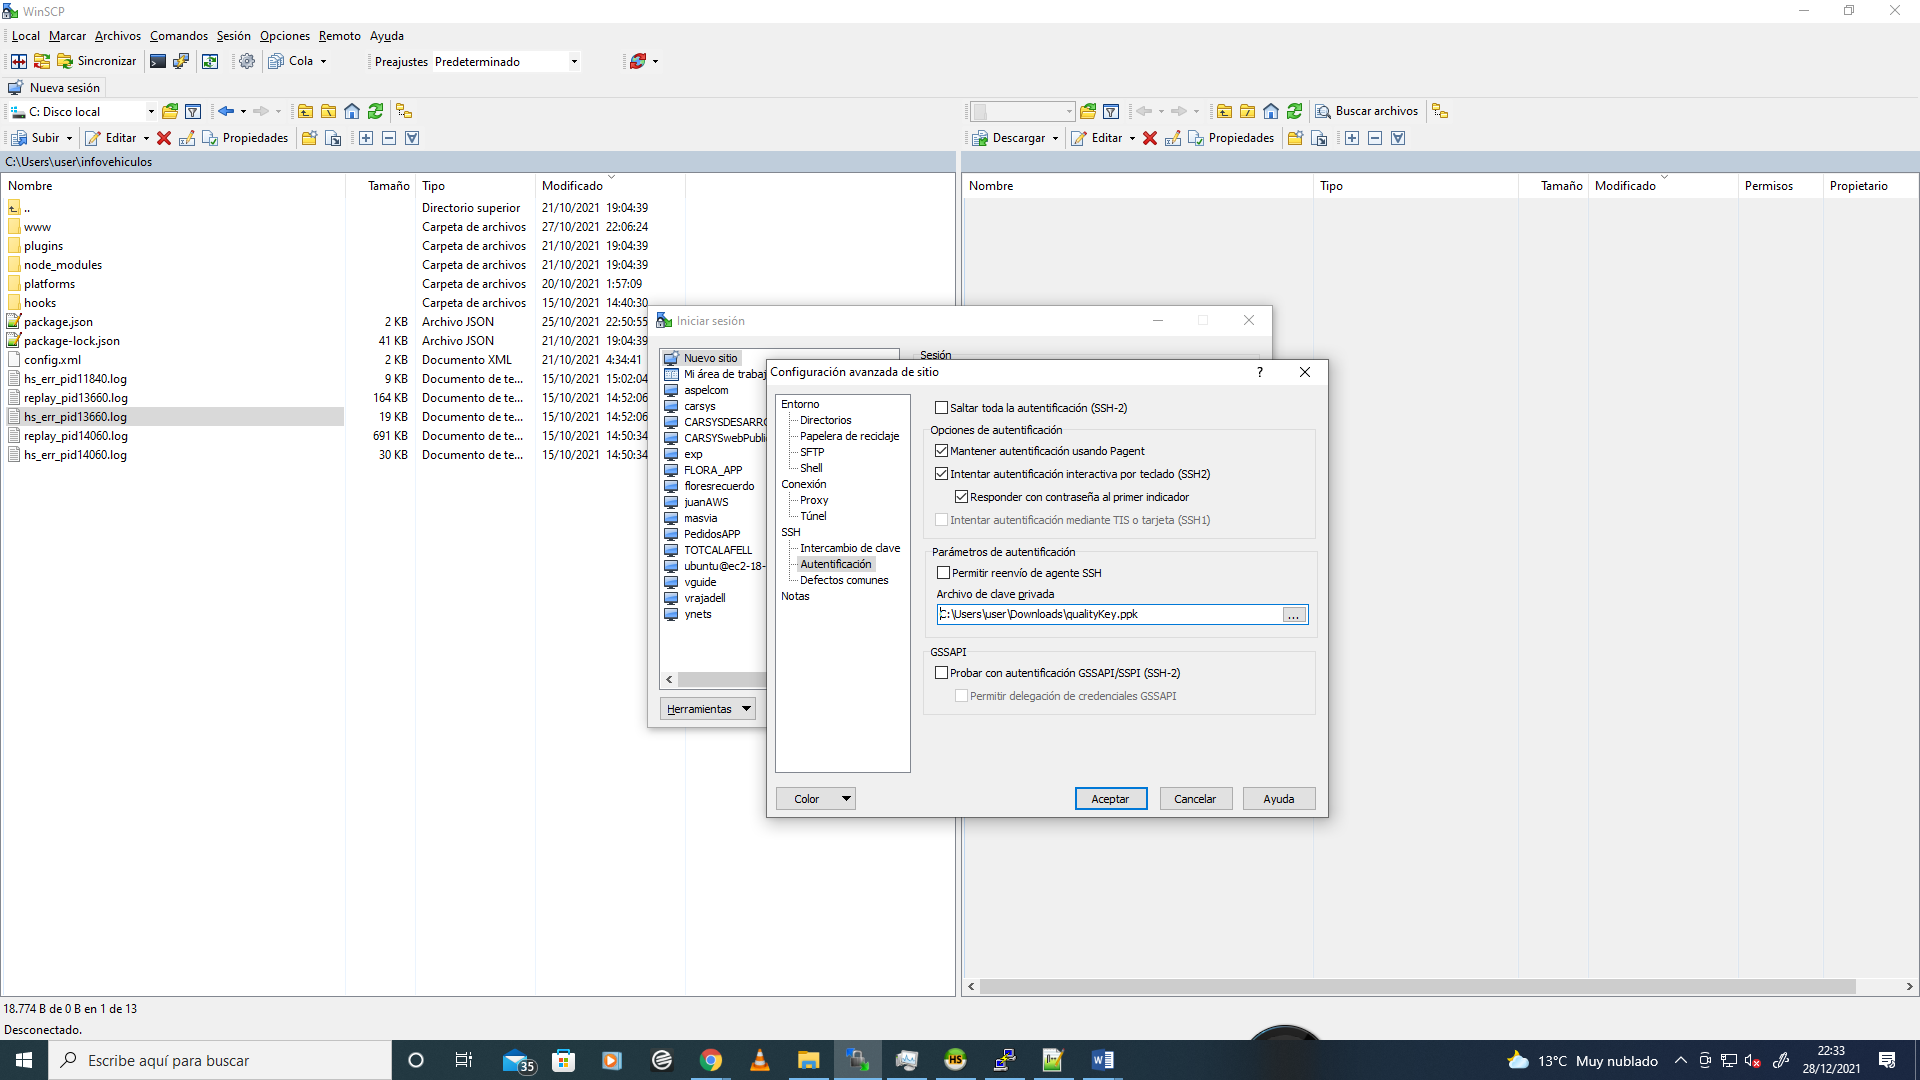
Go to the SSH section adn select "Authentication" option, copy the same options and open the "PPK" file created before. The click on "Accept" button and....
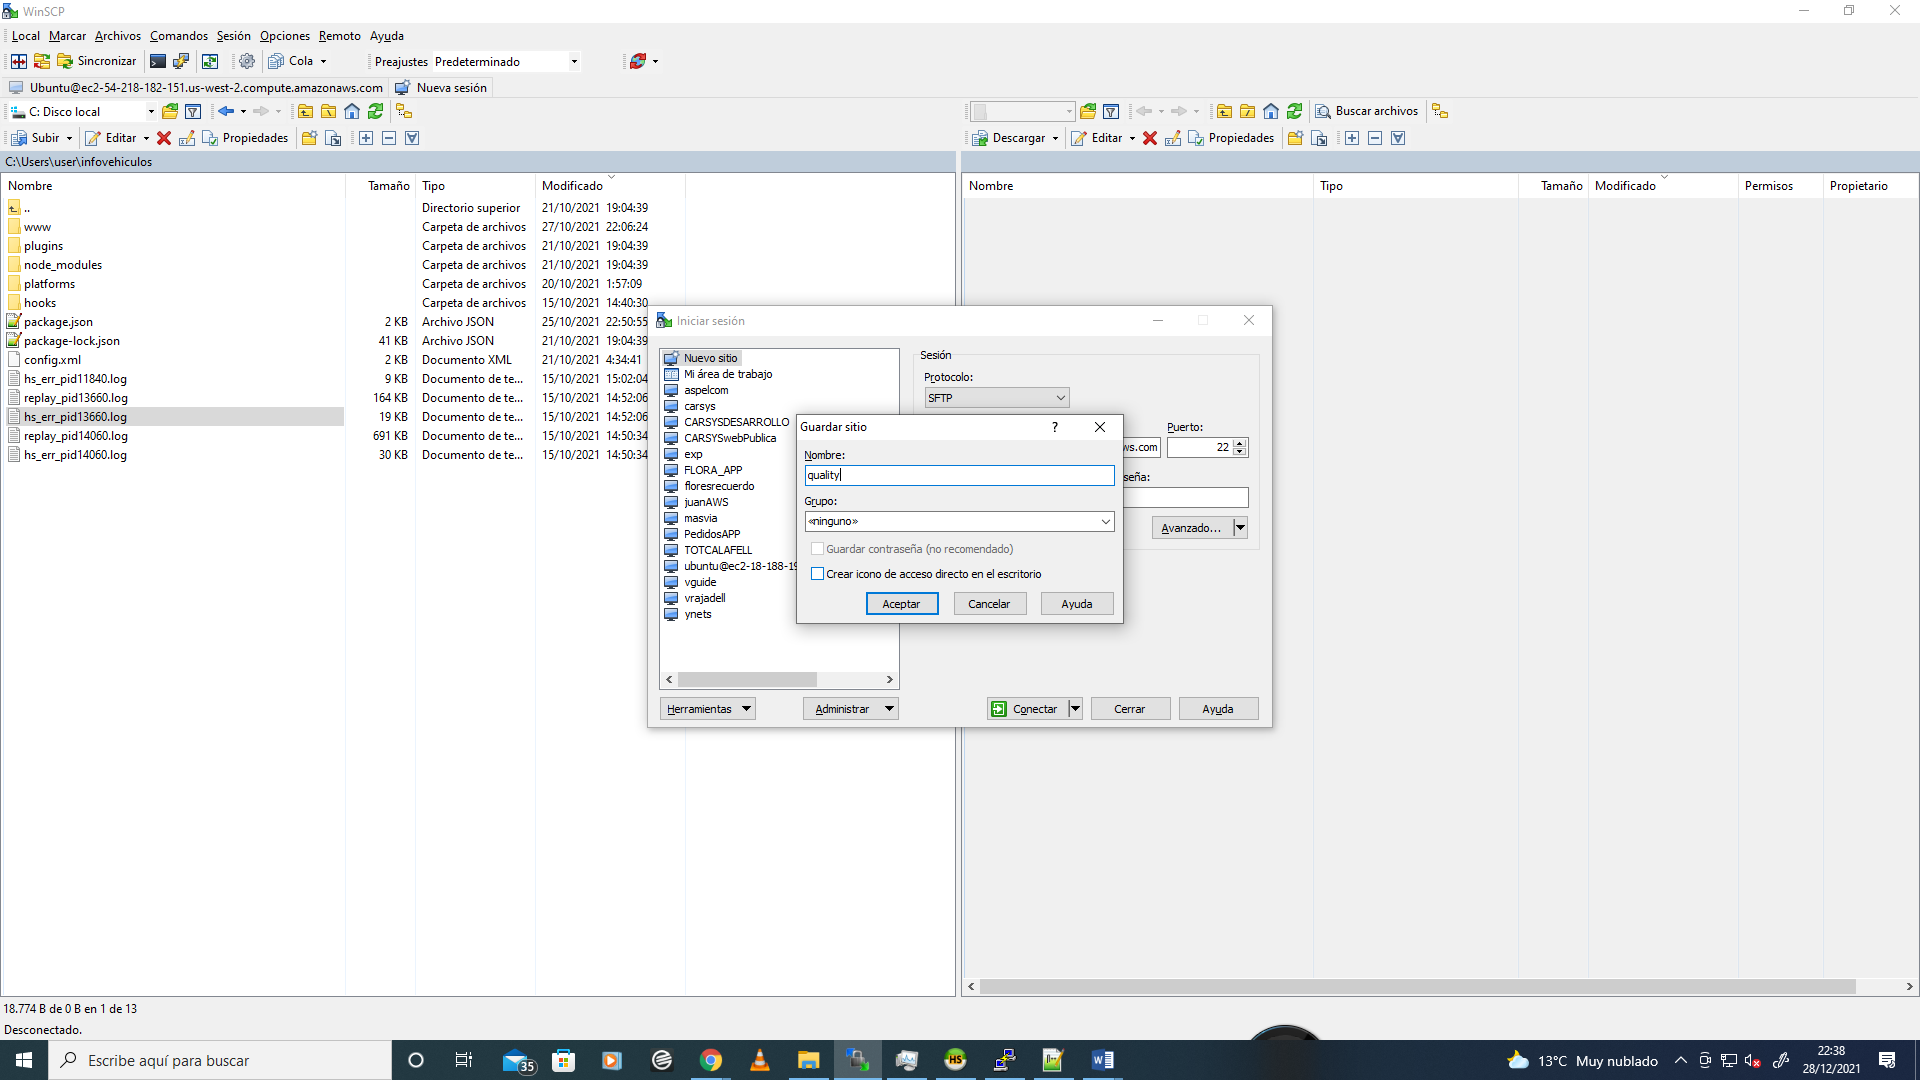
Click on "Accept" button and then Save the new Connection with your own name and "Accept" button again:
Please review your Security group and confirm that you have opened the port 22 to connect to the server with your local ip (you can search on www.whatismyip.com).
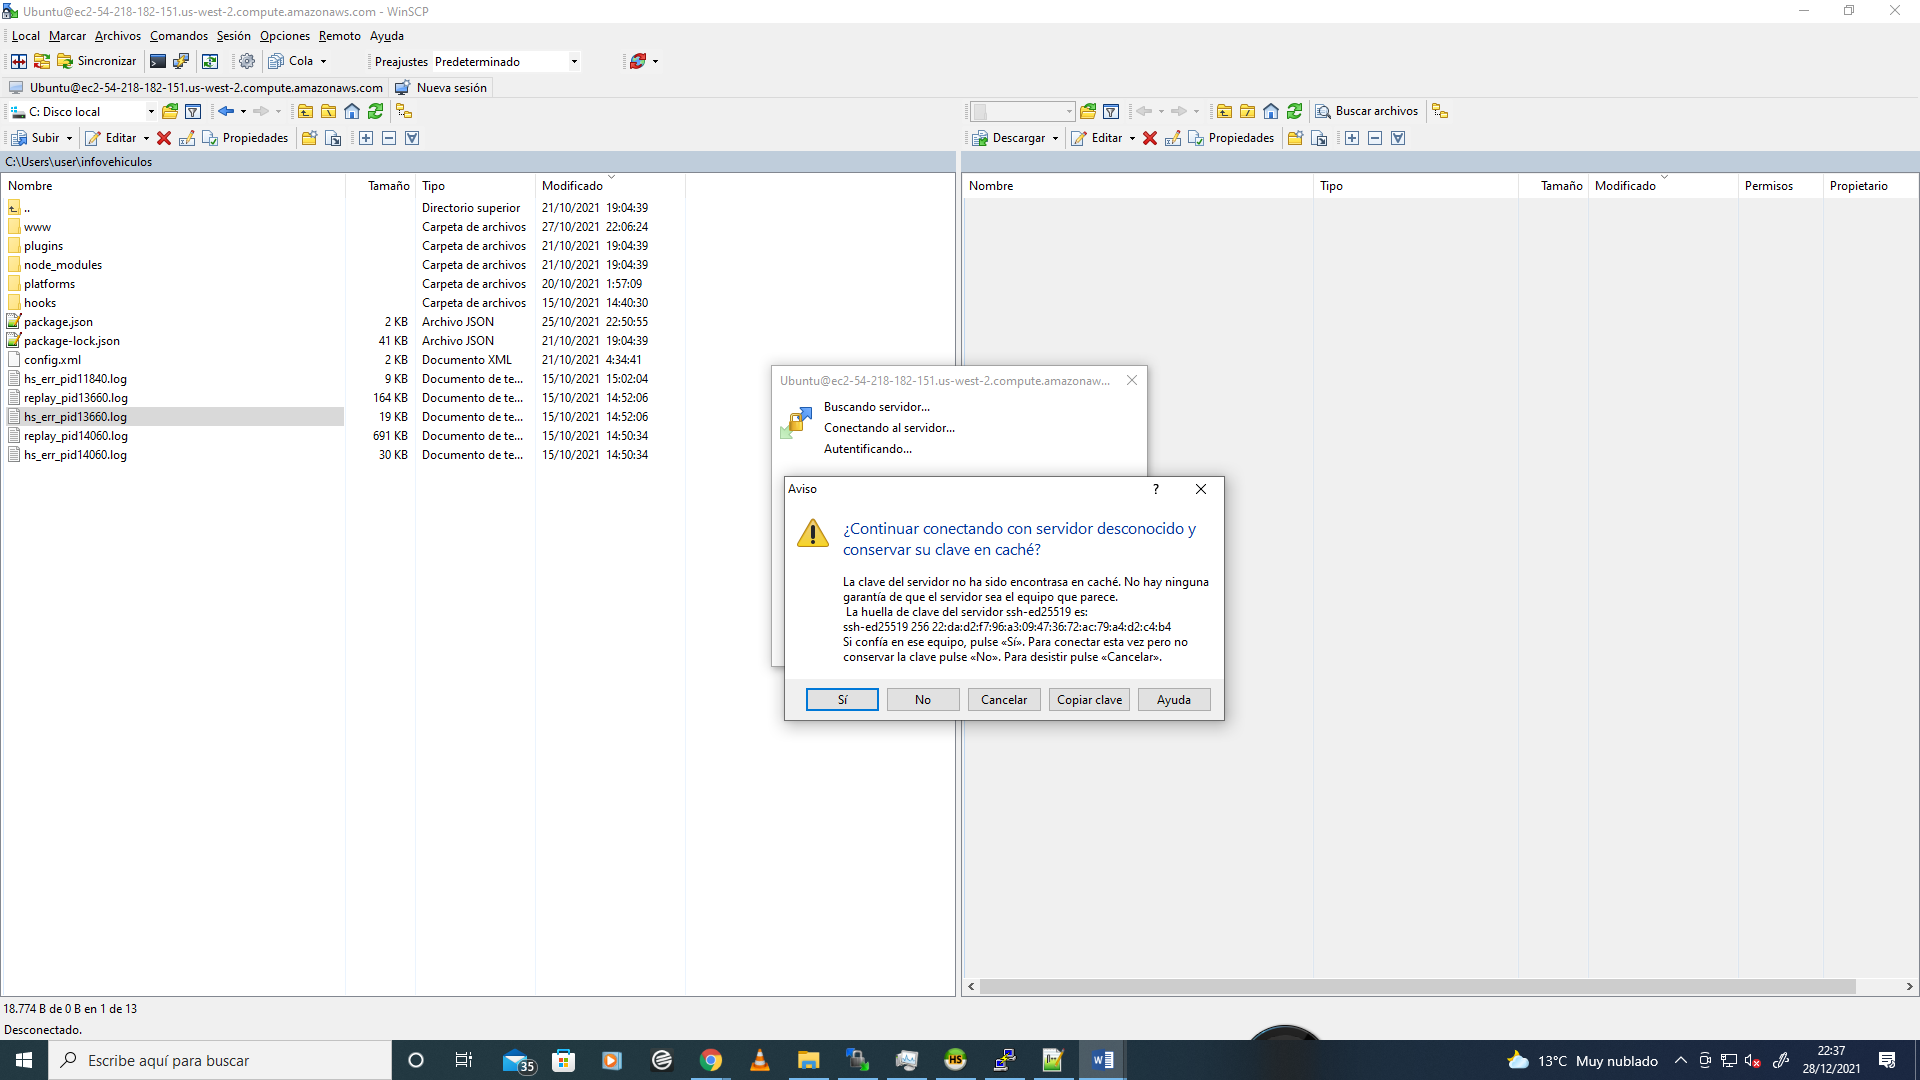
If the 22 port and your ip it´s whitelisted on Security group on AWS then in WinSCP you can see the window connection process, click on "Connect" green button.
If you alerted with the follow screen, please only click on "Yes" button.
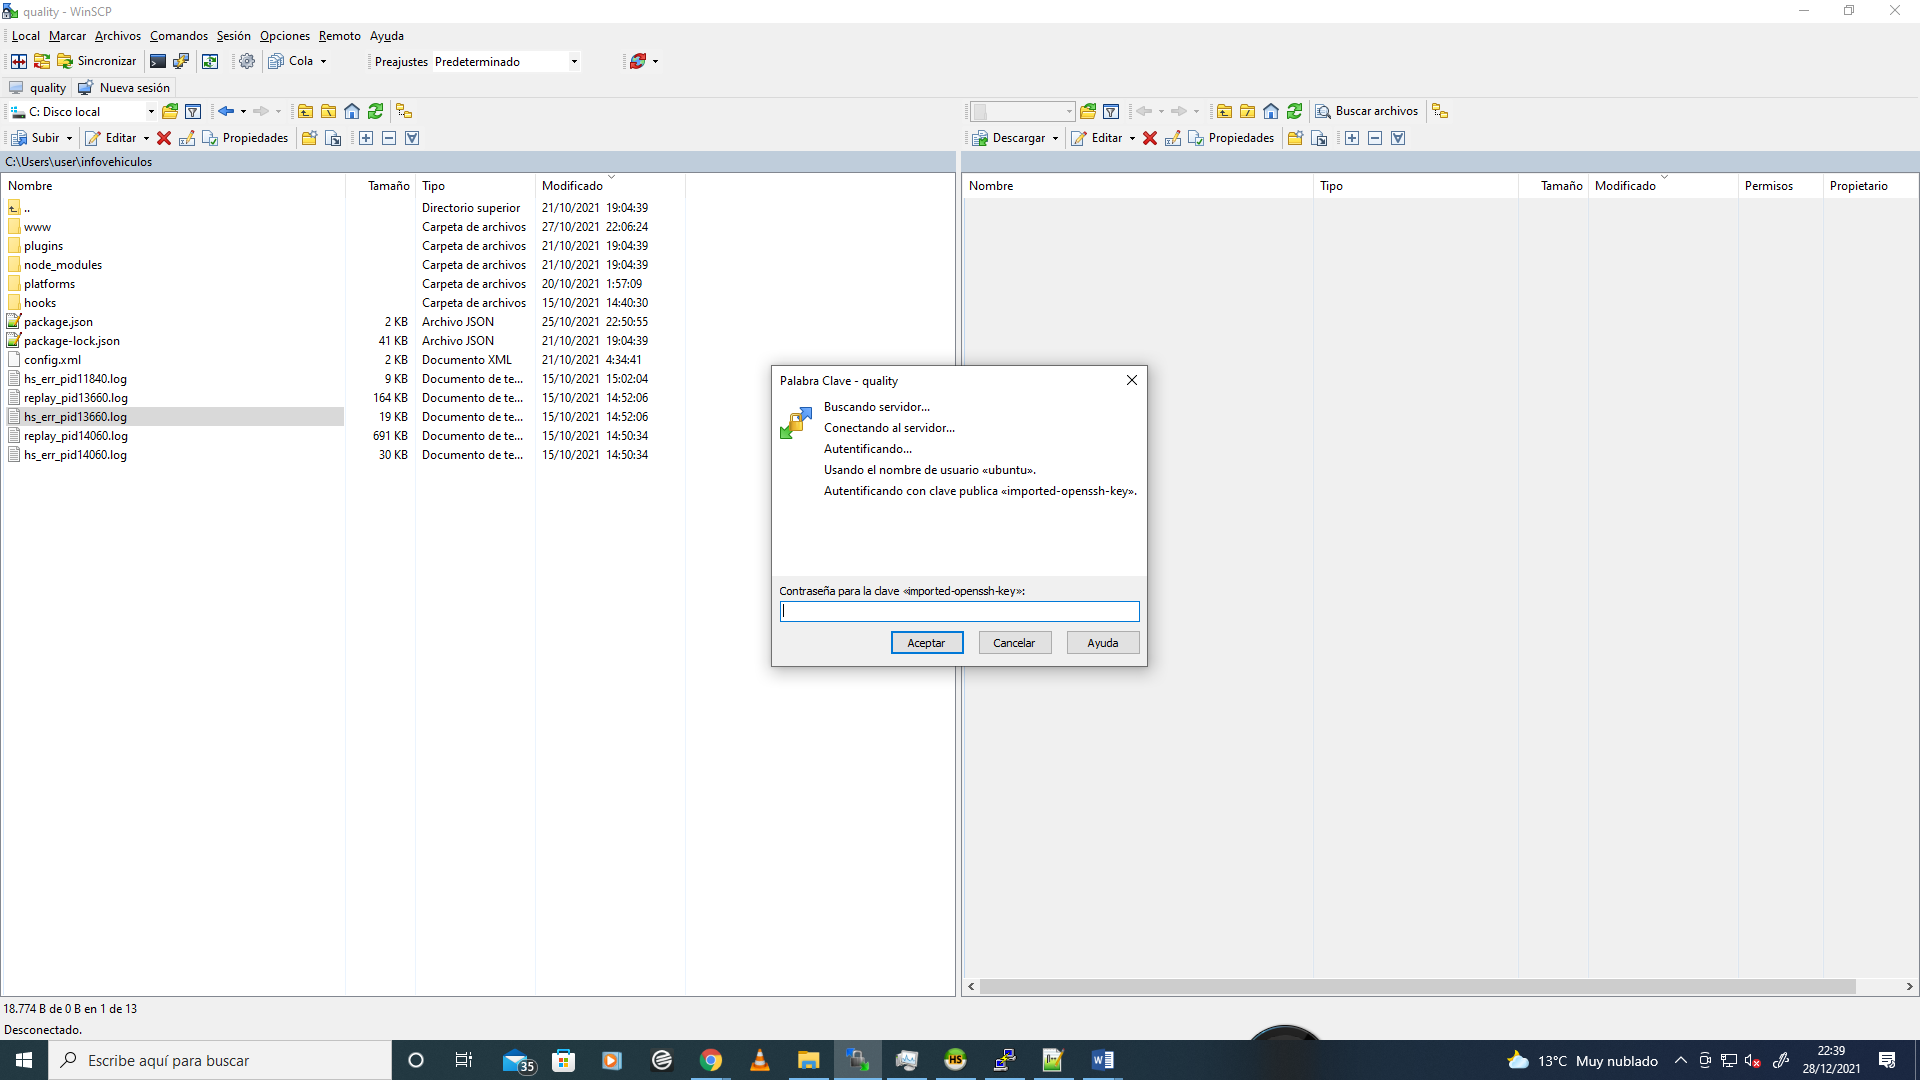
If your proccess authentication it´s correct, then you need to write the "Passphrase" if you stored this before. Then click on "Accept" button and get connected to the server!
STEP 3
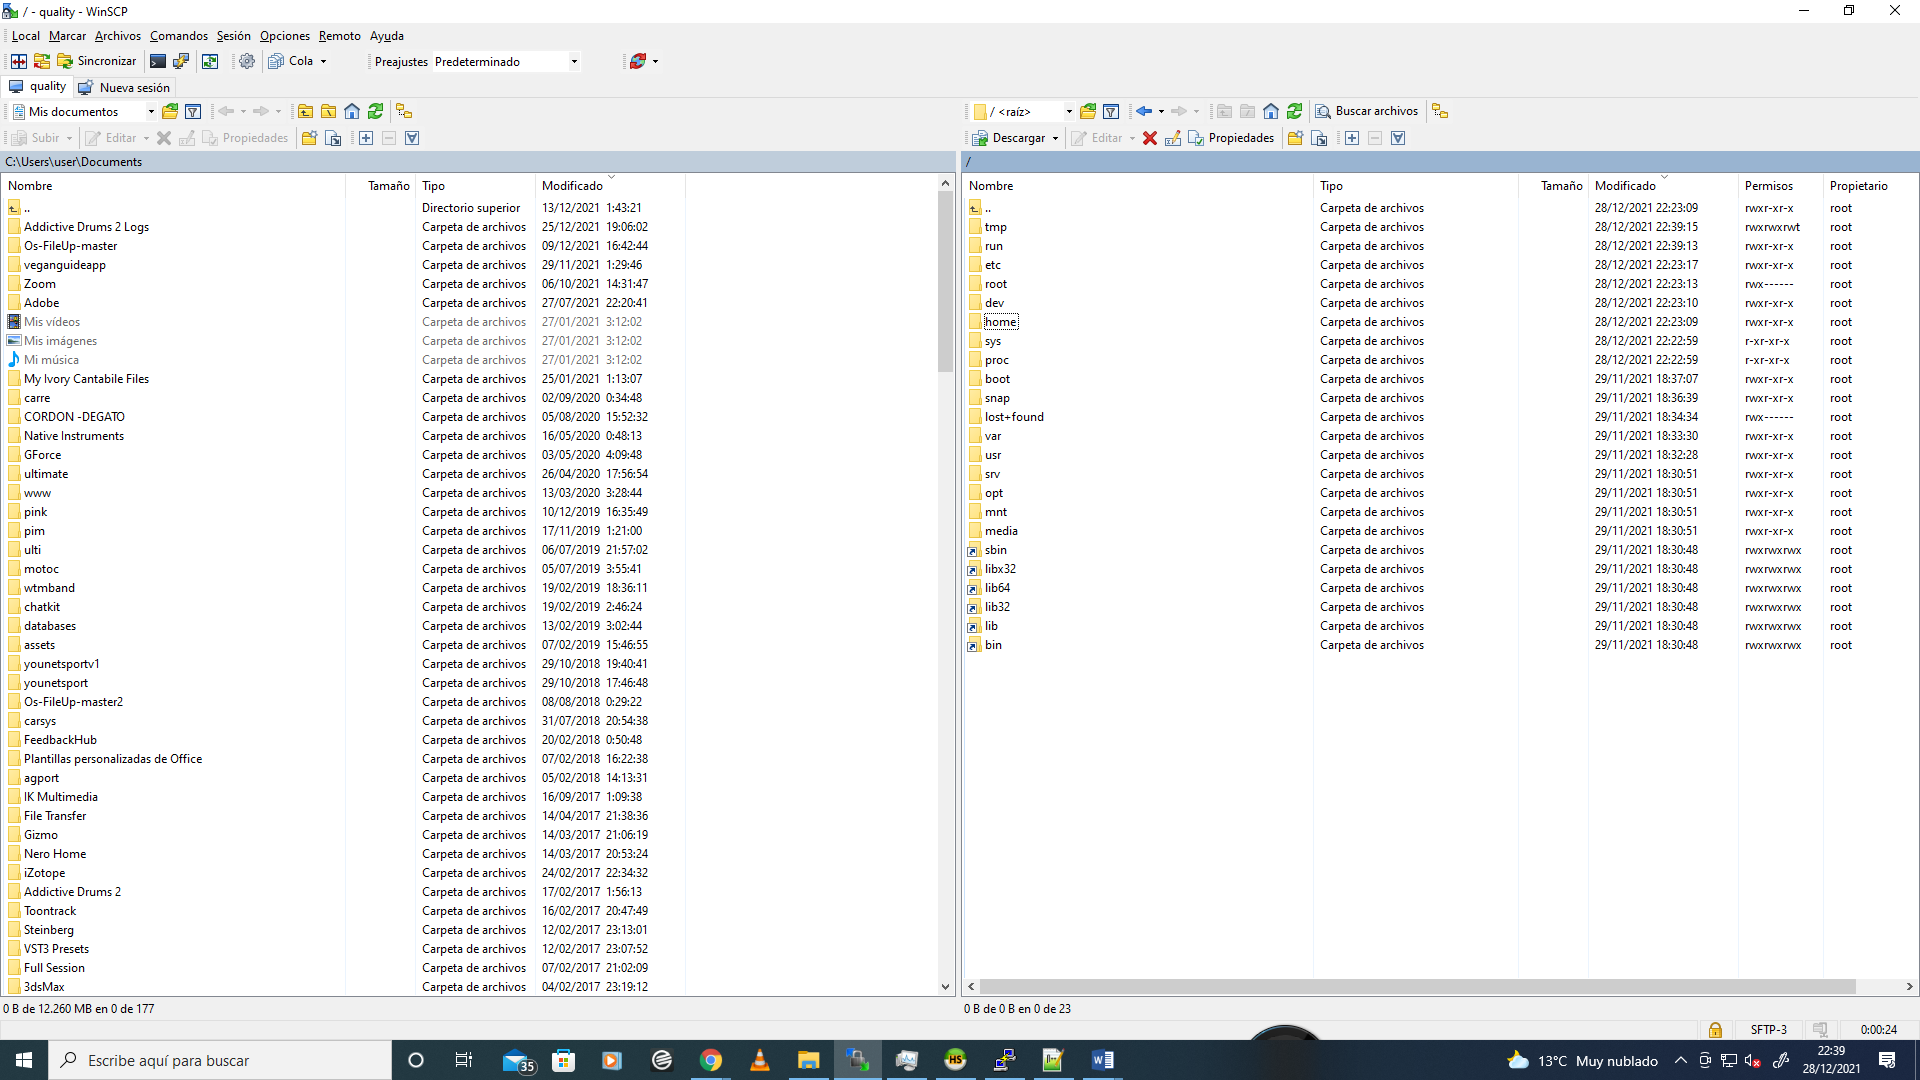
Now you can see on the right section the file system of your Ubuntu Server. Please be carefull and follow the next instructions to create the web server and access to them and begin to create your First App.
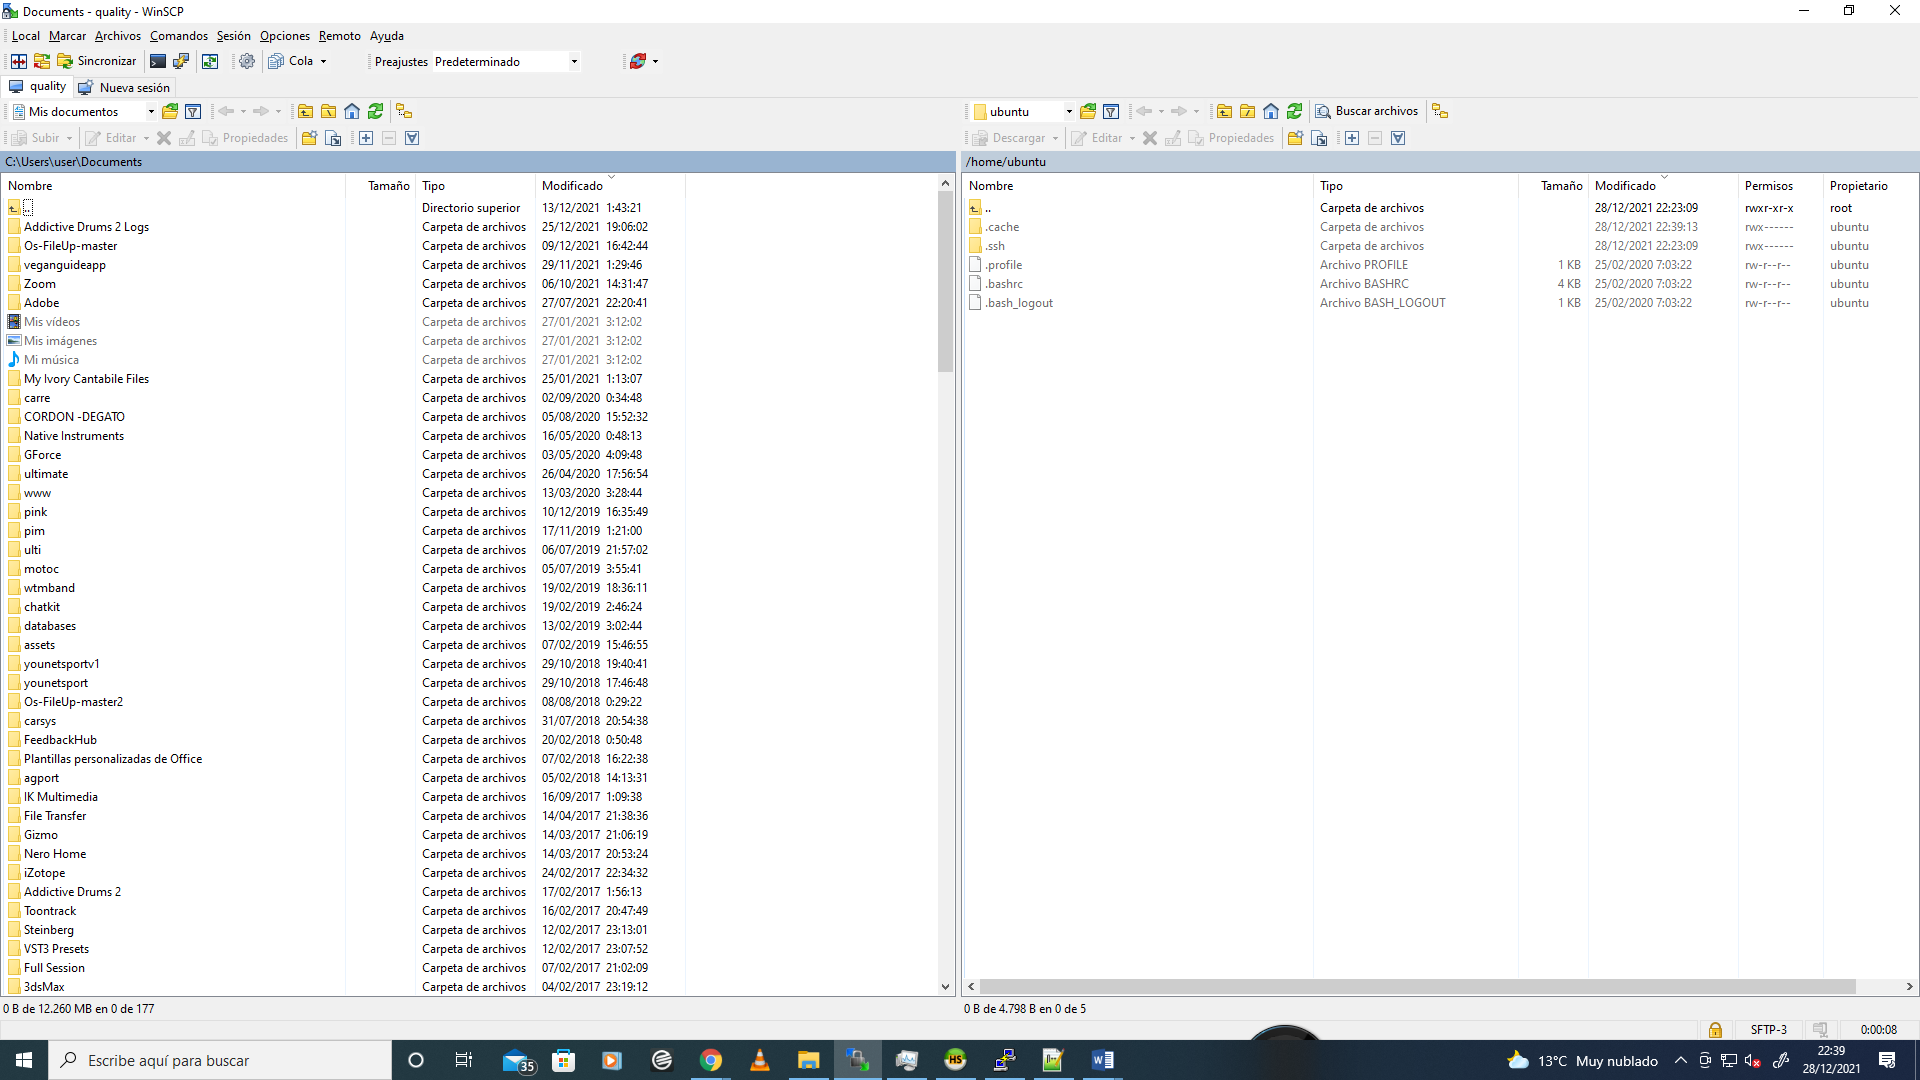
You can navigate to all the file system. When you completed the web configurations, you can access to the web folders on "/var" directory.
STEP 4
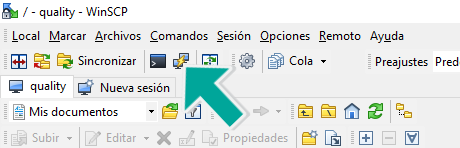
Now you need access to the server via SSH and enter to the Linux console with Putty. If you don´t have installed Putty app, you need to download ("Putty download click here") this and then click on the next icon showed on the image.
If all it´s Ok you will see the console Linux window:

Now write your Passphrase and then connect to server.
STEP 5
Configurating the web server...
Please follow the next instructions, copy and paste all the commands (in bold) to configurate your web server:
sudo apt update (intro)
sudo apt install apache2 (intro)
Write the next line and please compare the "Output"
sudo ufw app list (intro)
Output
Available applications:
Apache
Apache Full
Apache Secure
OpenSSH
sudo ufw allow in "Apache Full"
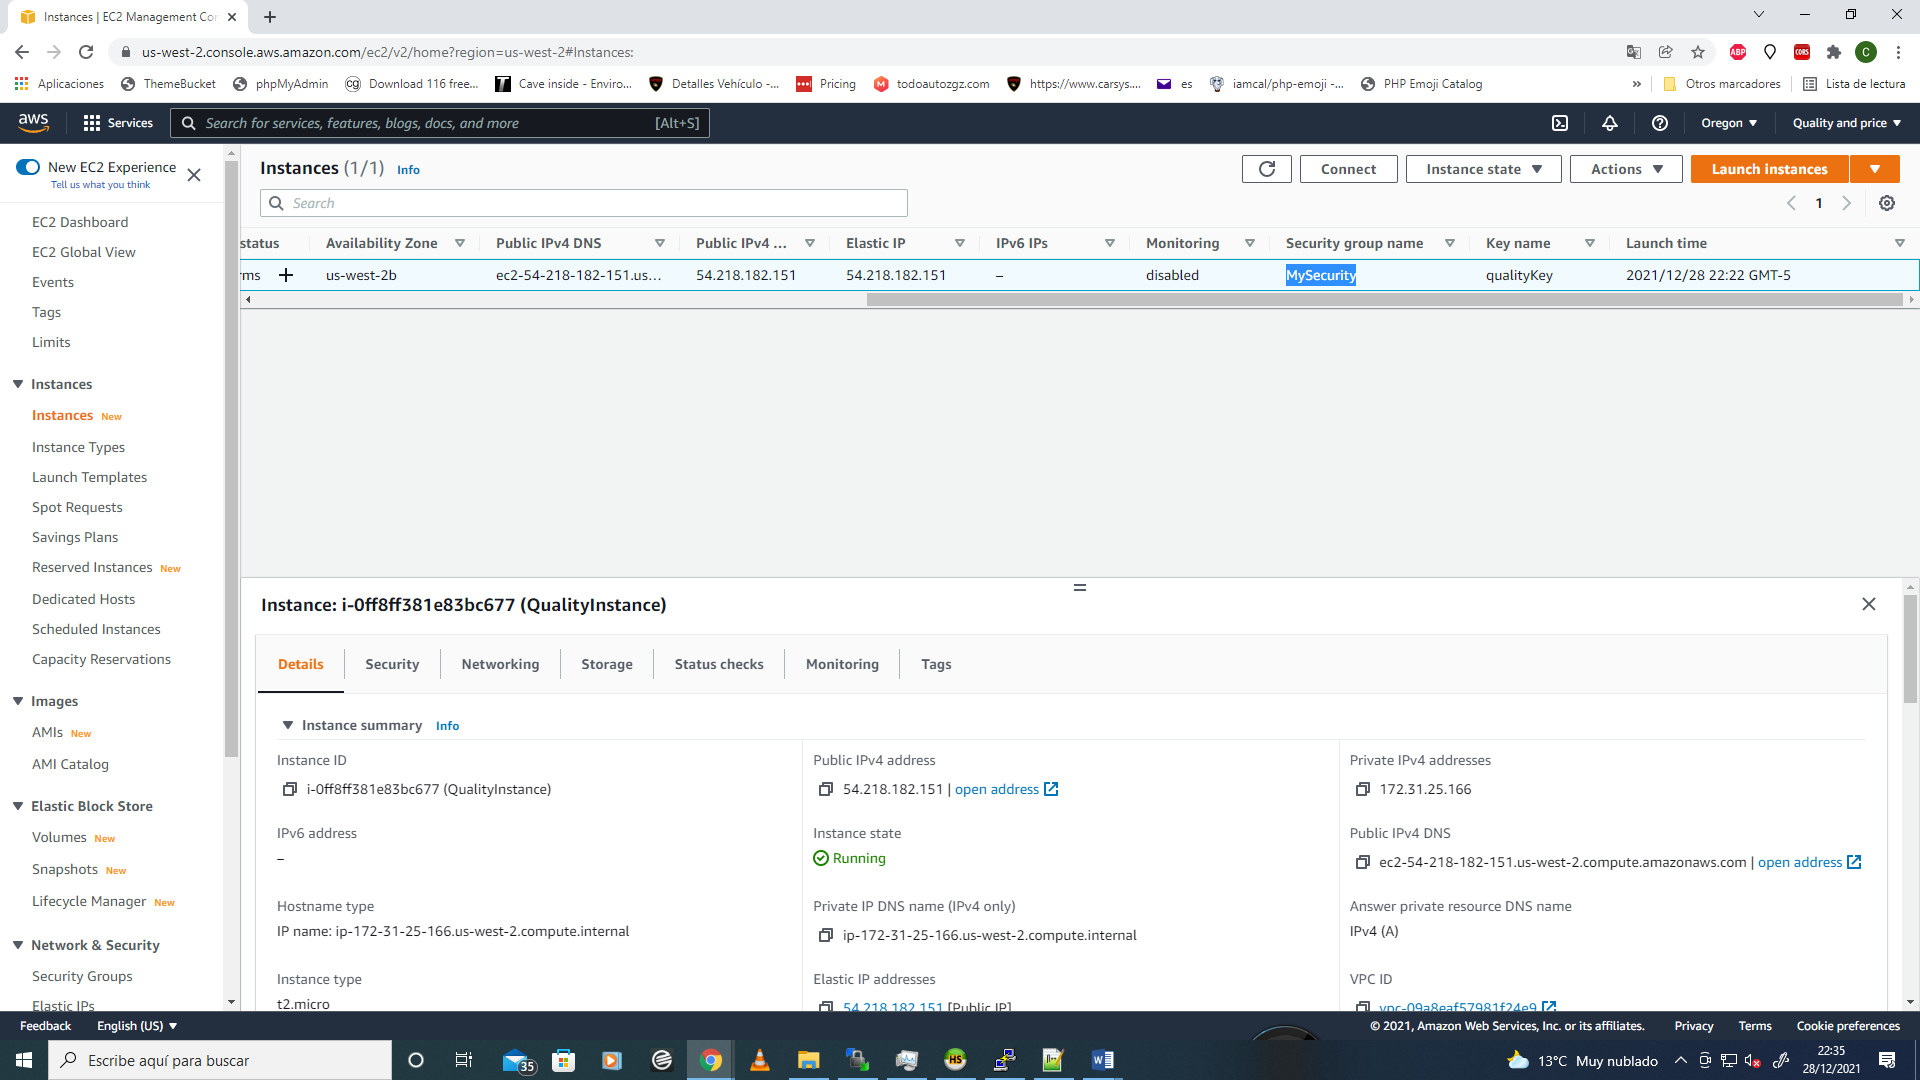
That´s all.... Now you need to verify in your web navigator if you can access with your elastic ip to your Apache Server. To get the public elastic ip please go to the Ec2 instance in AWS panel, click on the new instance and search the Public IPv4 address in the bottom panel:

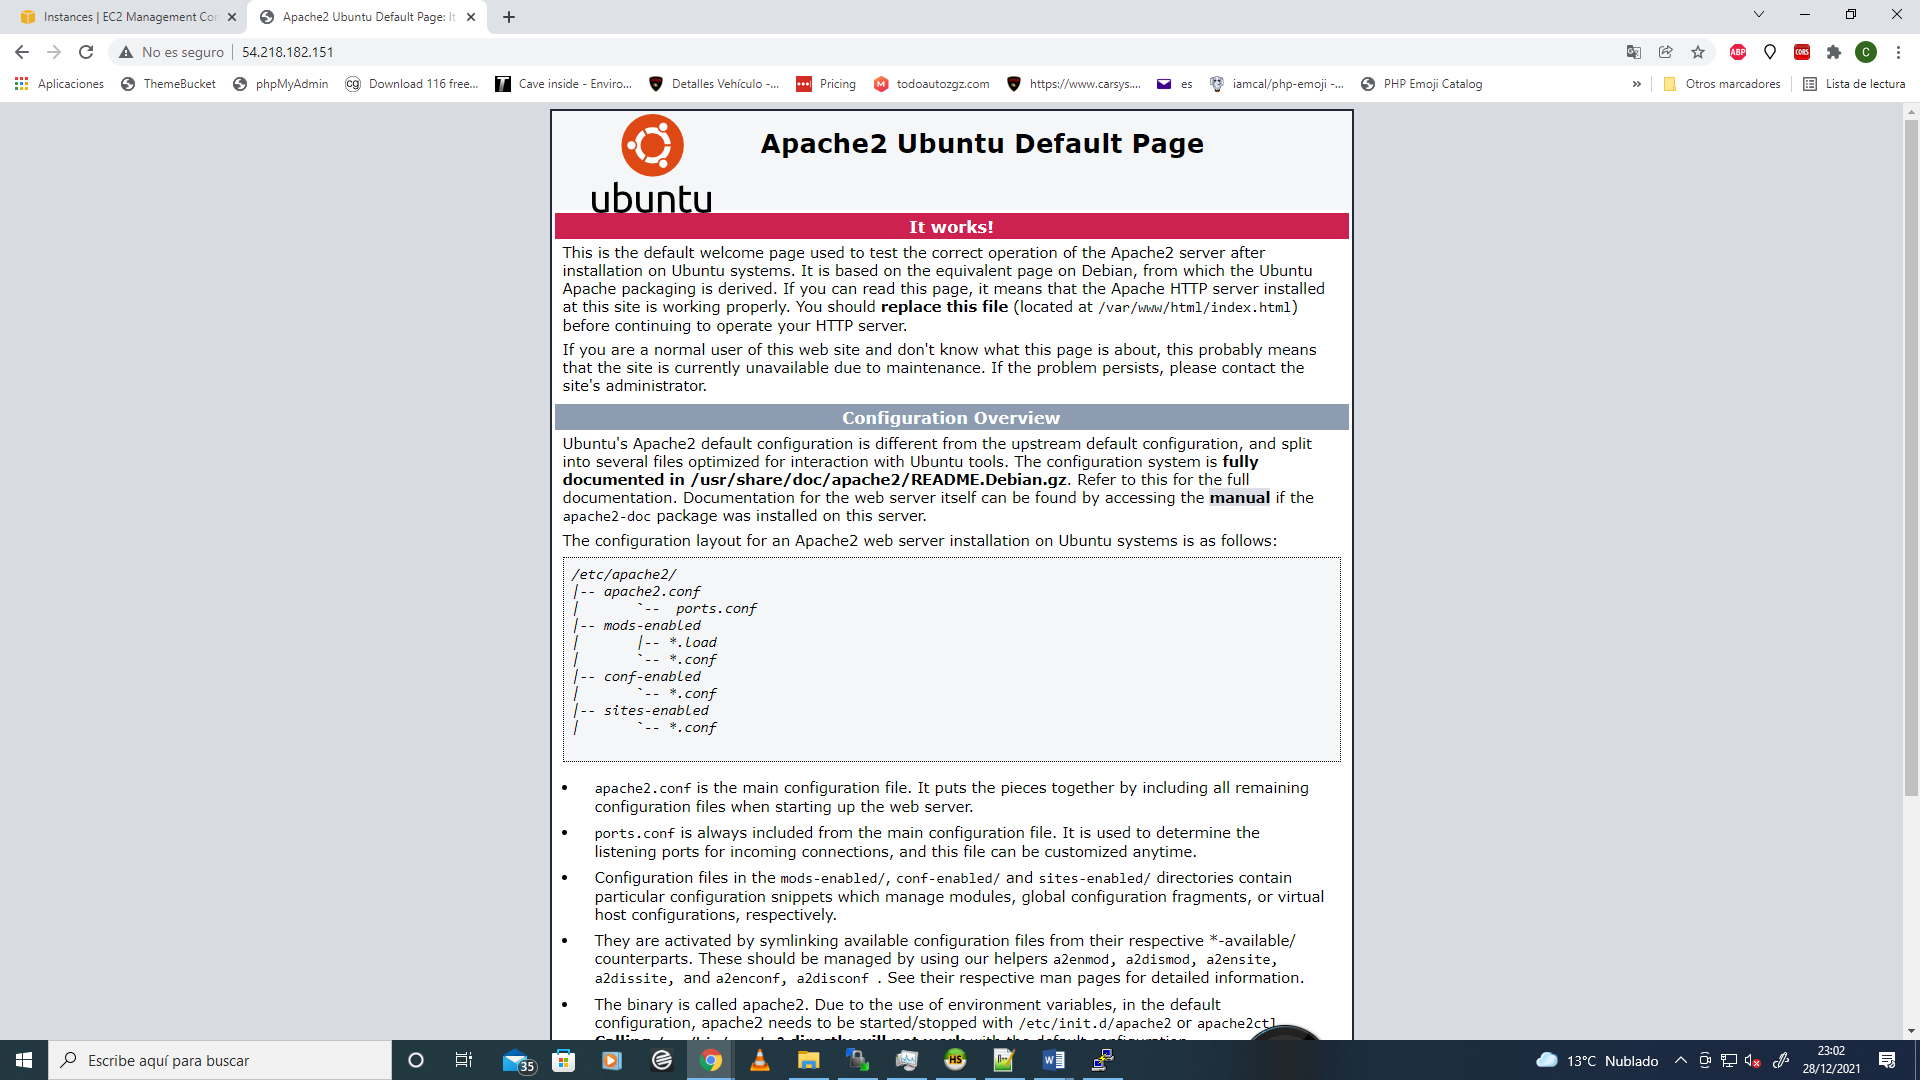
Awesome!!! you have ended the web server configuration. It´s not to easy the first time but you can learn more about this process everyday.
You can view the web folder navigating in winscp visual interface at /var/www/html directory. At this moment you can create and view an static web page, landing page or other web application with Css, Html and javacript. In the next tutorials you can install PHP7-8 and create a Mysql Database with RDS service in Amazon Web Services to creat dynamic apps.


